
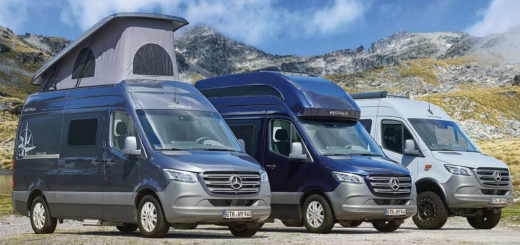
Walt Project Update – Orange to Grey
So looking back at my previous post it’s been a while since my last project update. I’ve managed to get over to the barn at least once or twice a fortnight and have been cracking on. I’ve even overnighted in the camper right outside the barn! It’s such peaceful spot and can run a mains lead out if I want heating!
First the last bit of welding… for now… I hope…
-
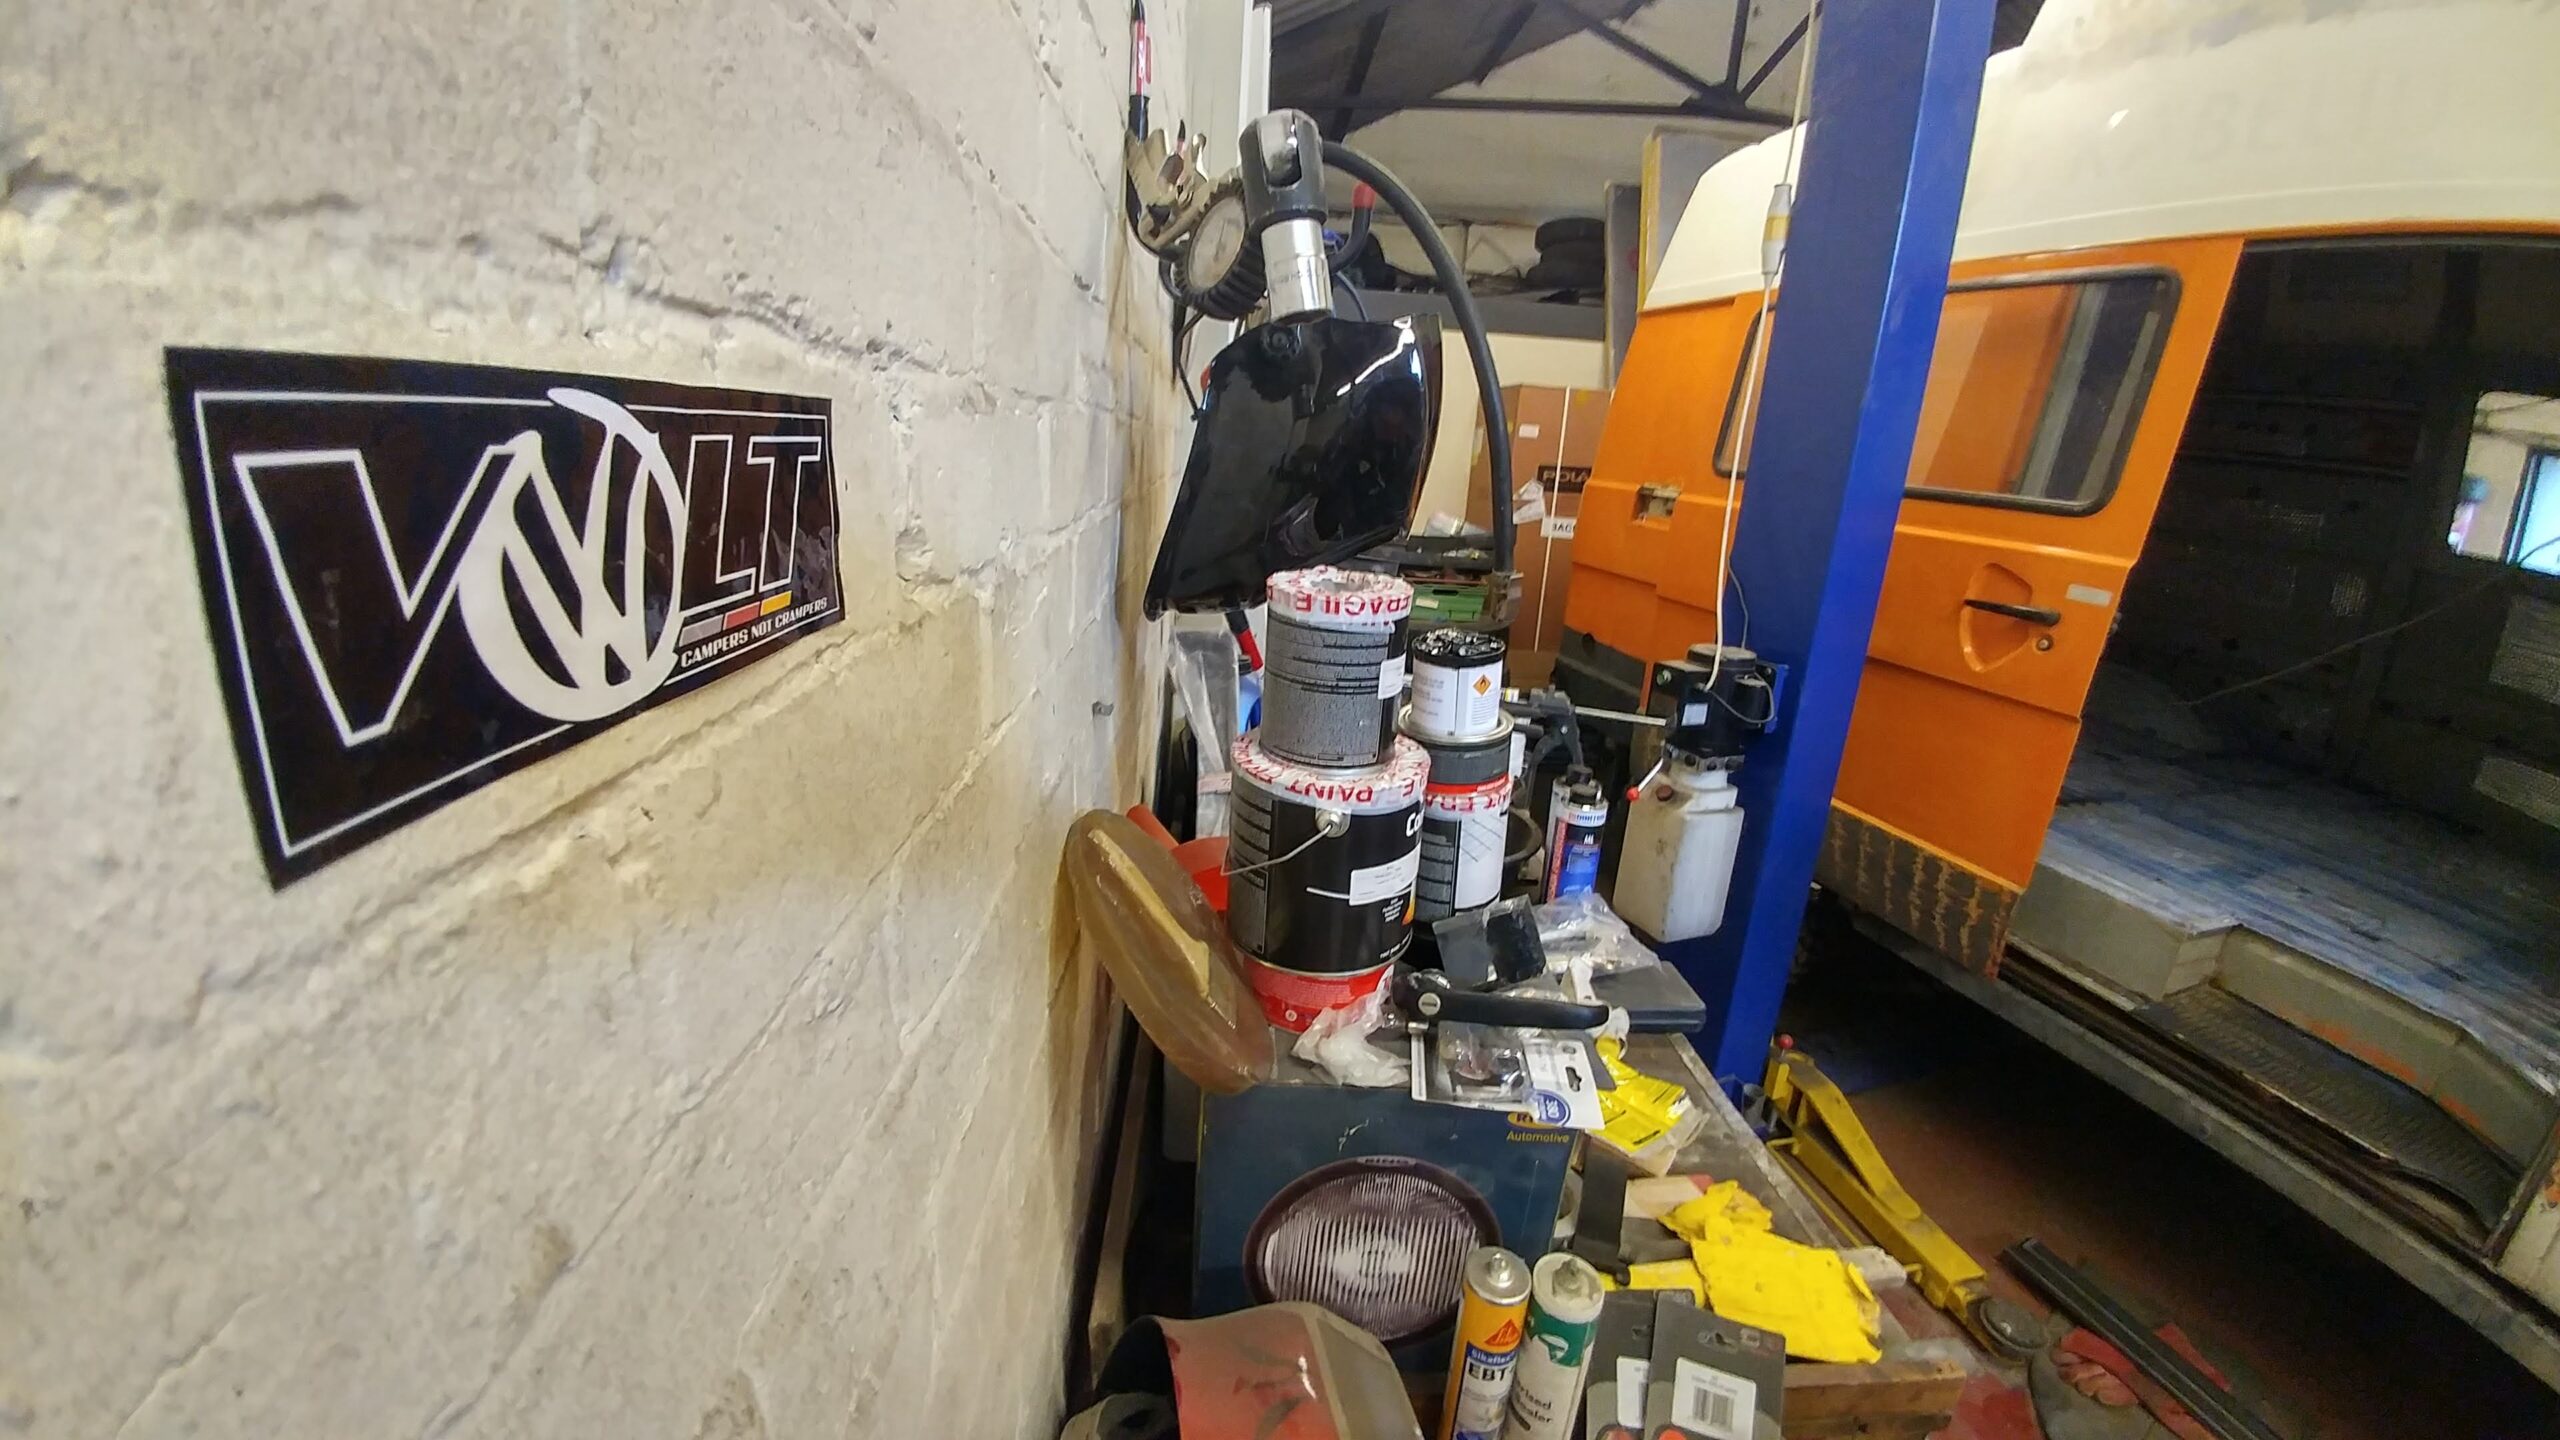
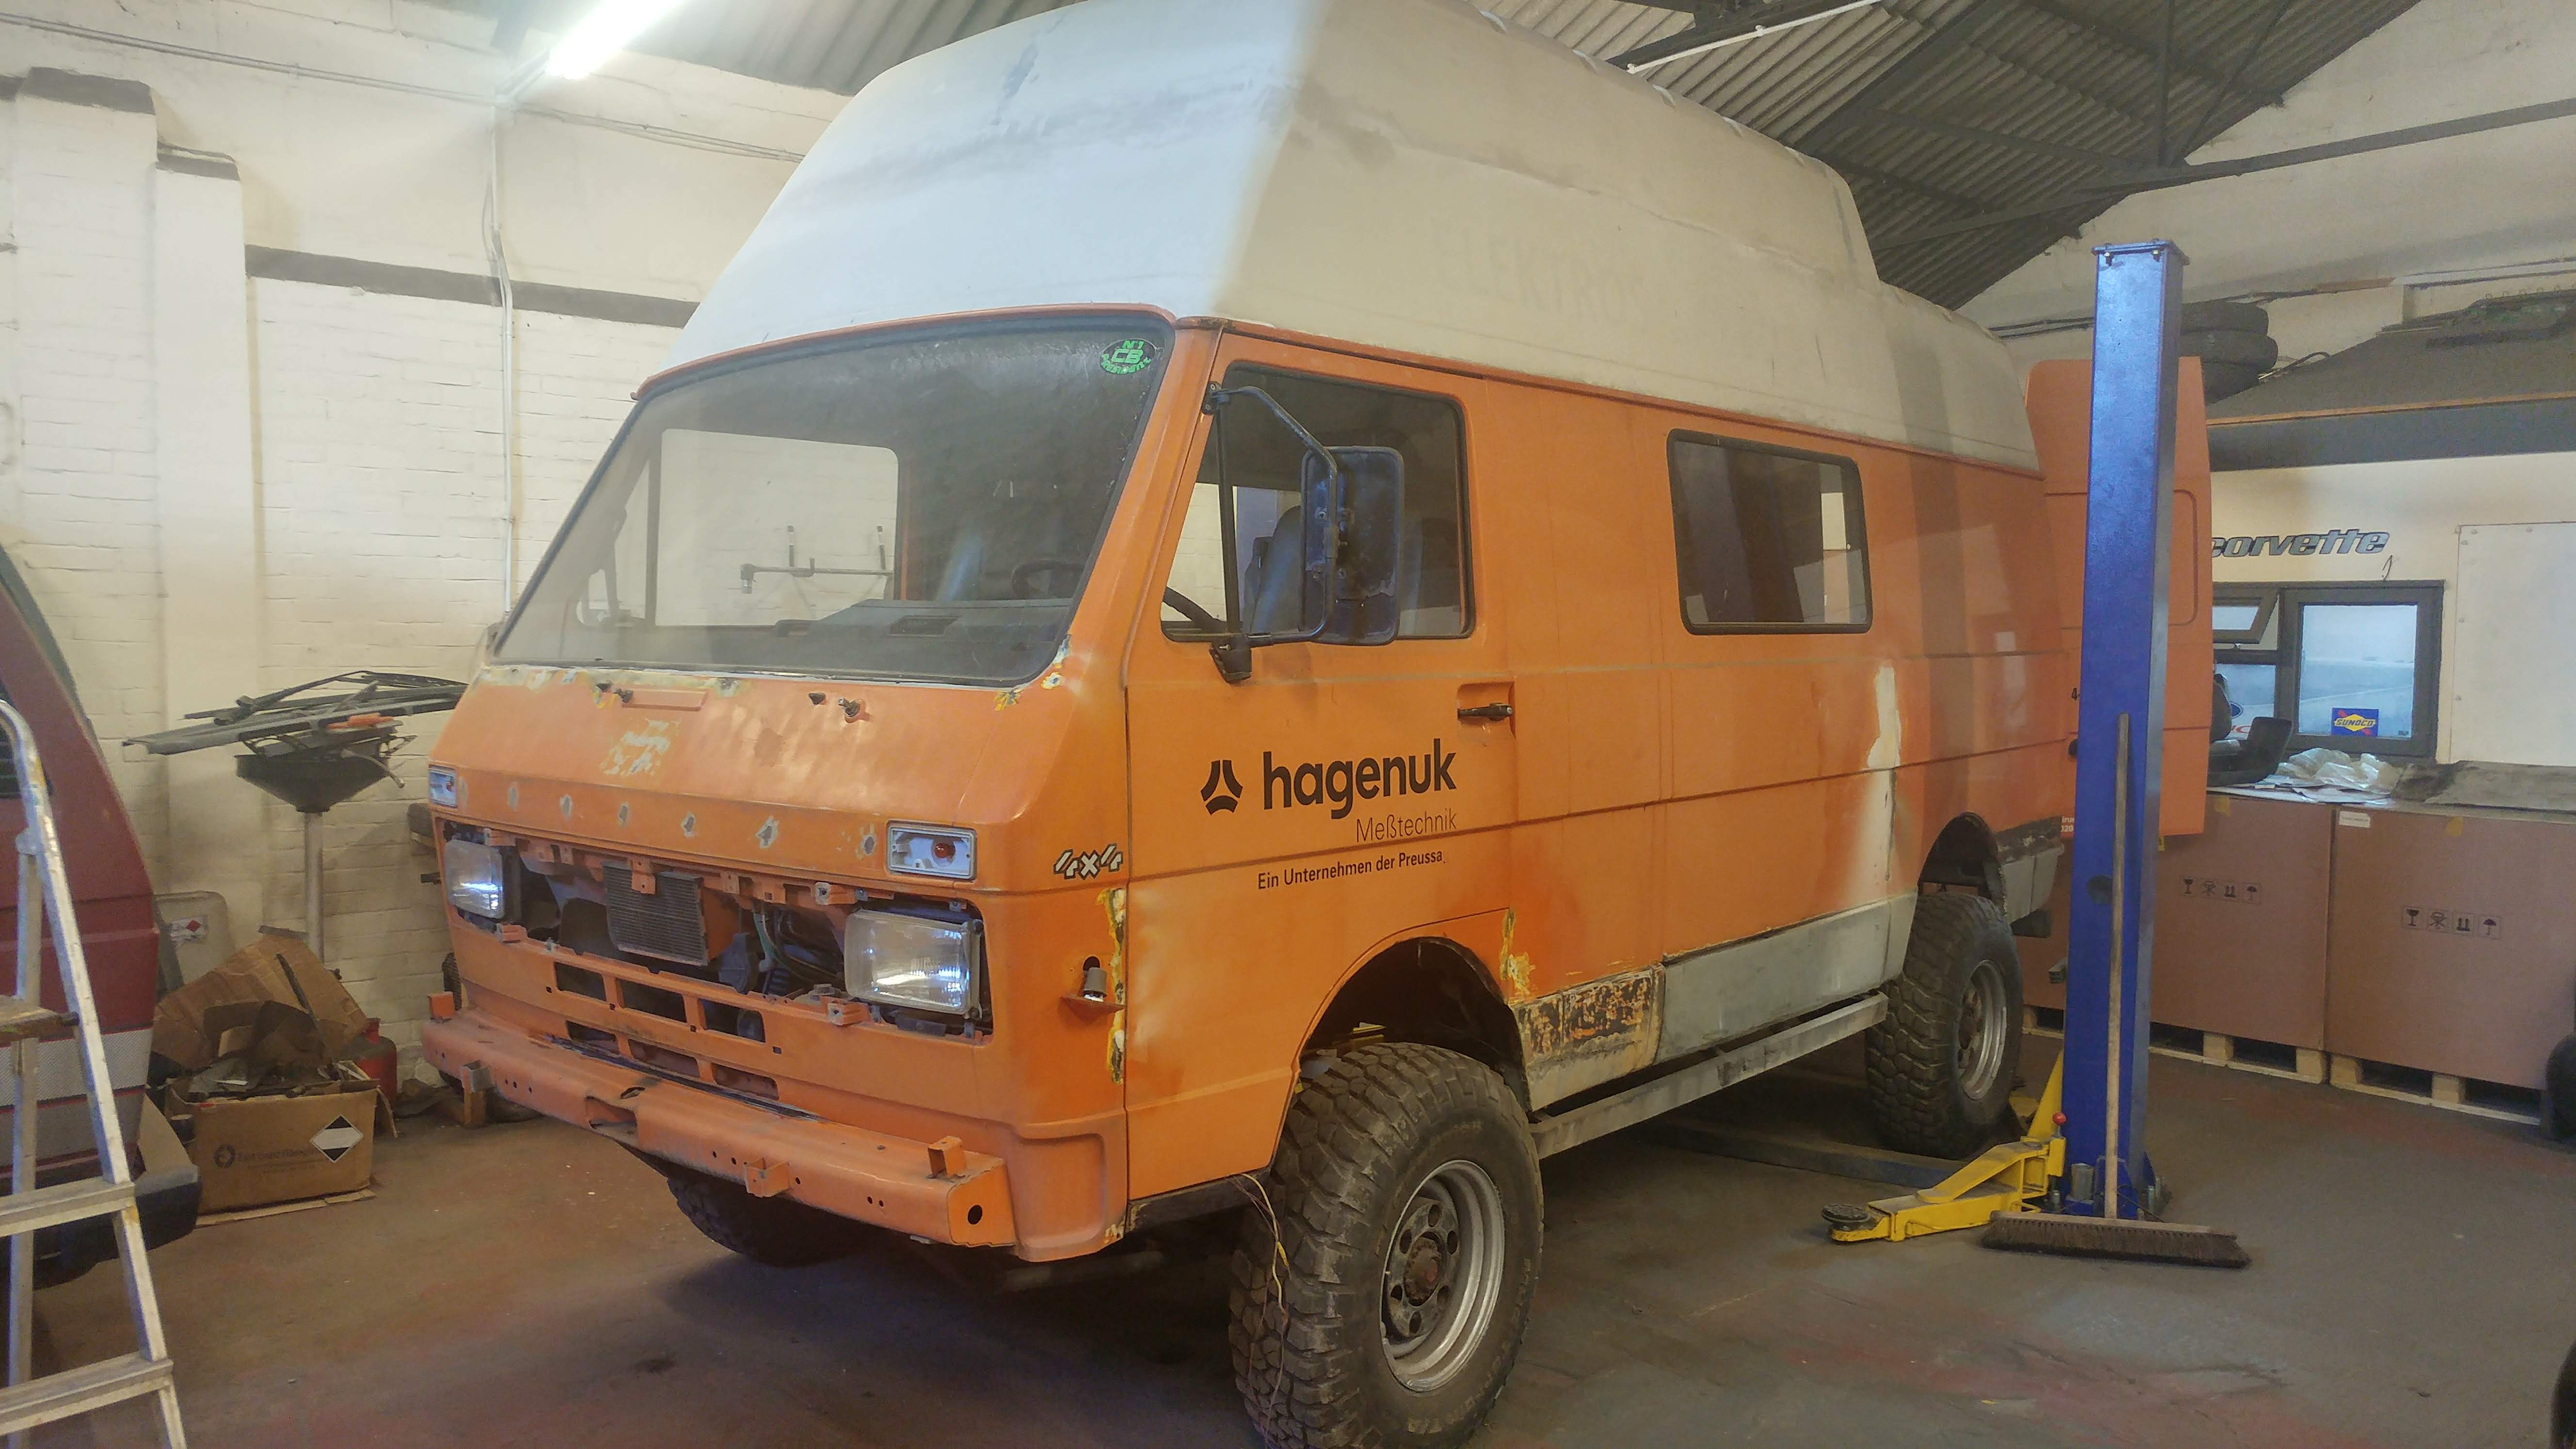
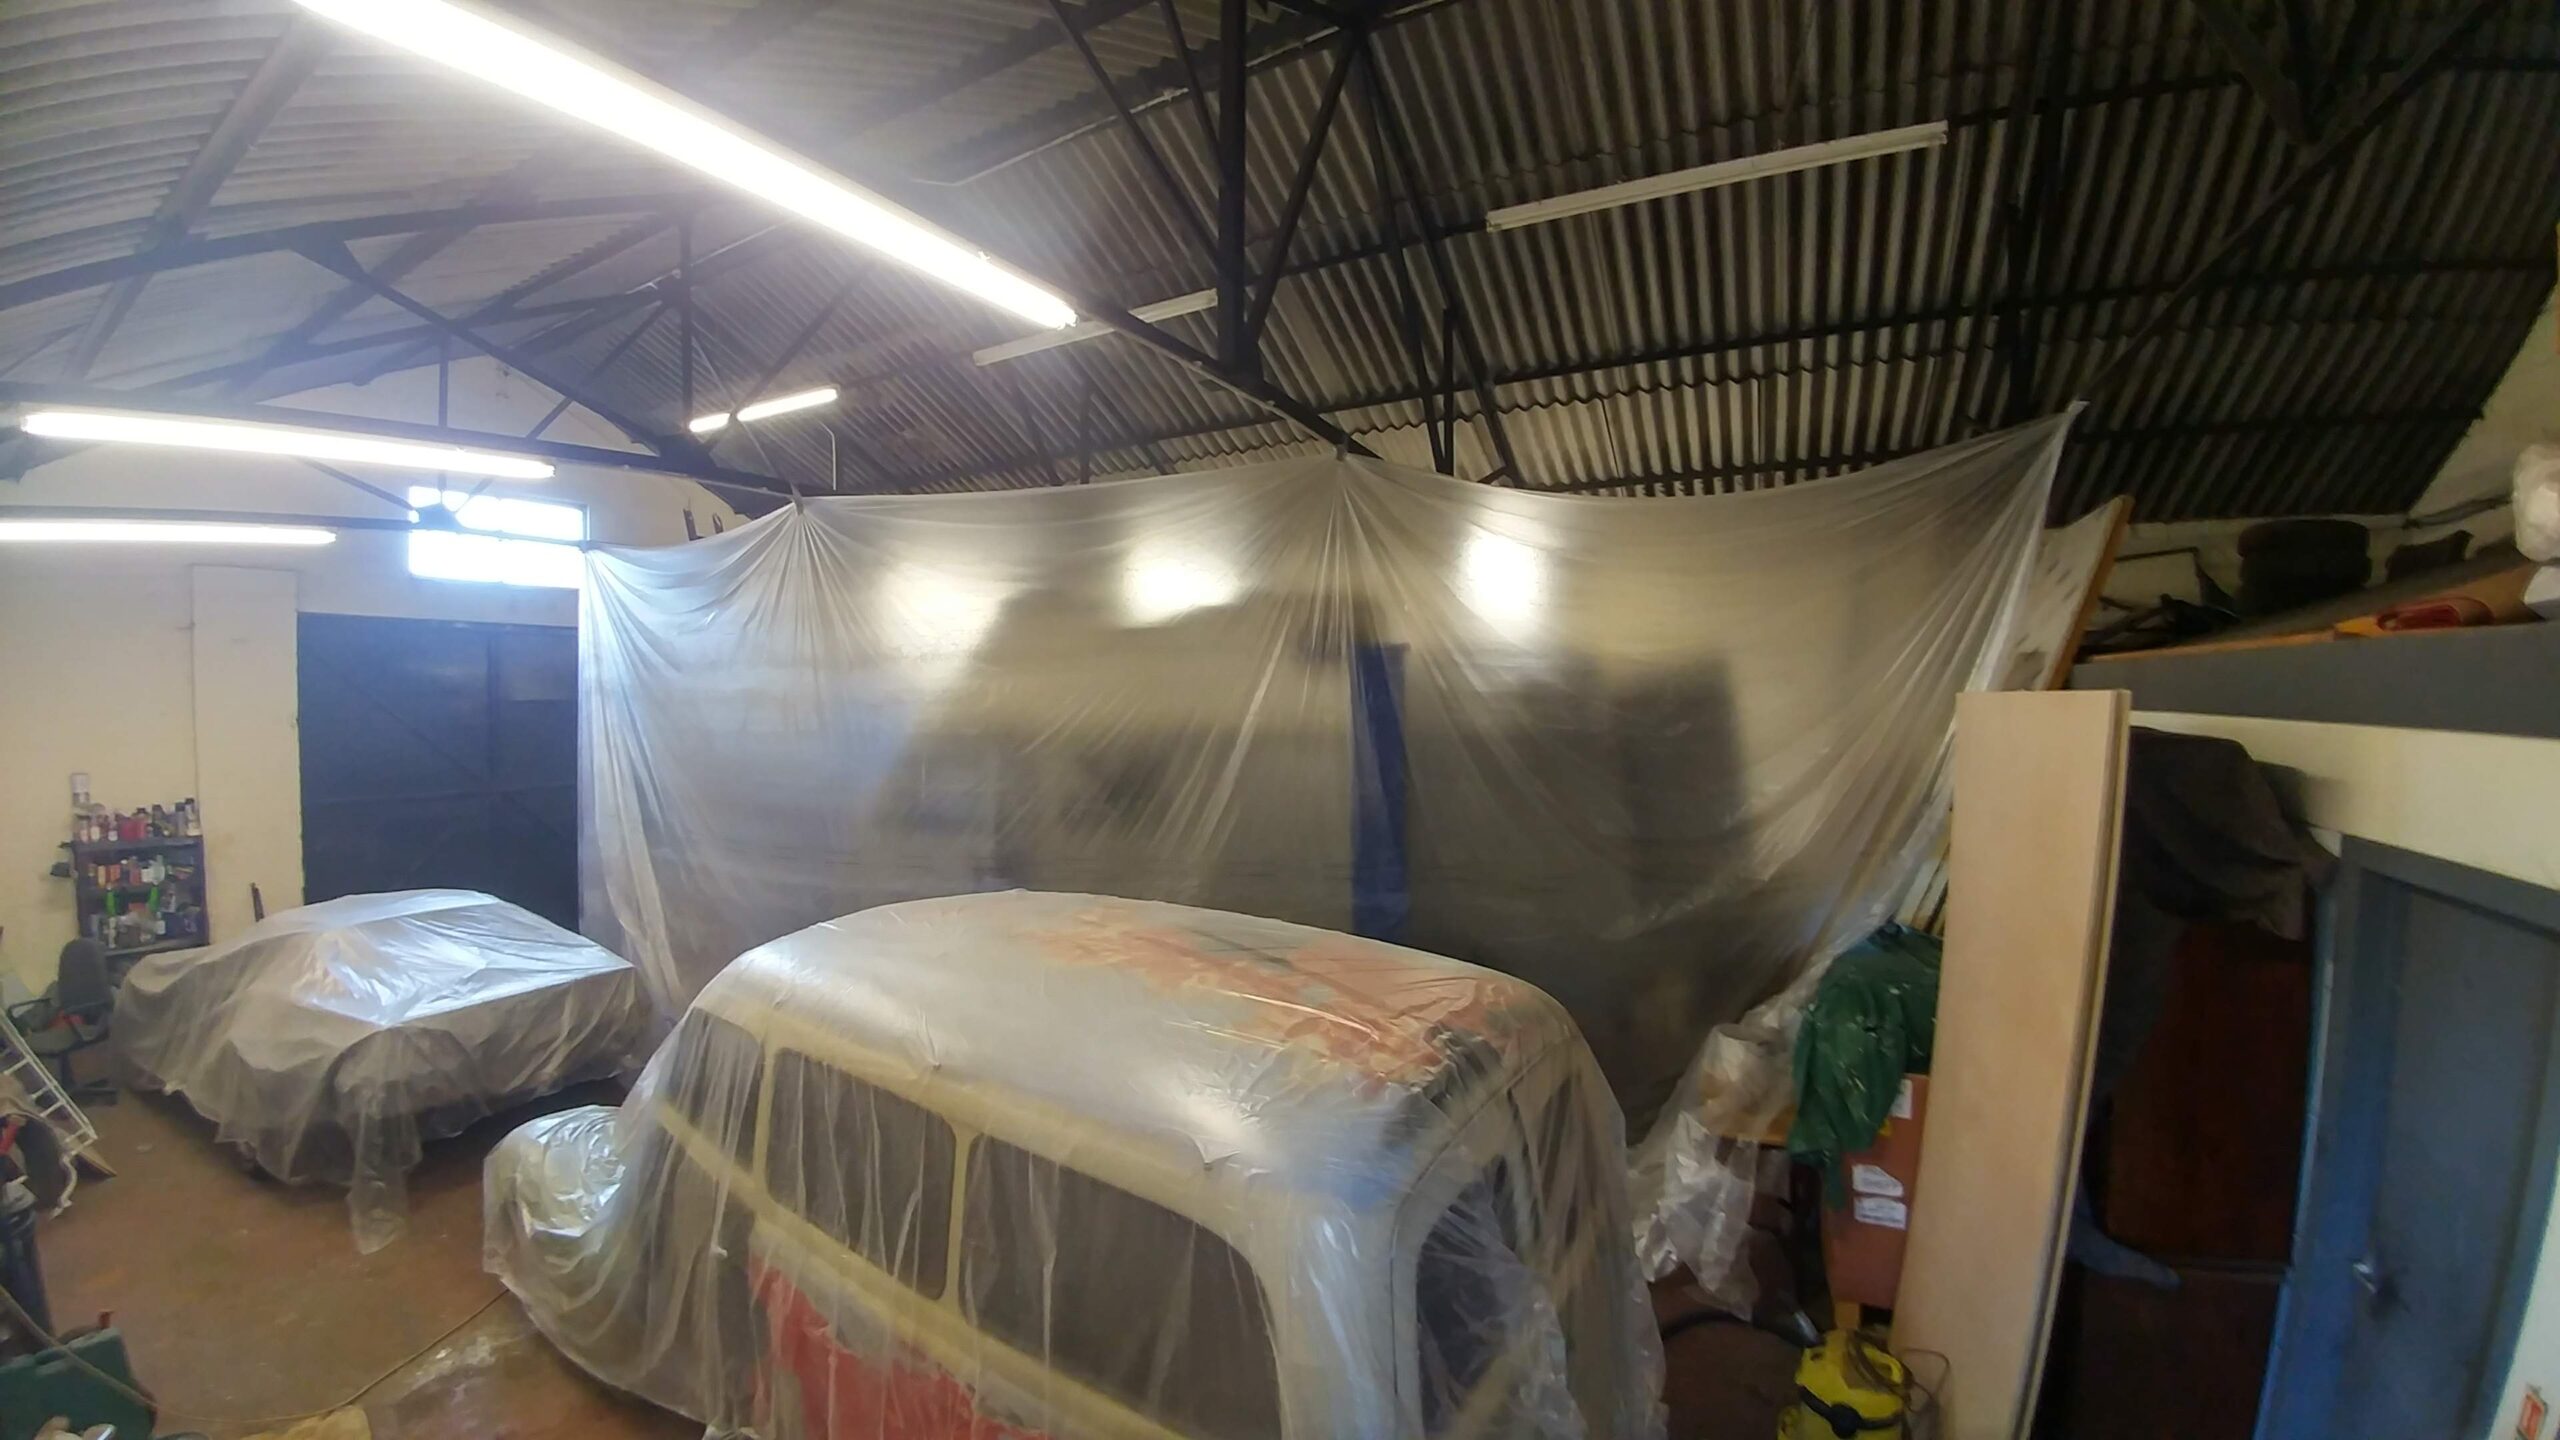
- The VOLT workshop! I try and keep it clean
-
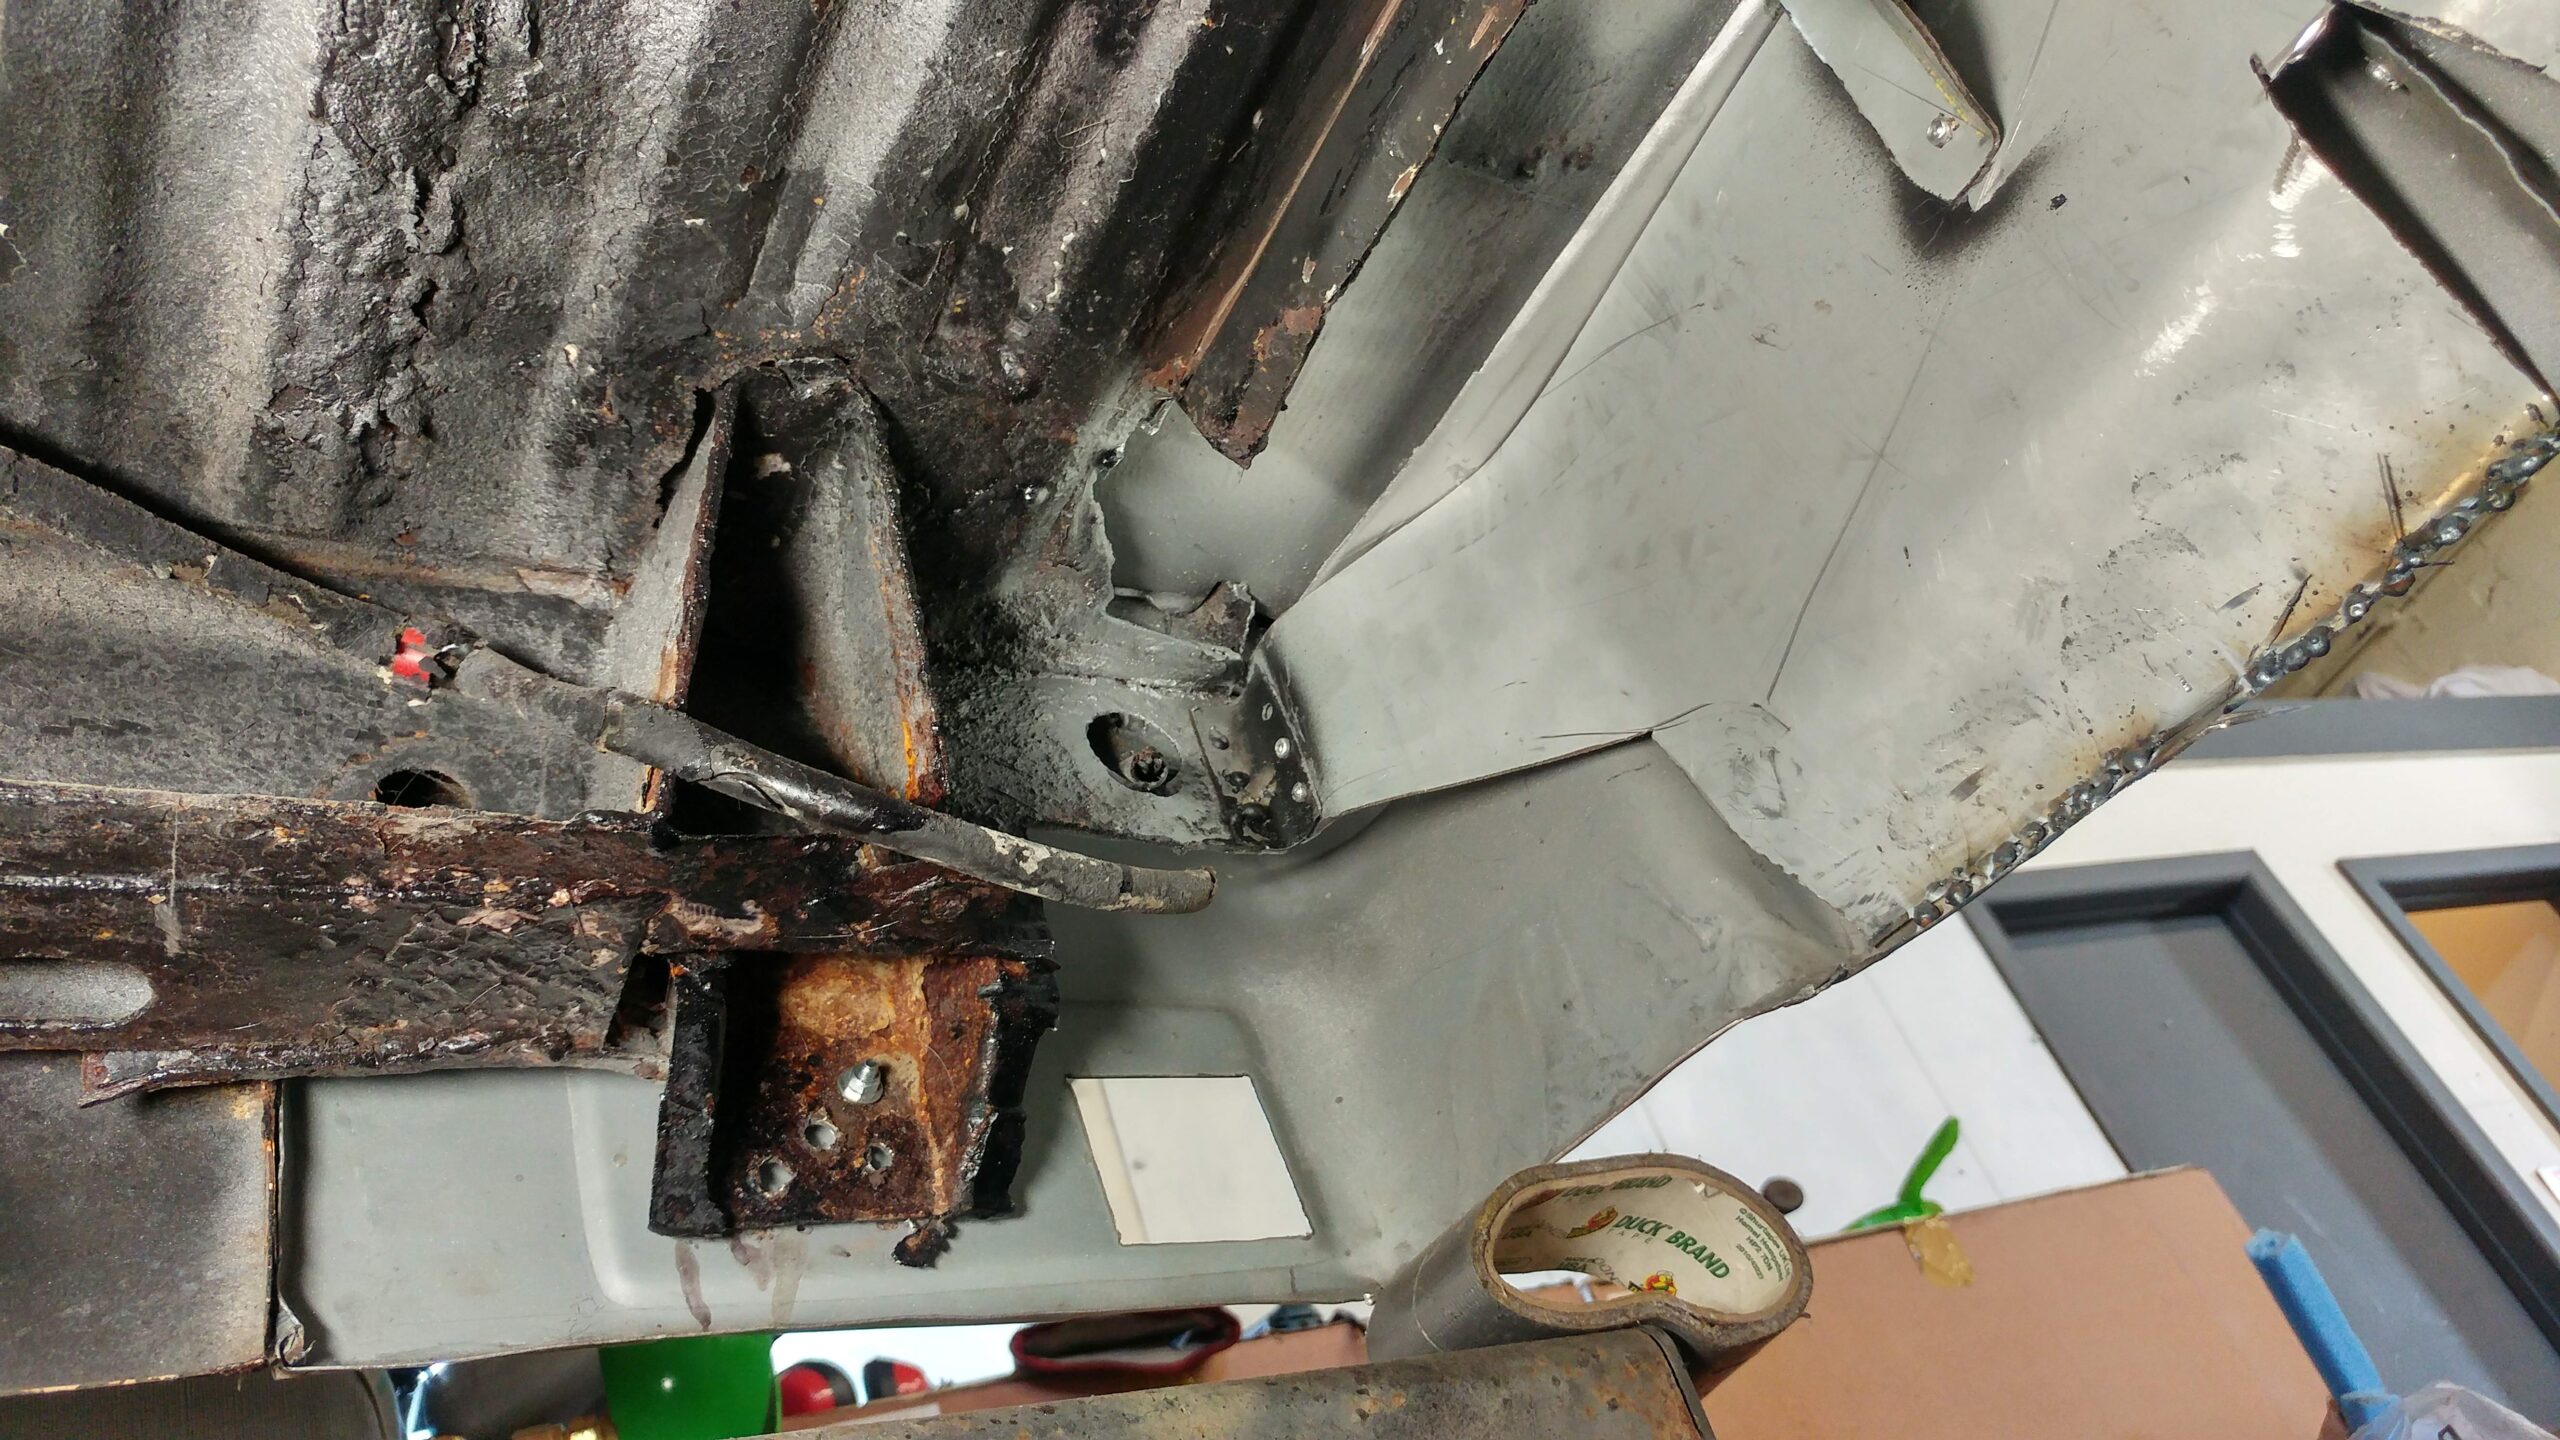
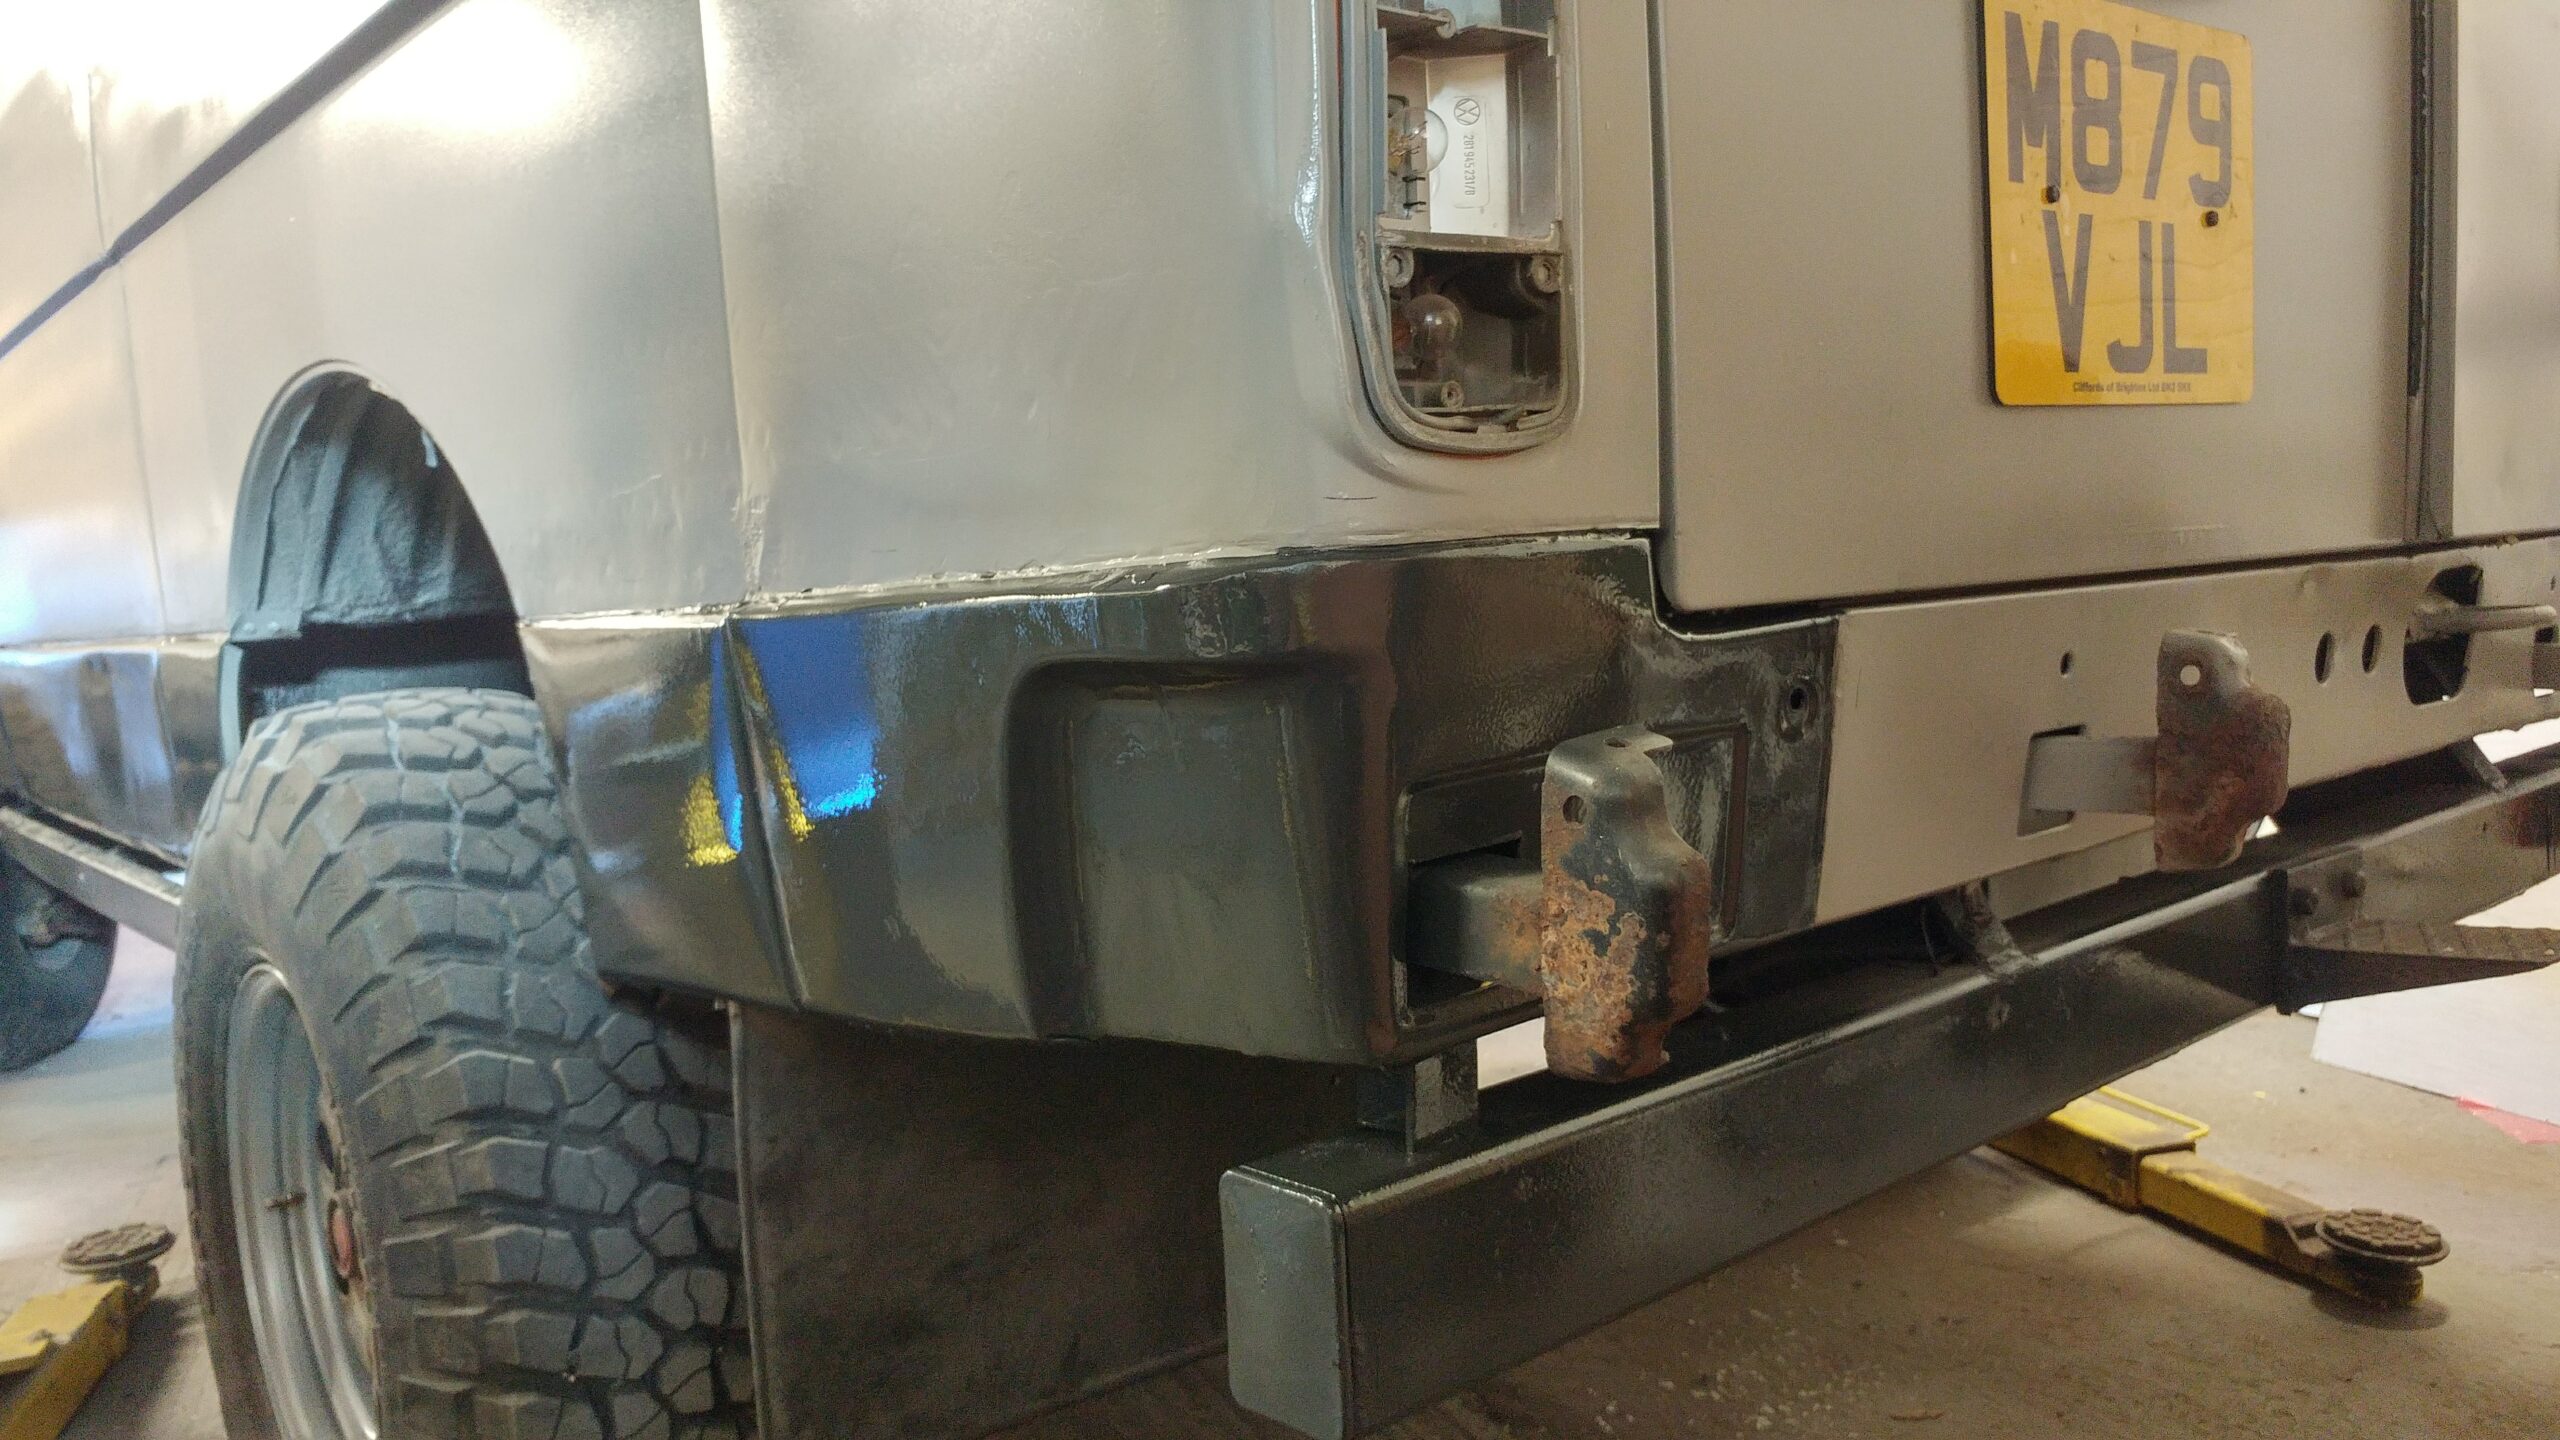
- This is the mount point for the rear bumper
-
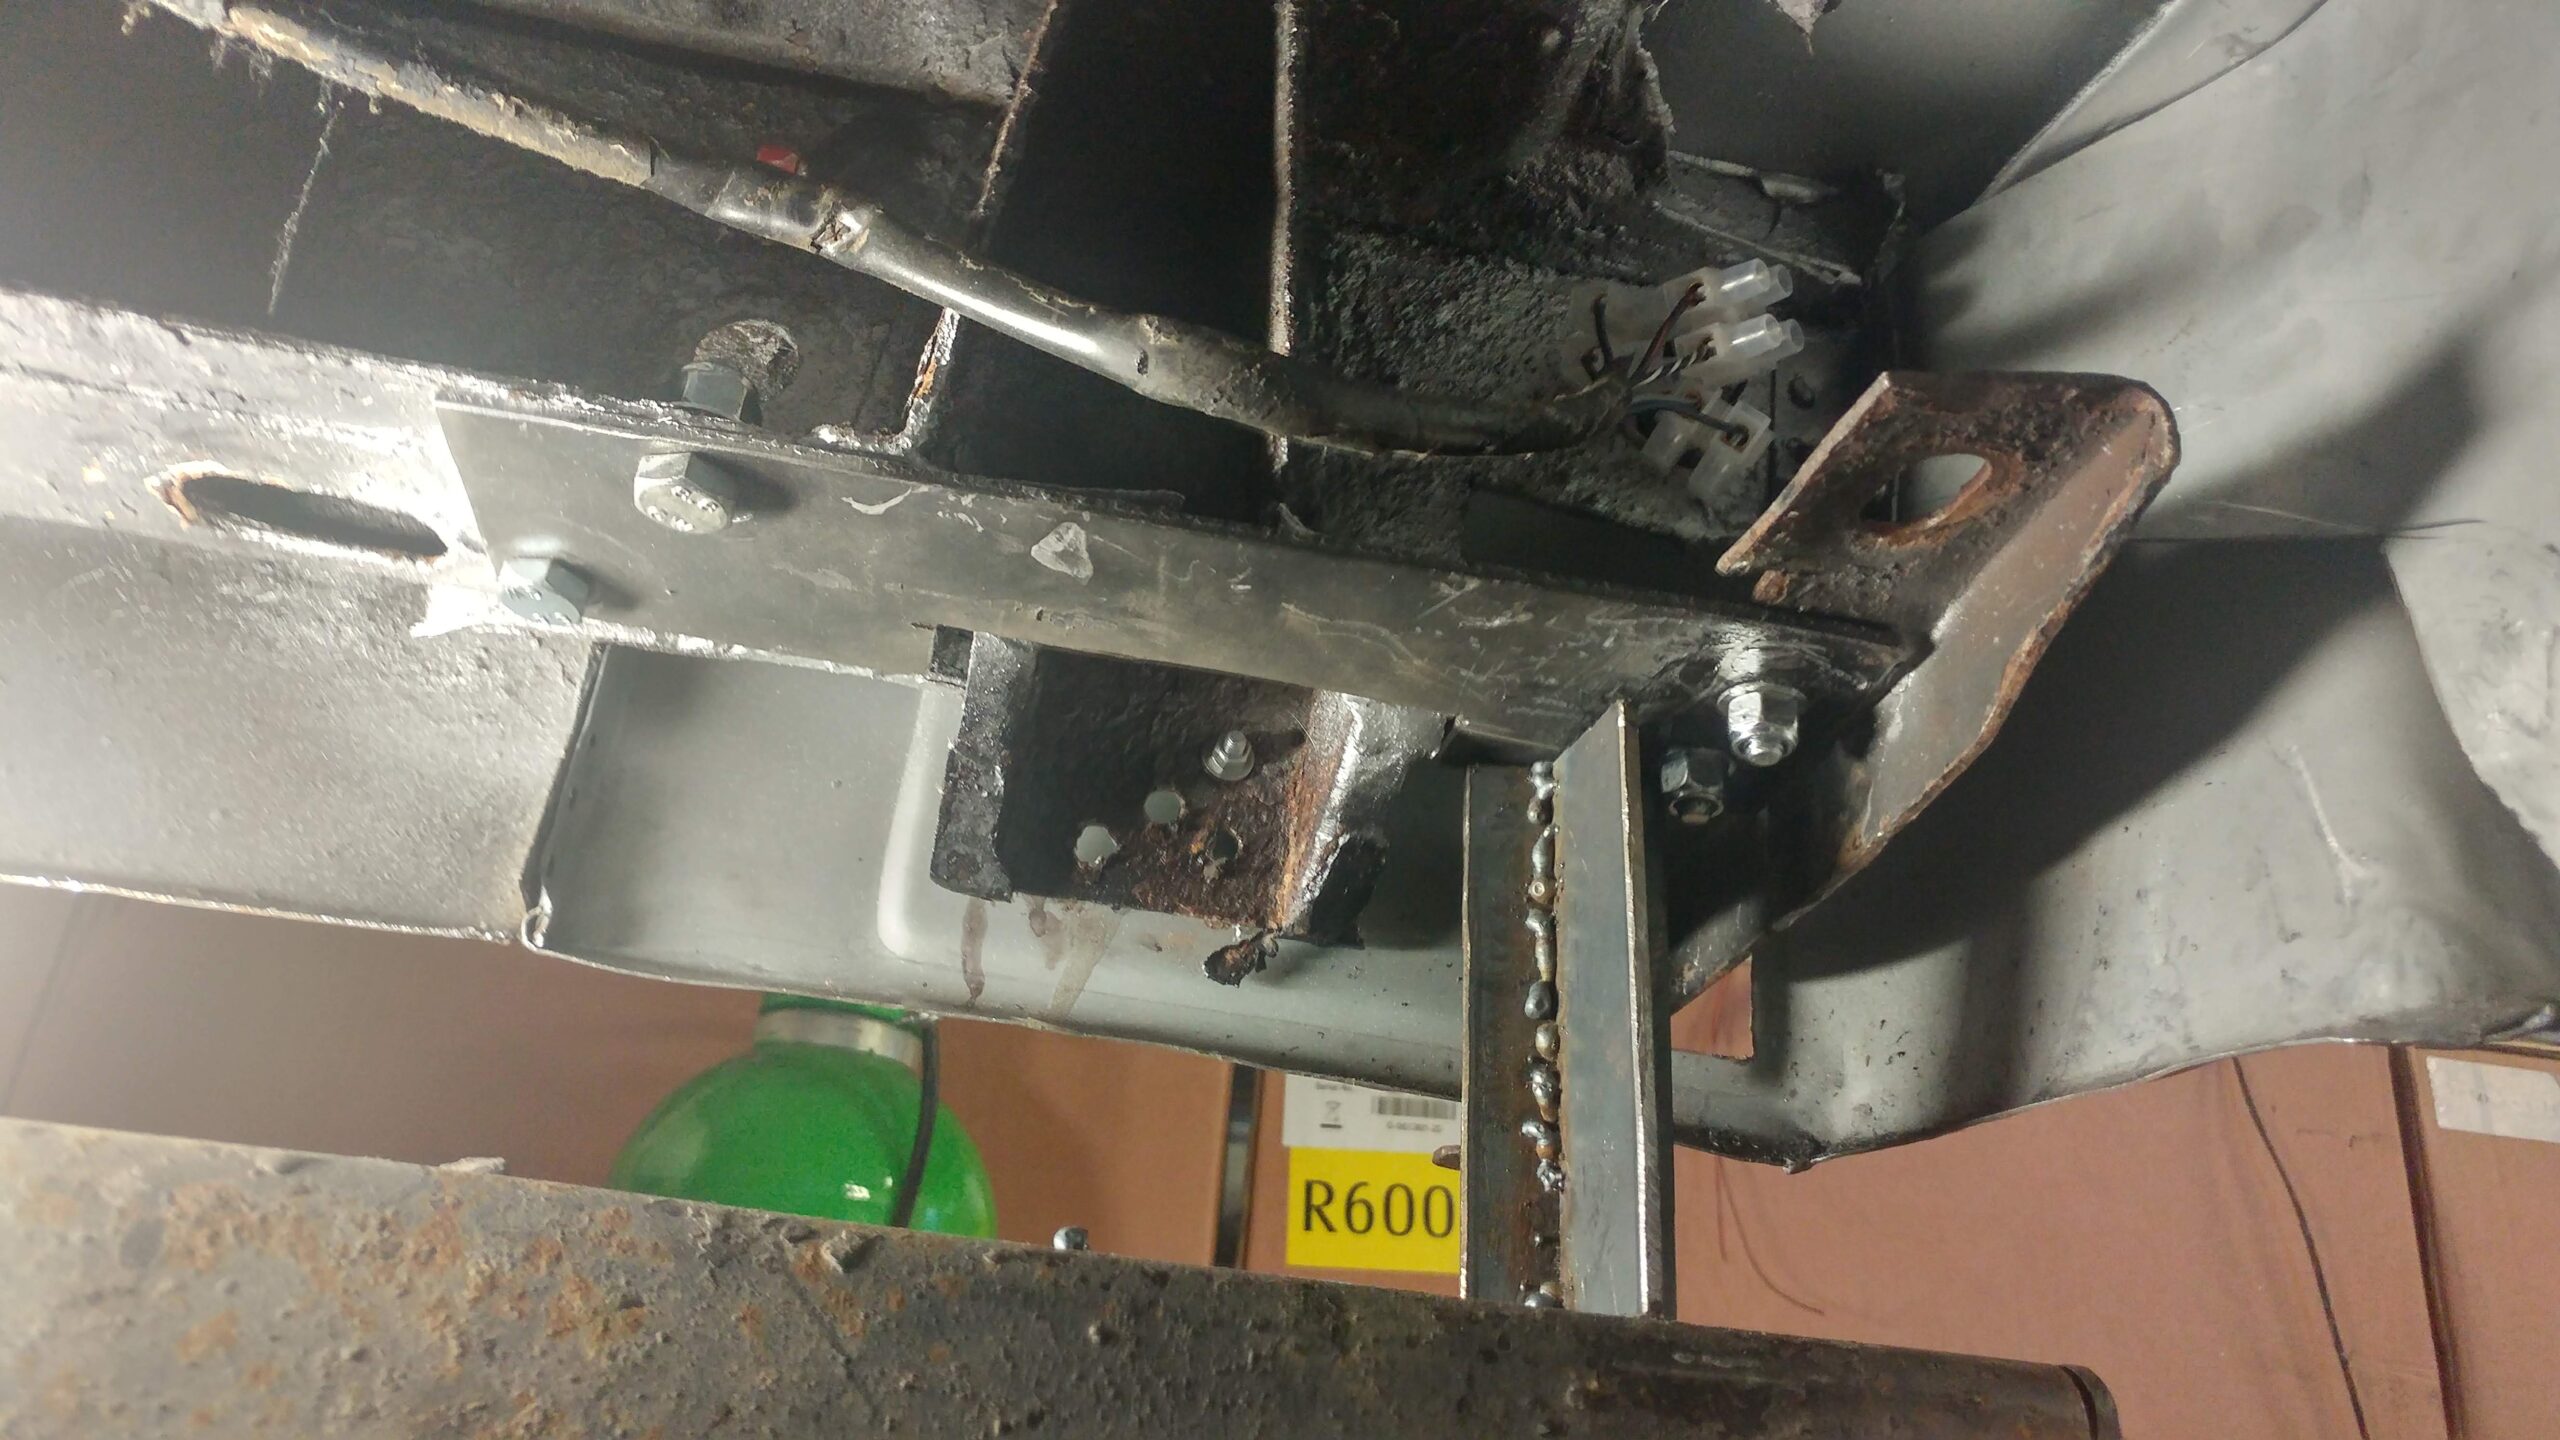
- Decided a vertical support was necessary as this will eventually hold a custom bumper
-
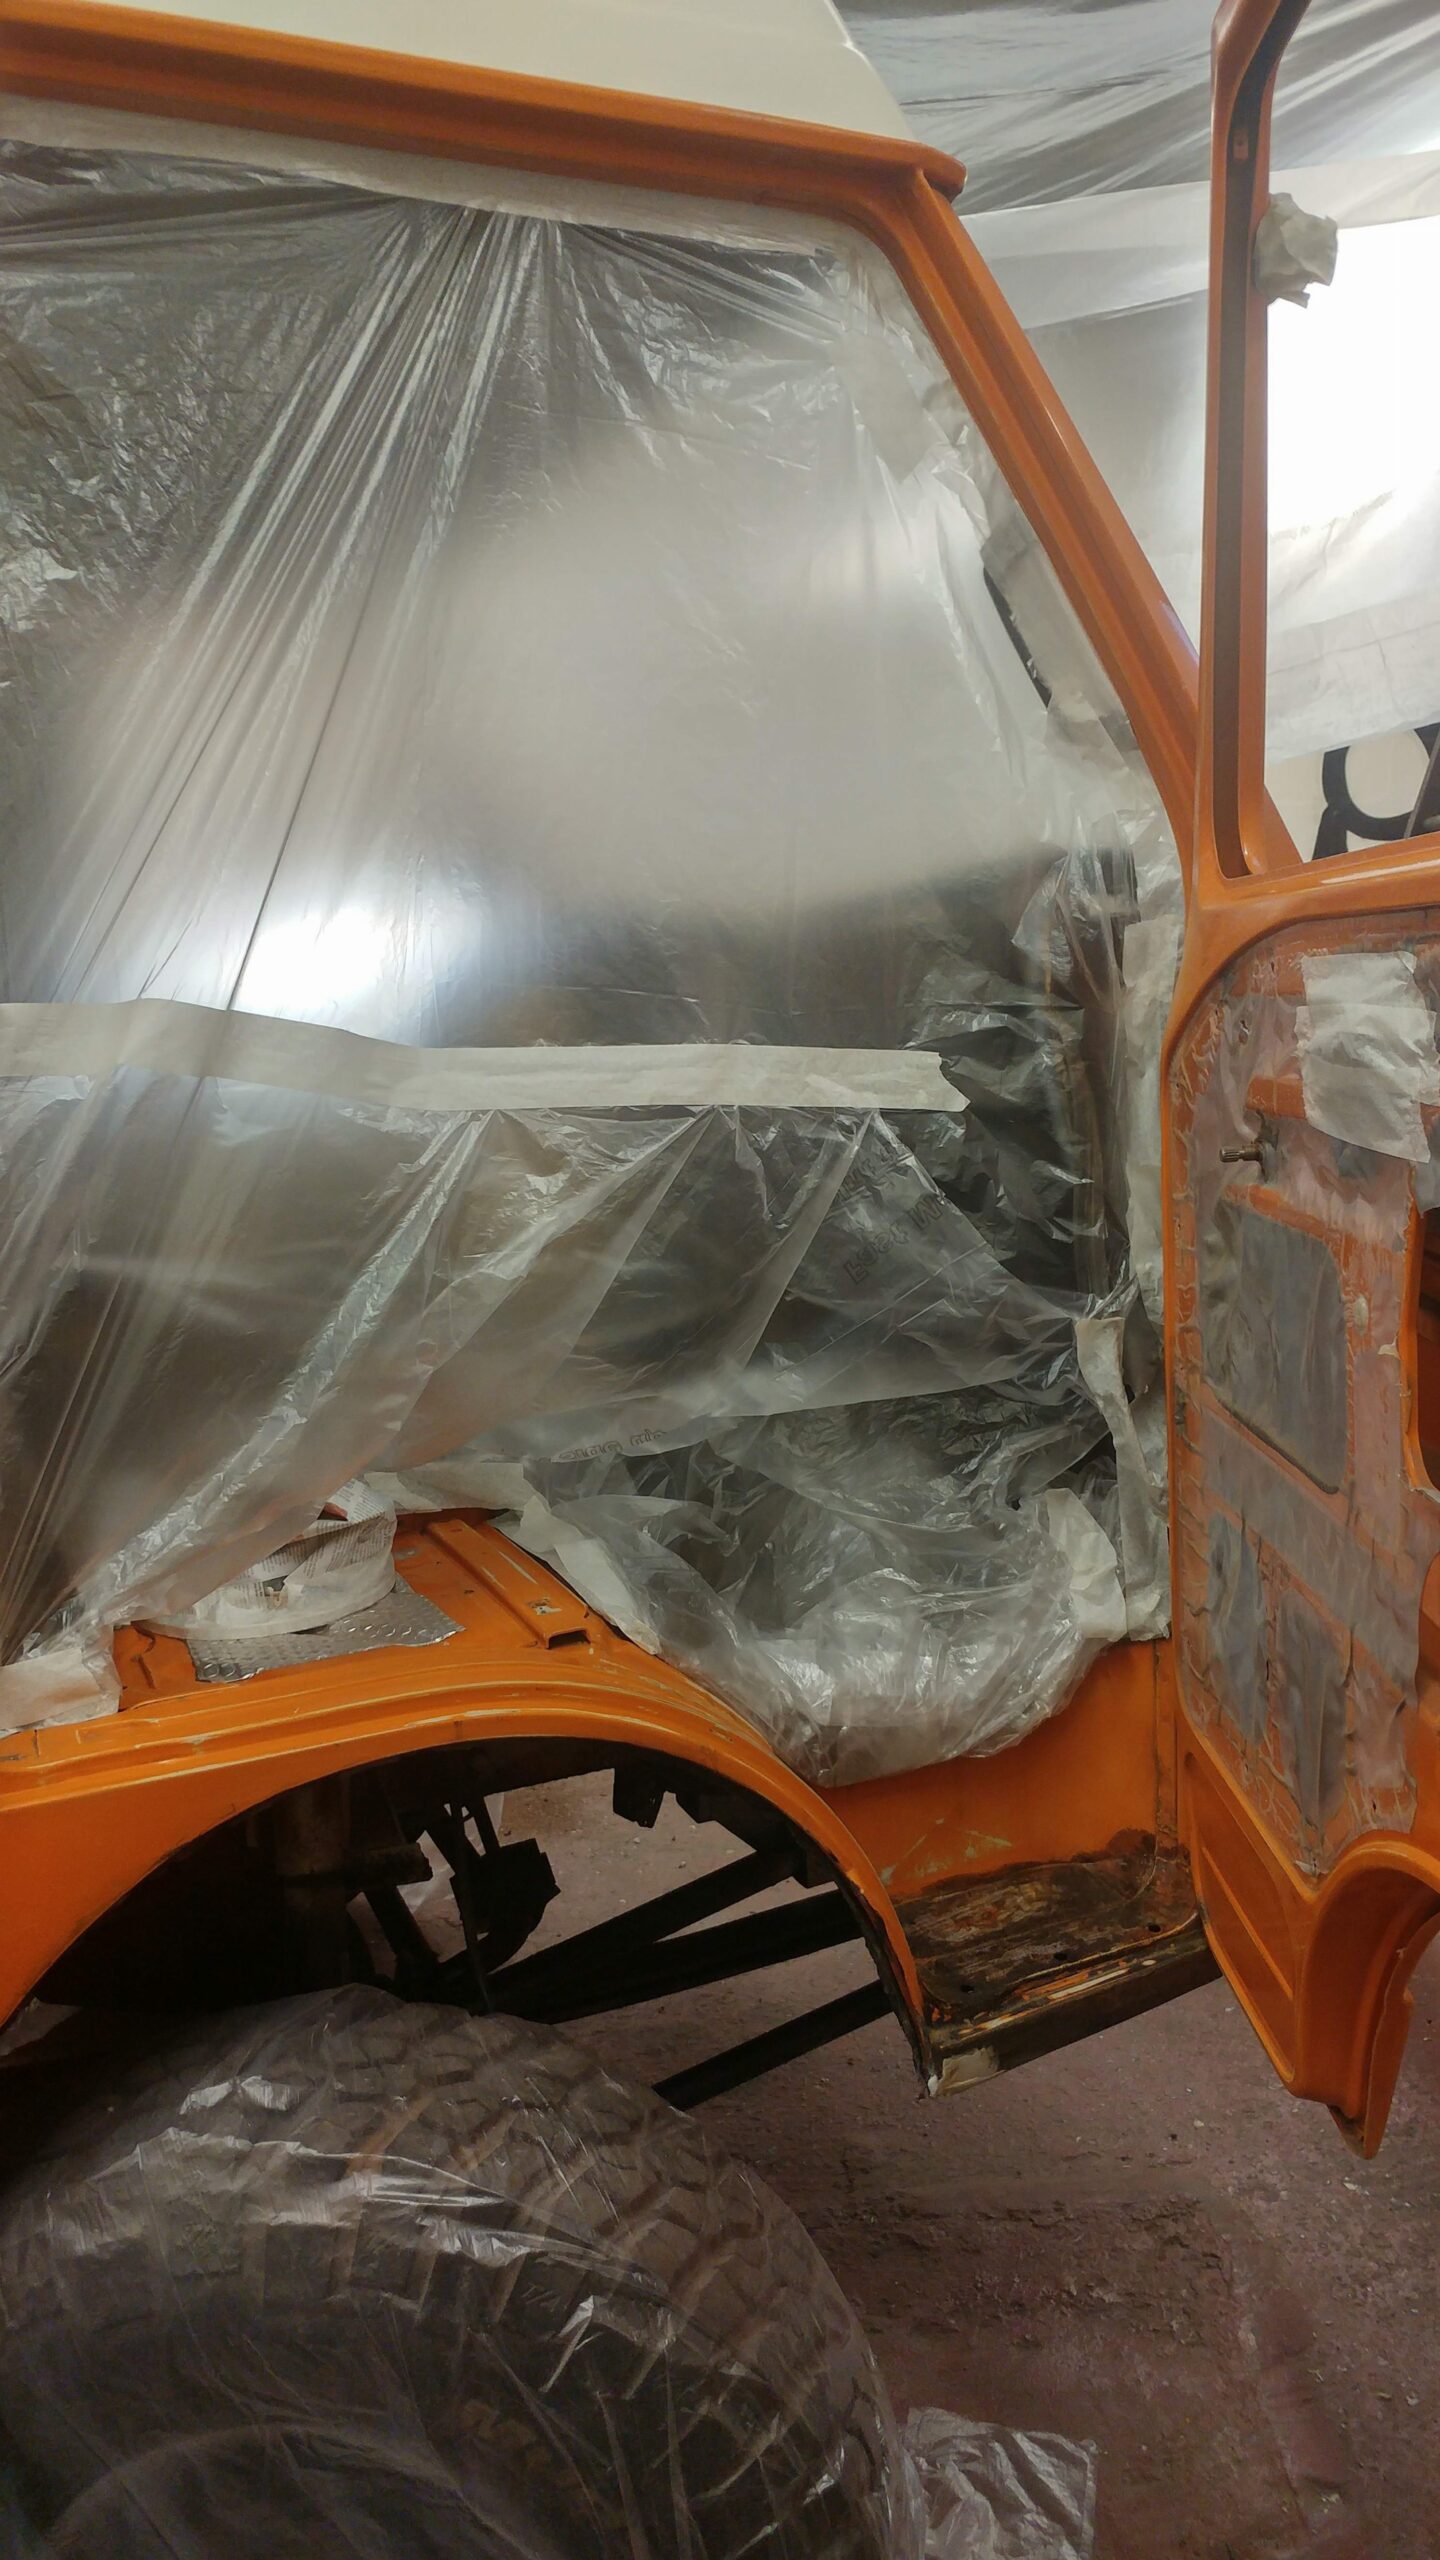
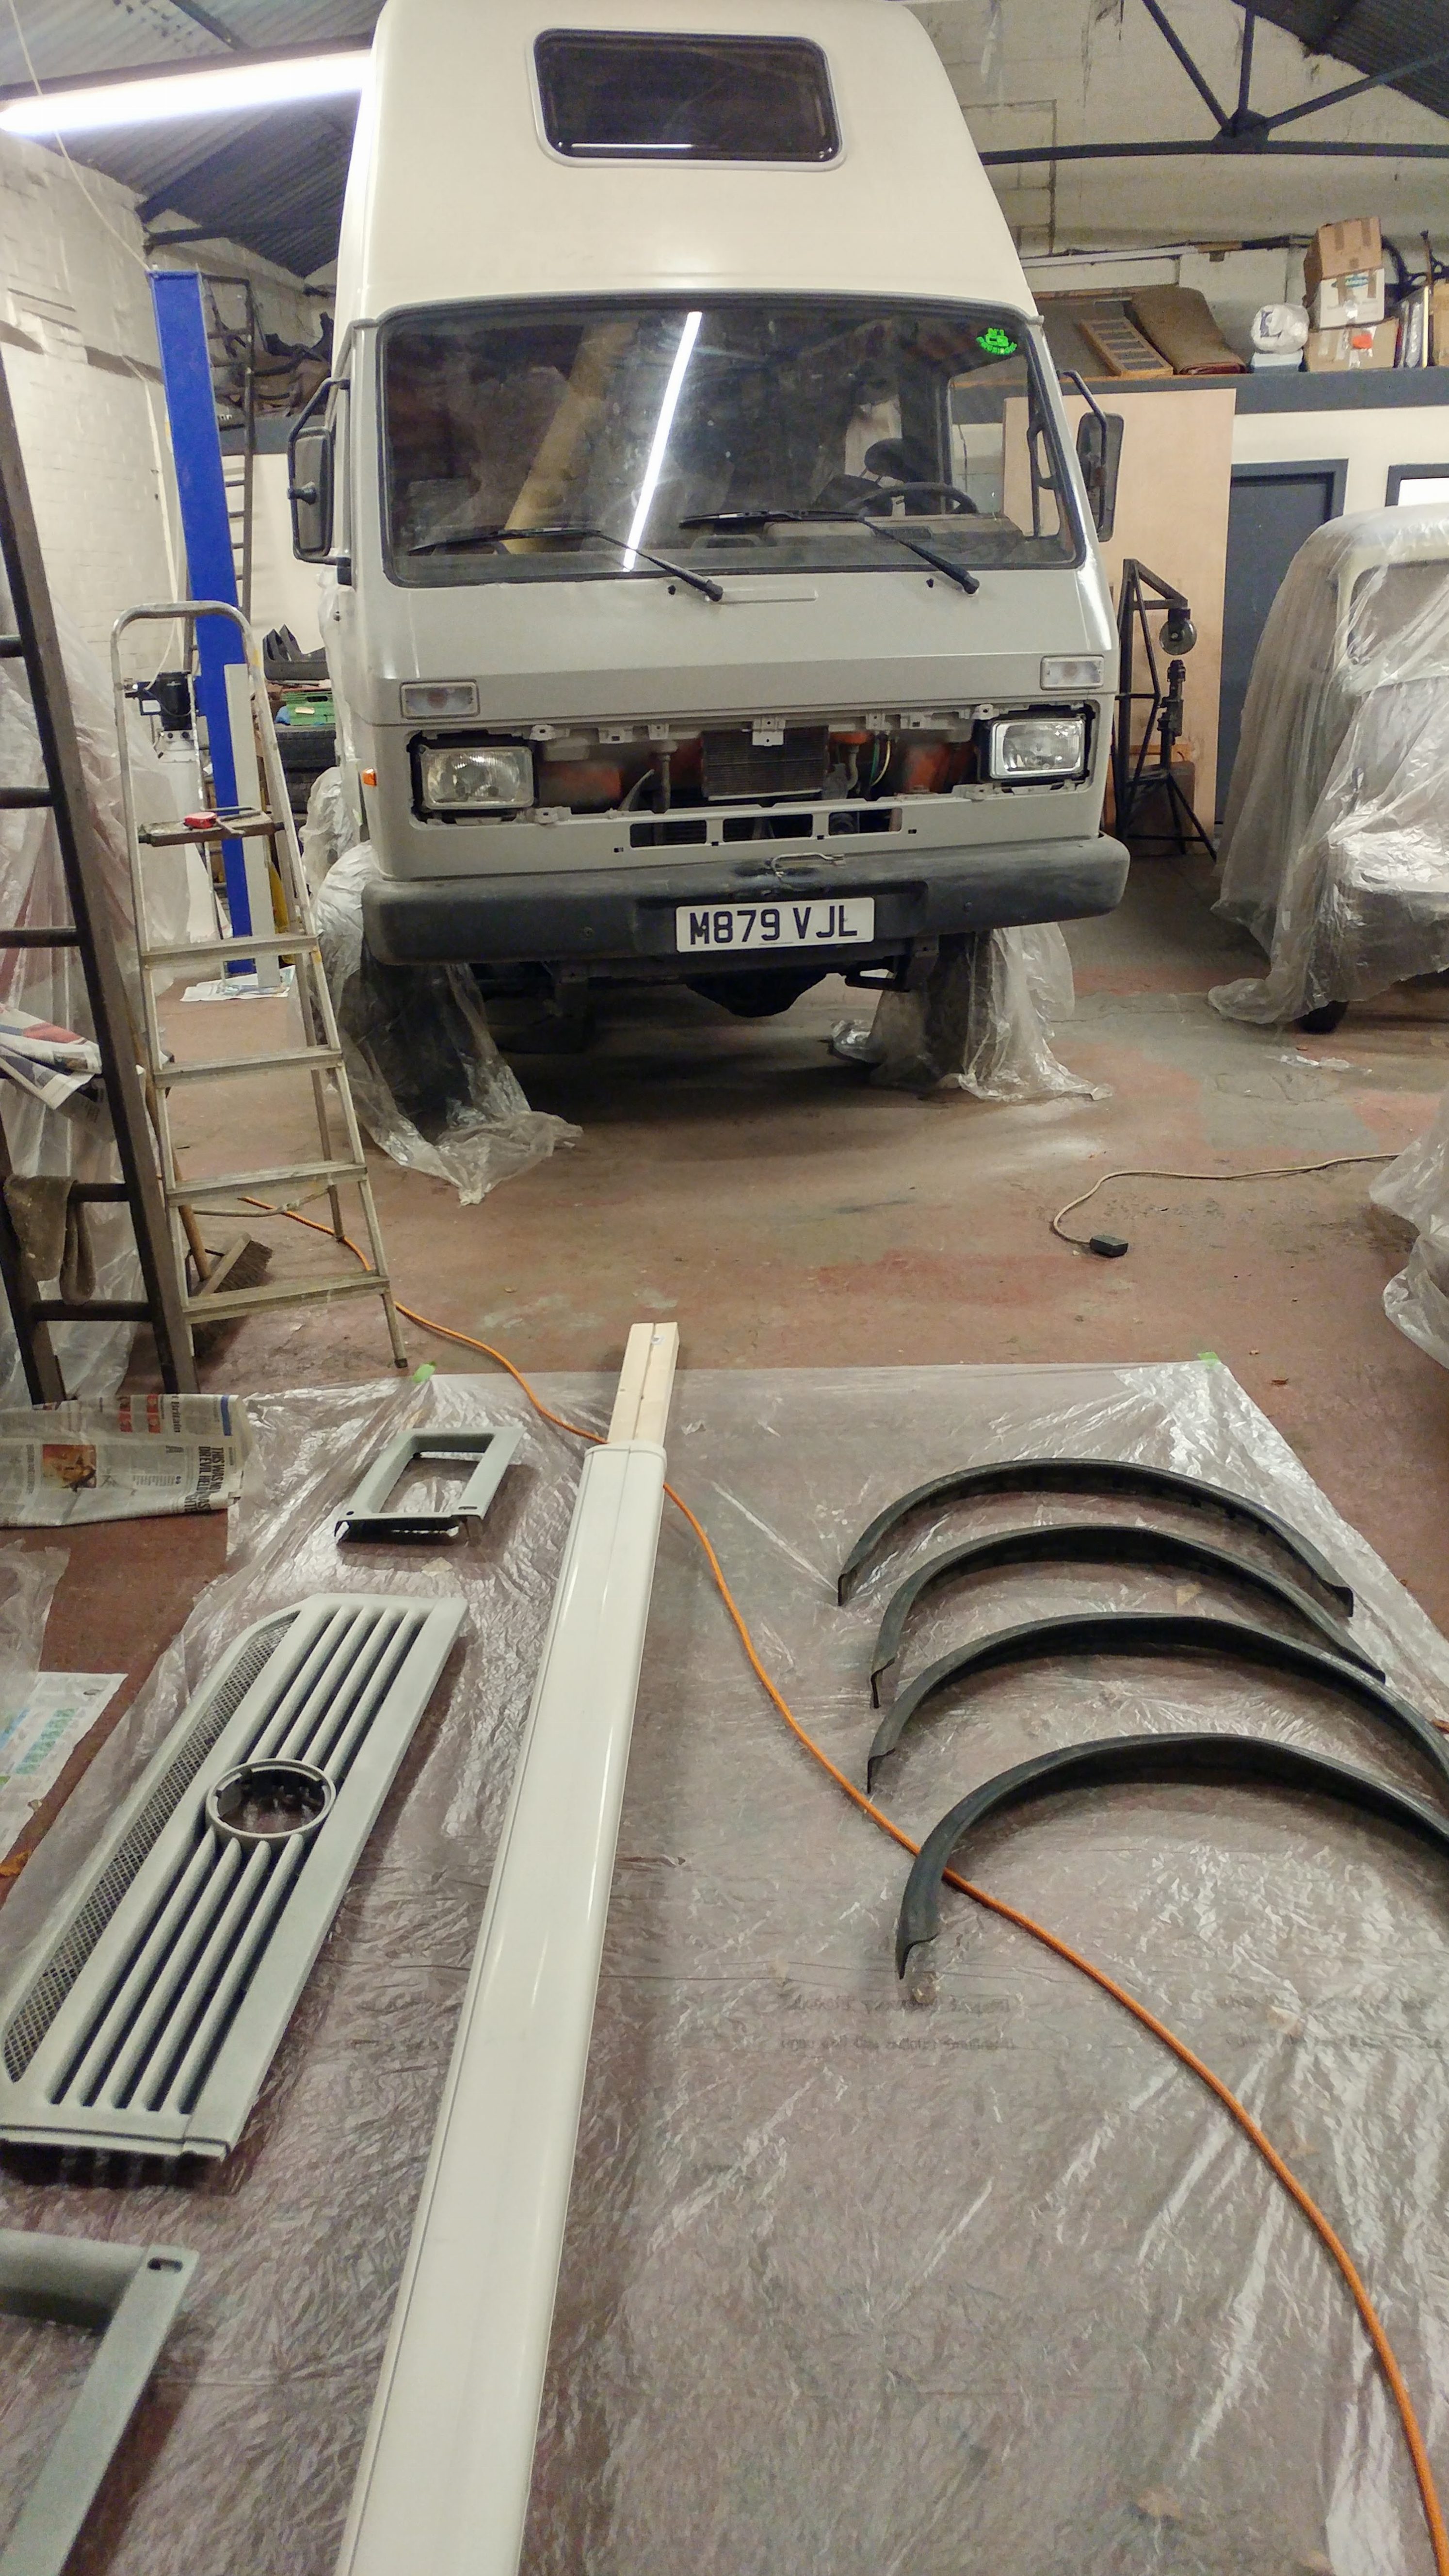
- Sizing up the new front window
-
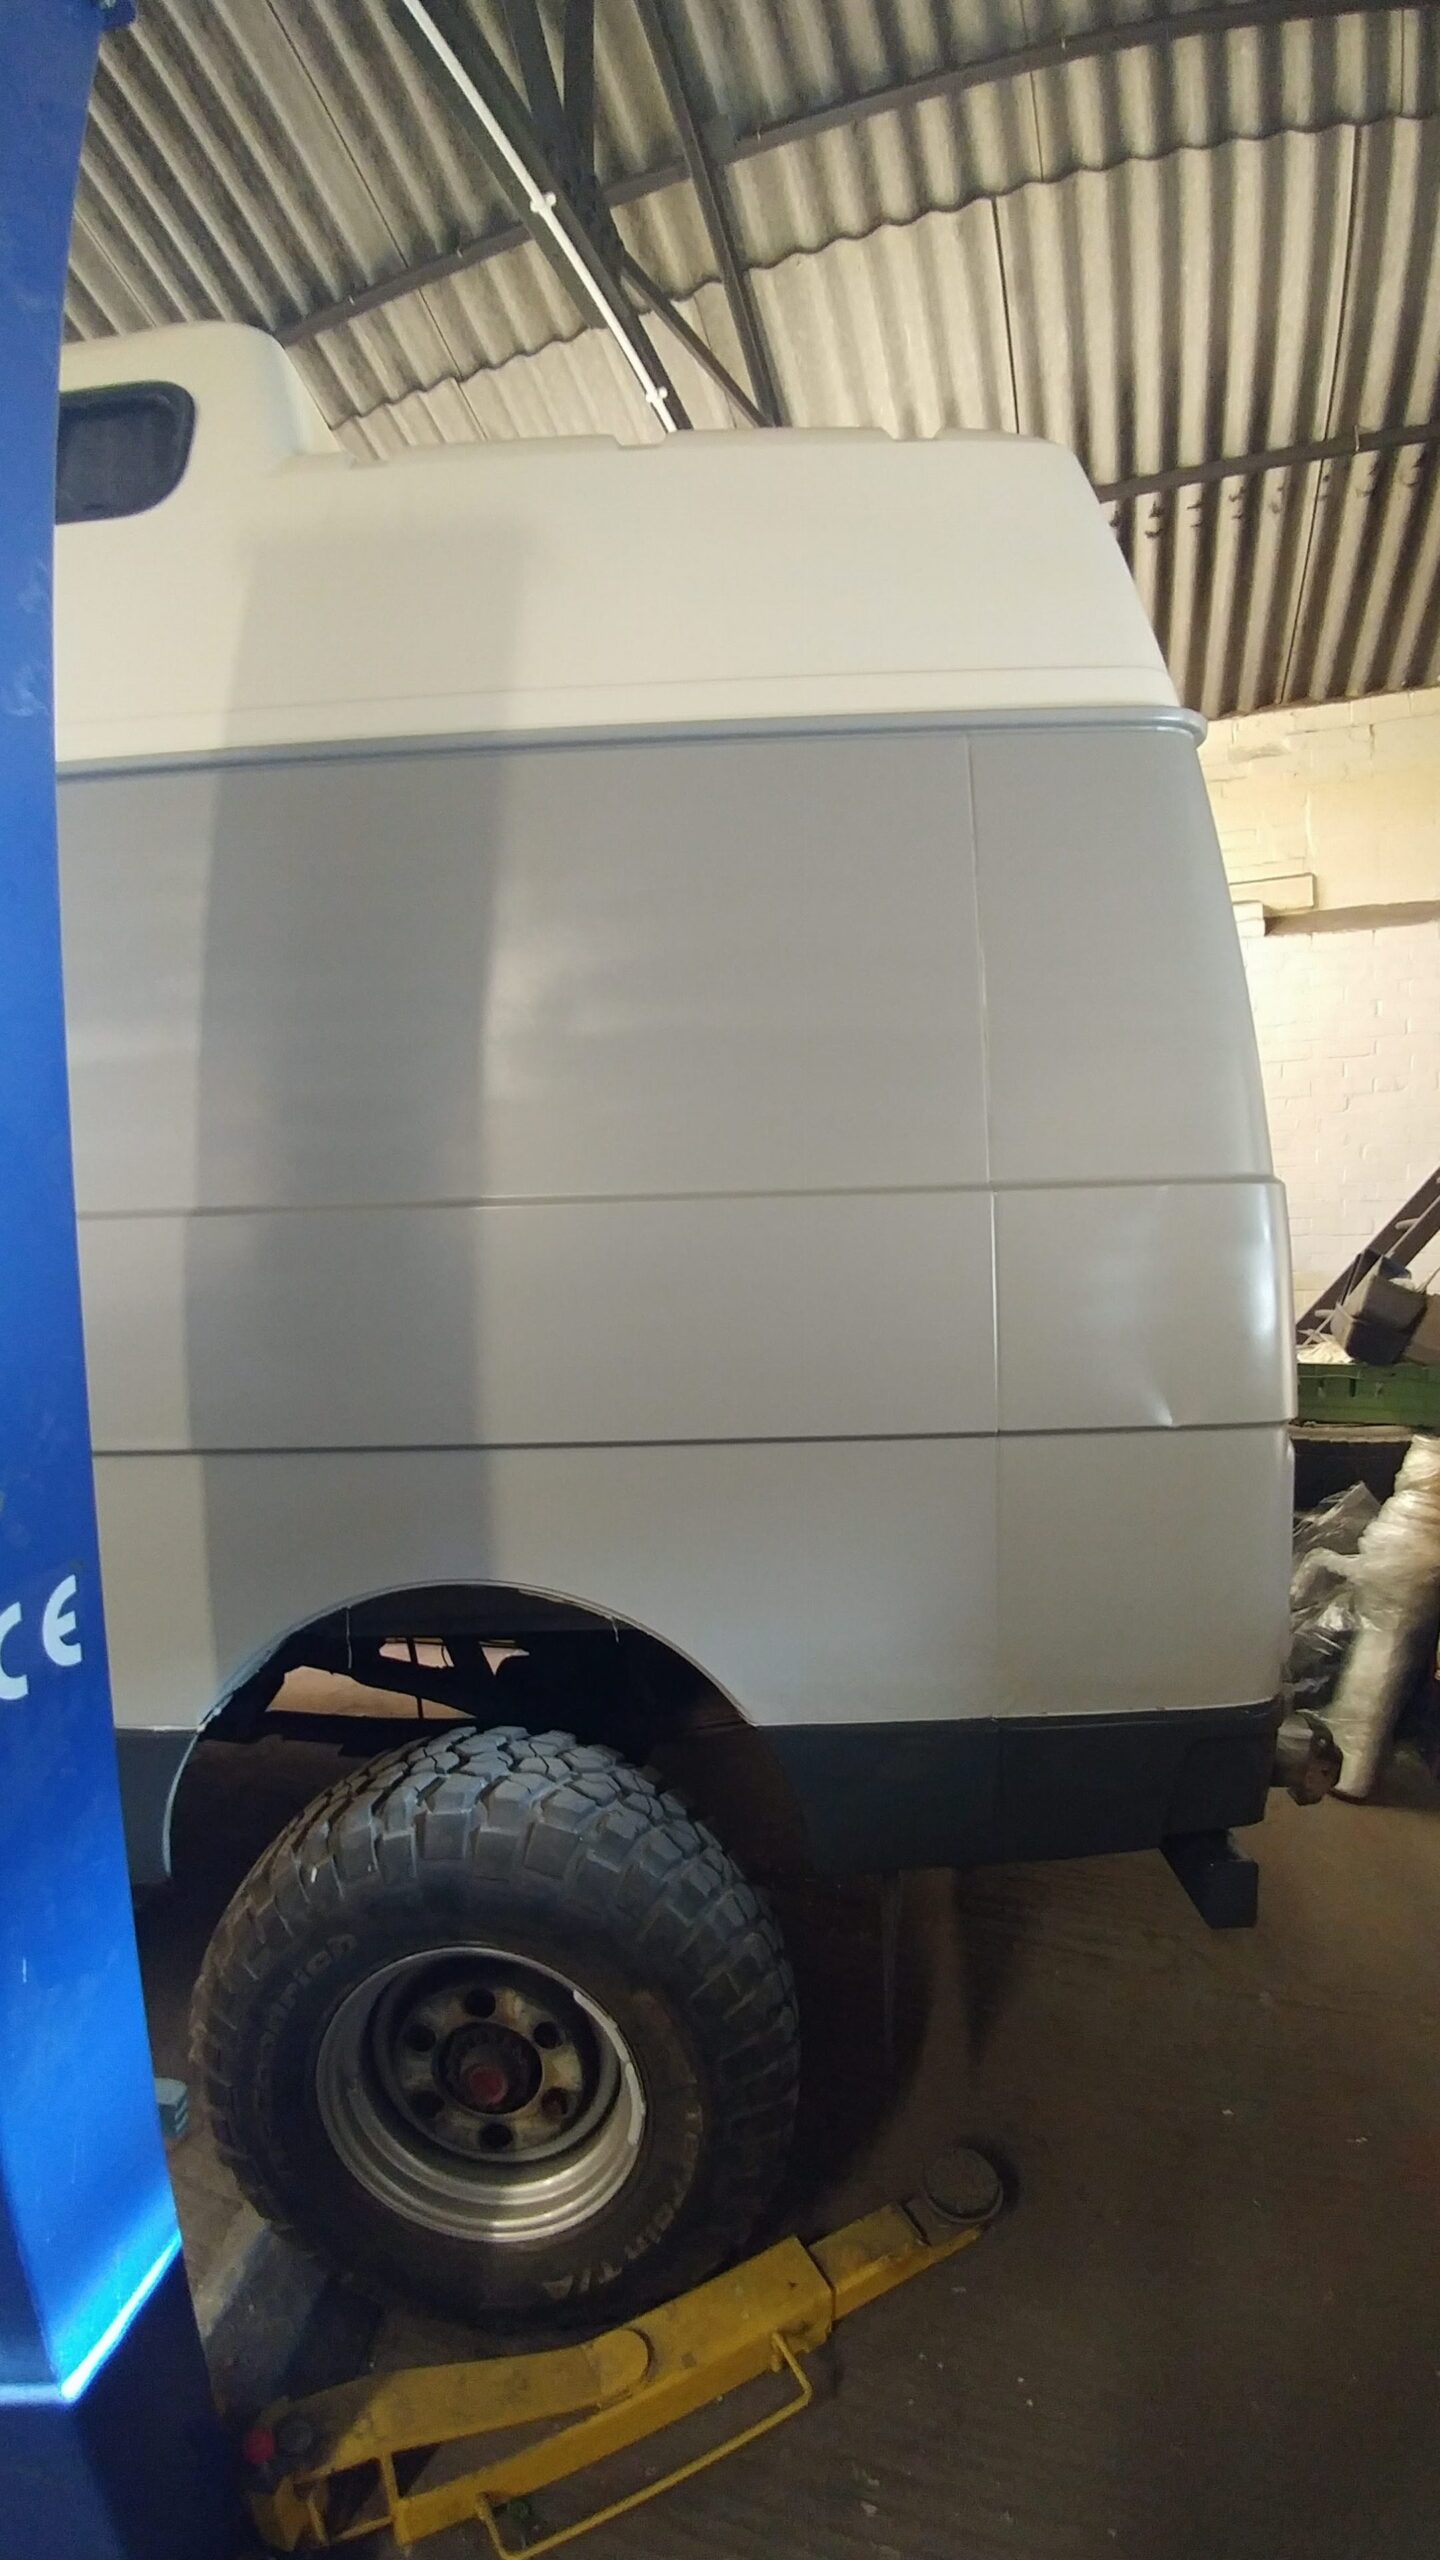
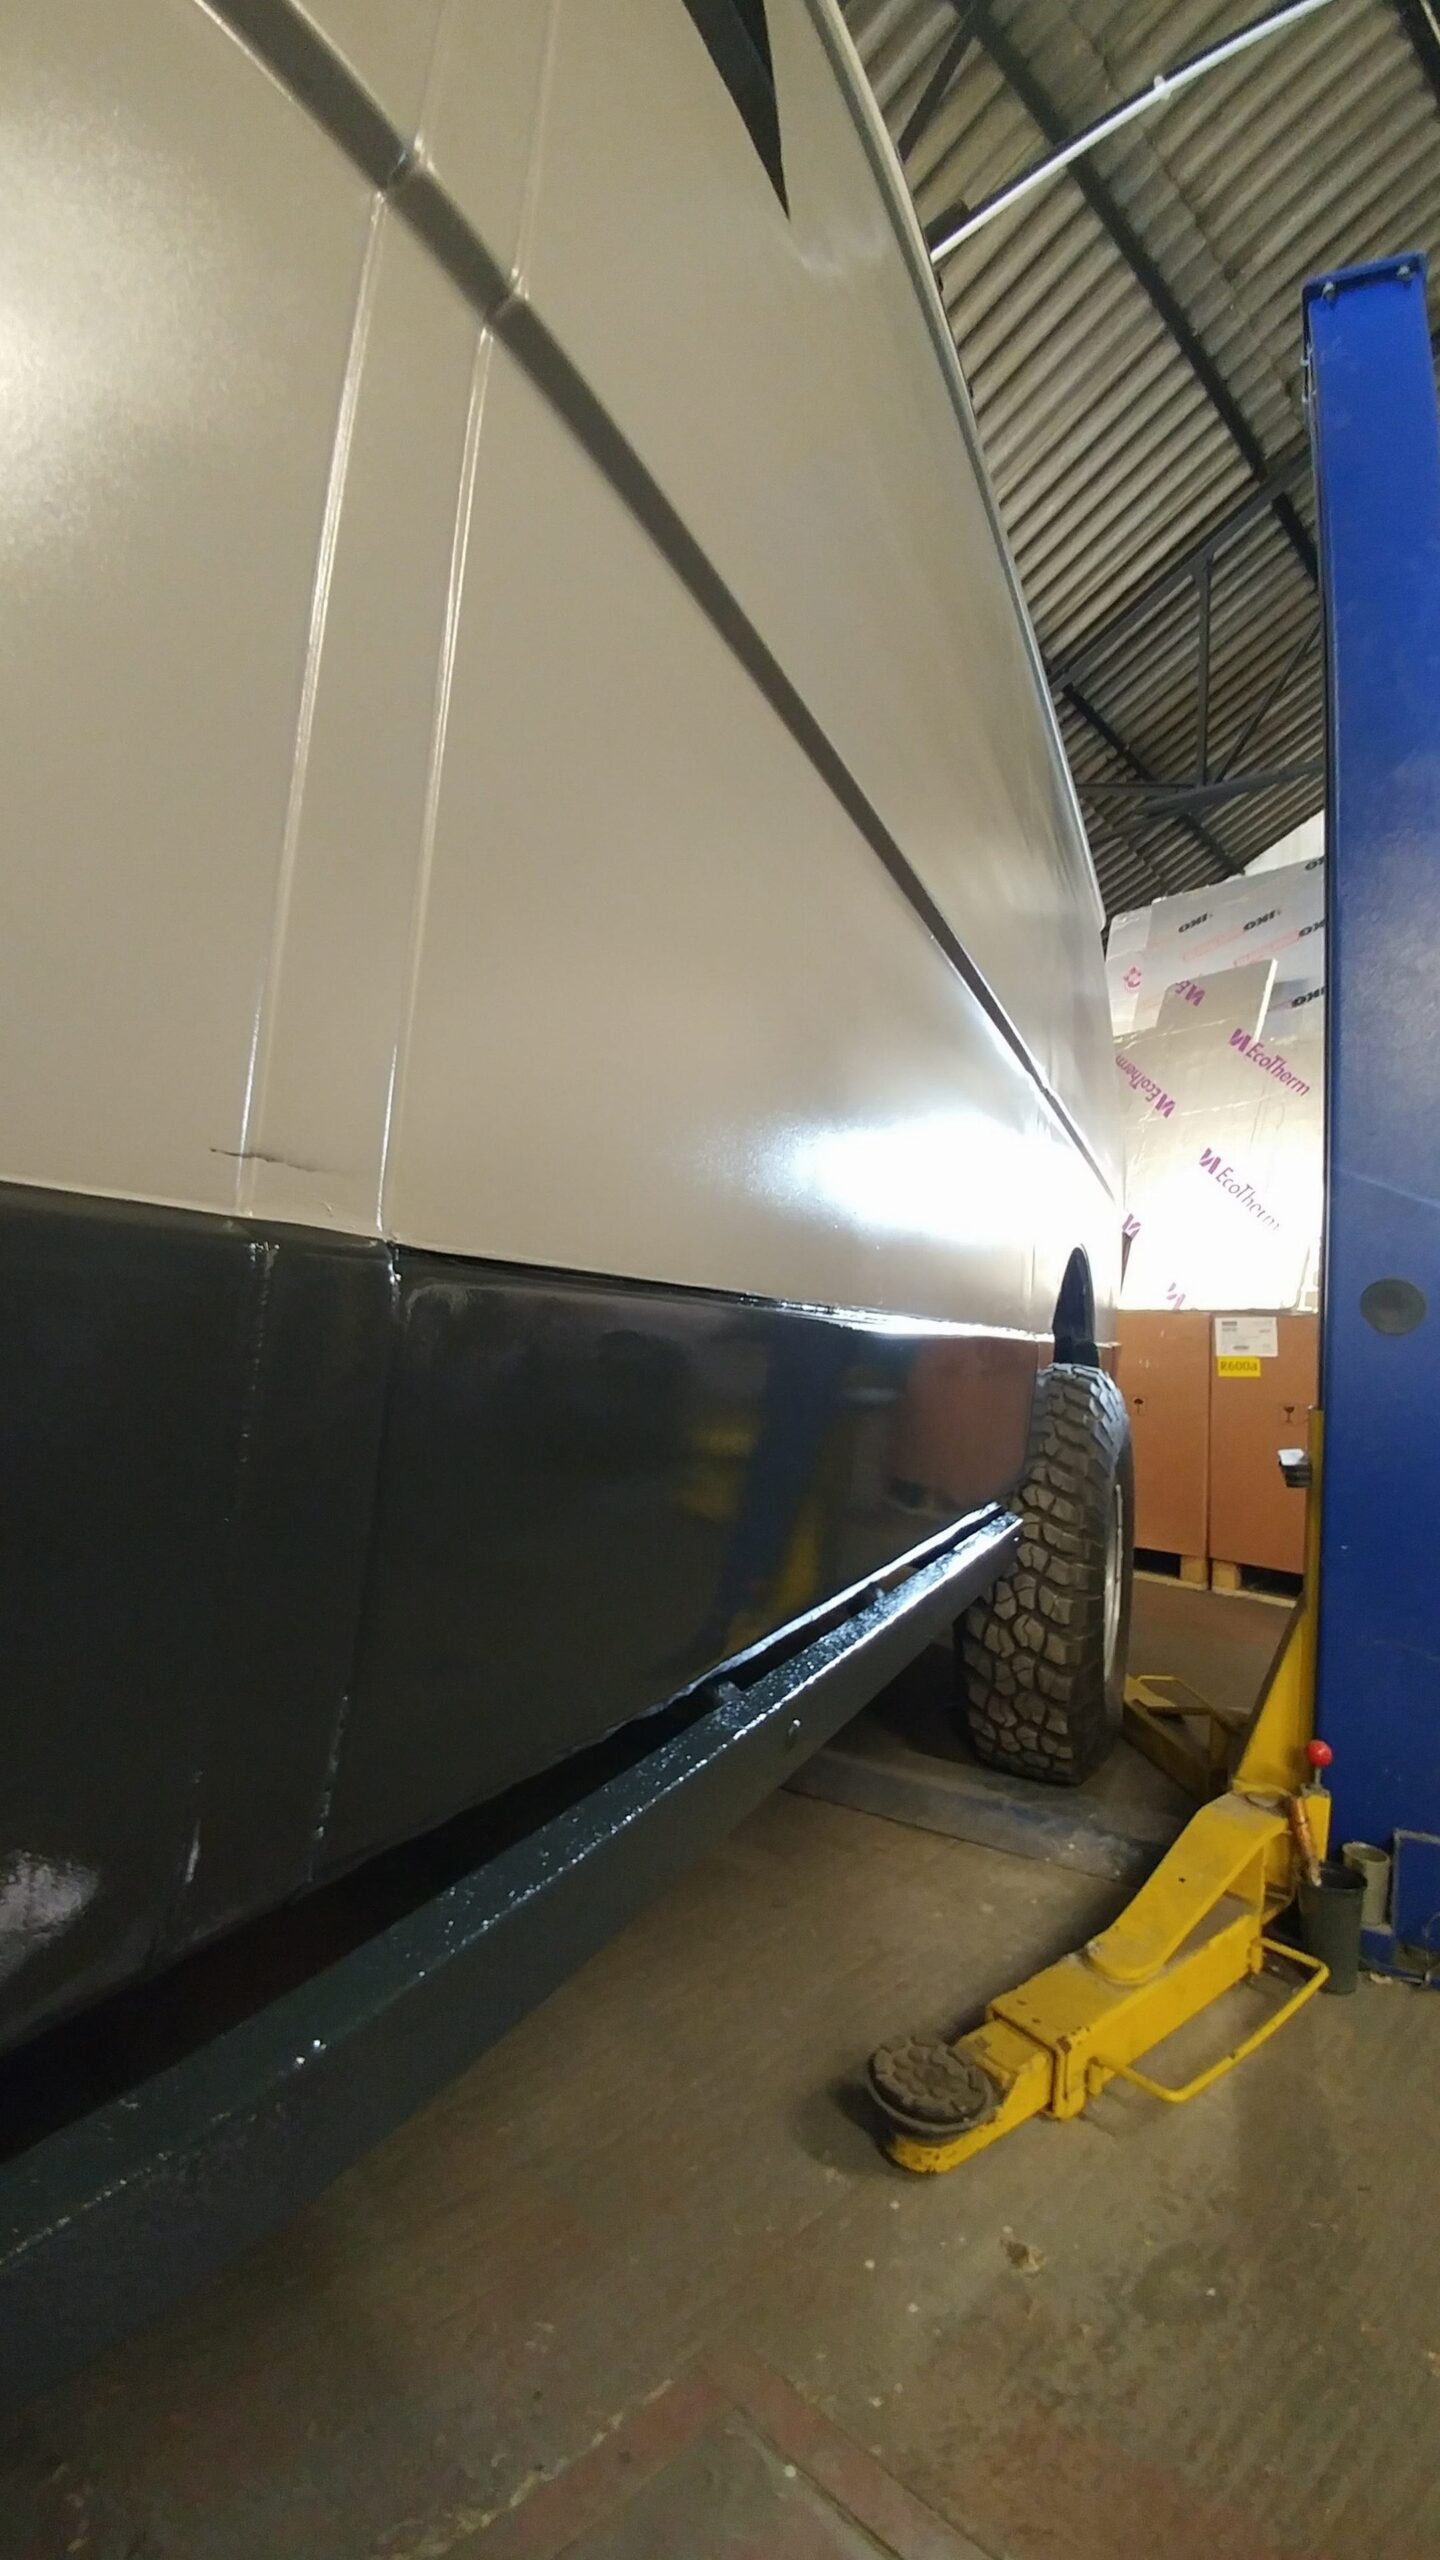
- The rear cleaned and now spray painted with Raptor
-
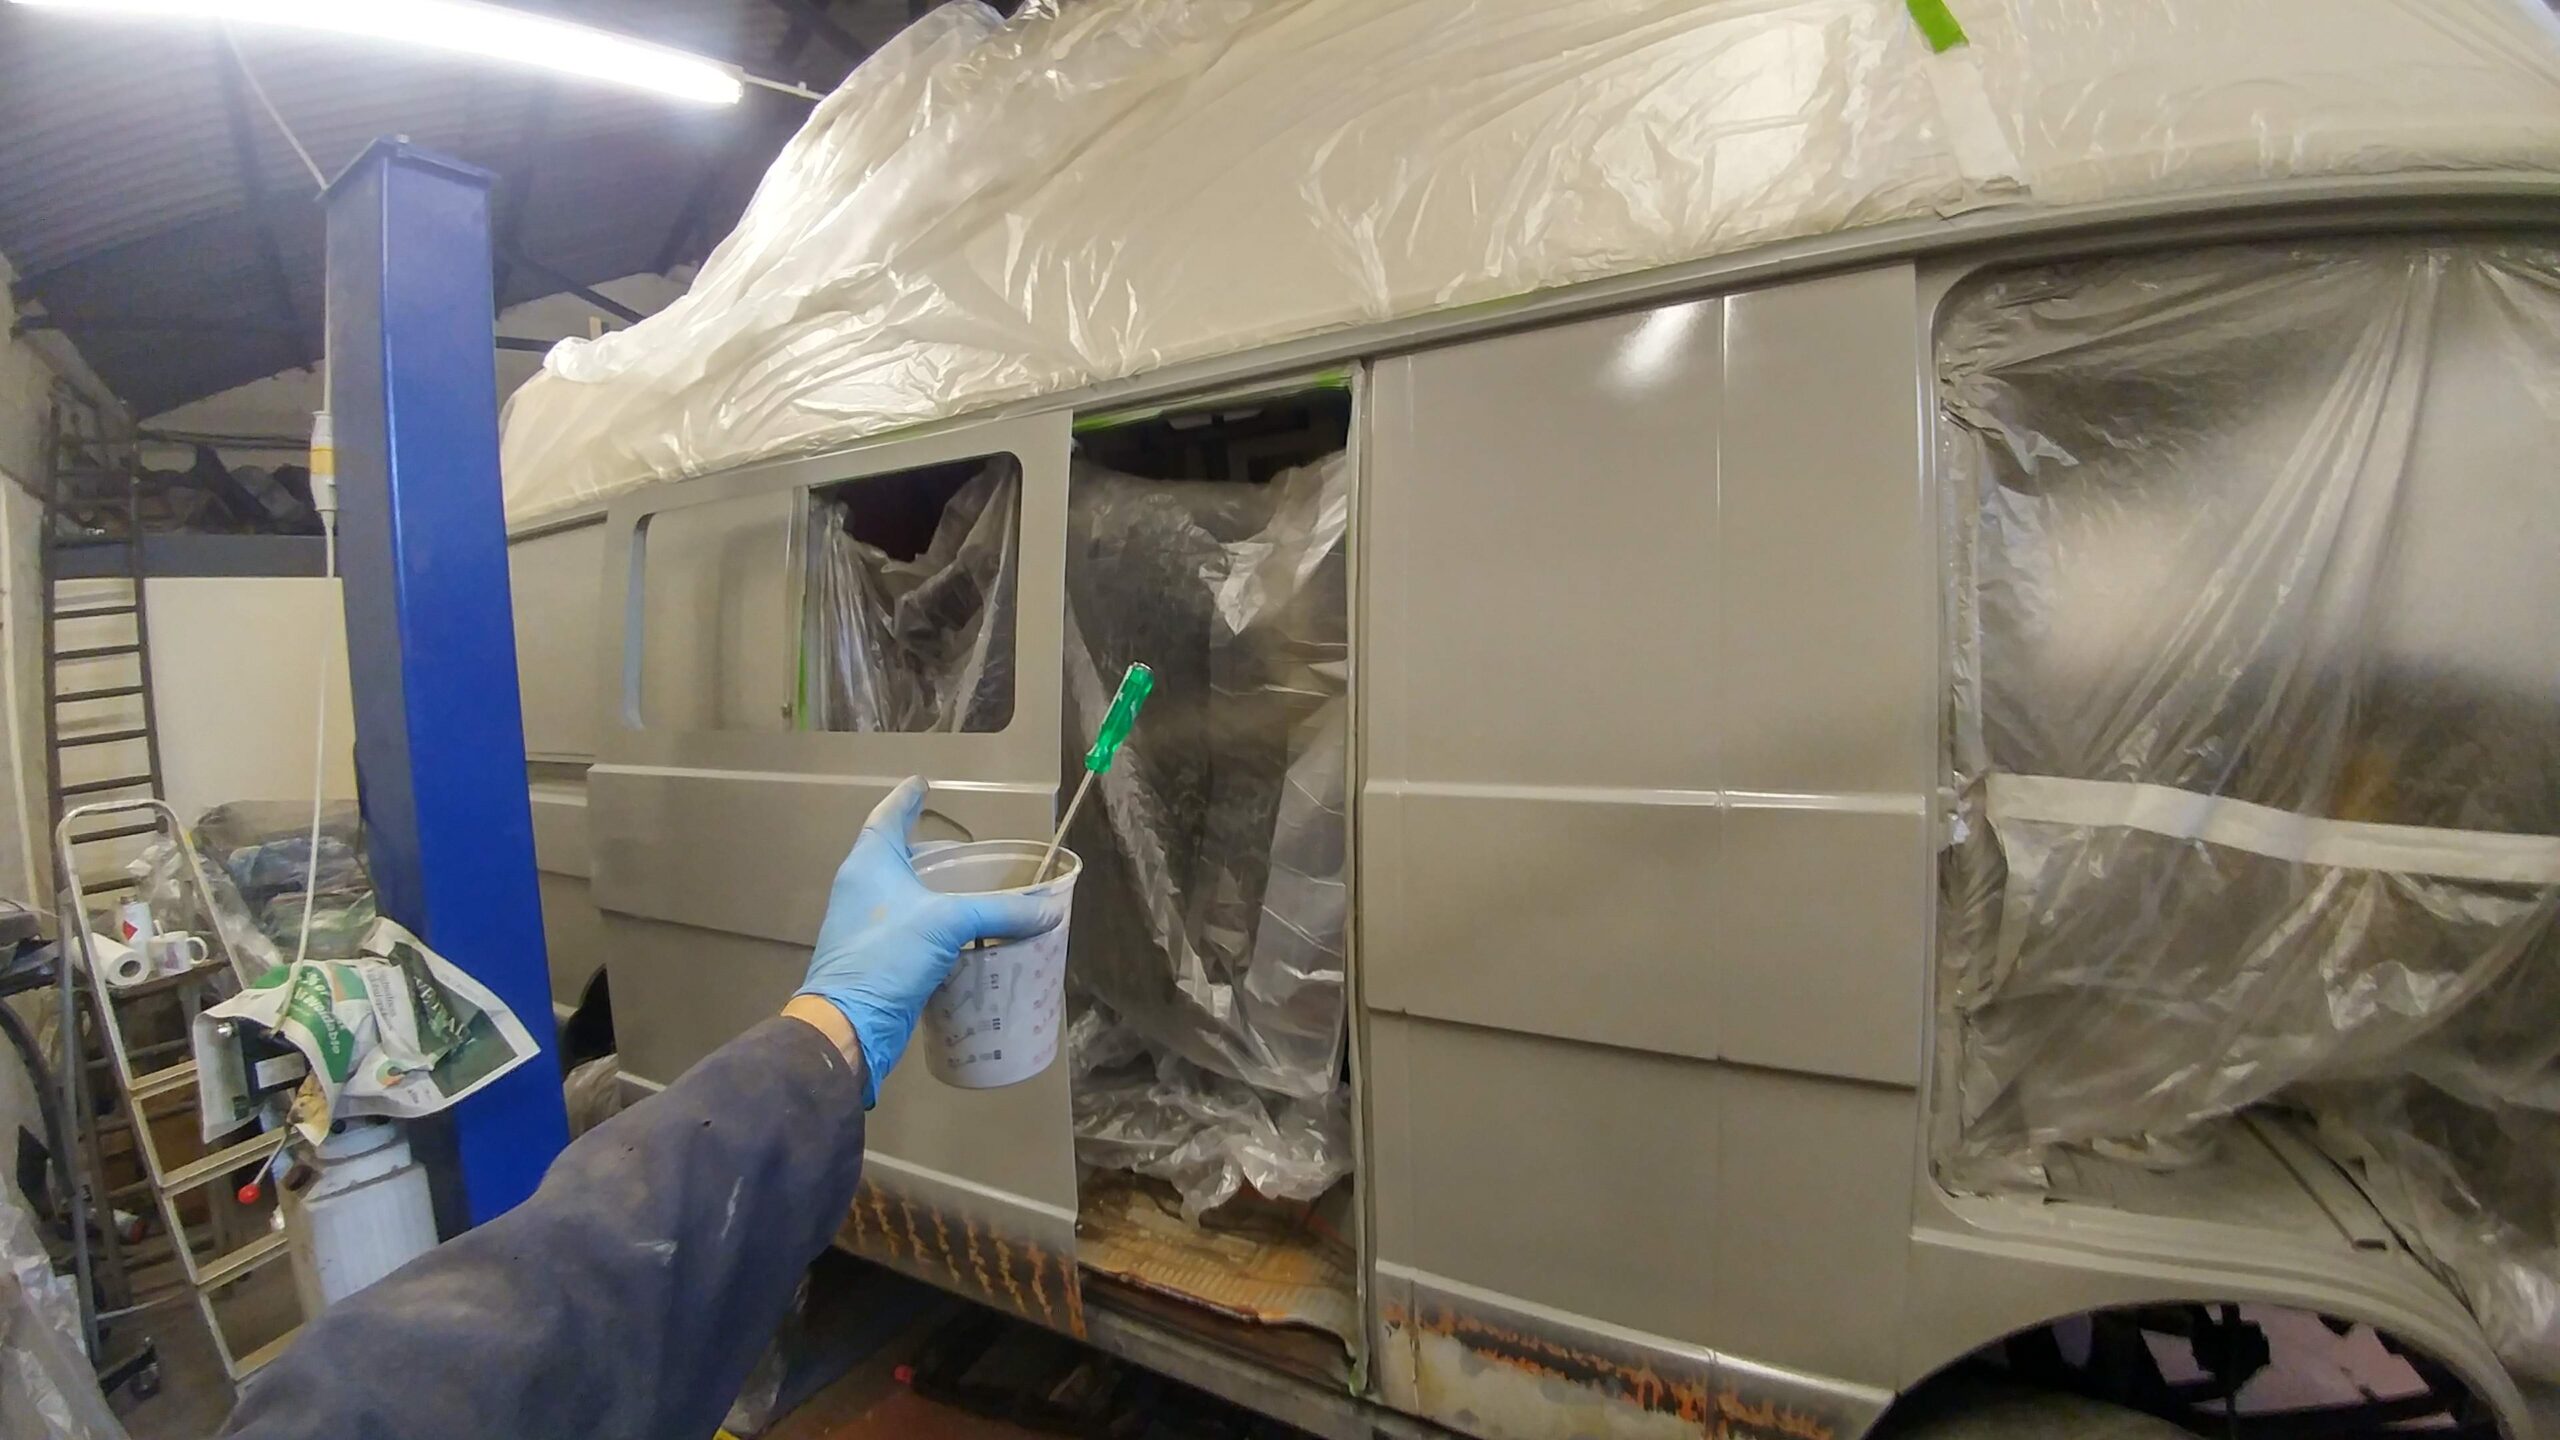
- The Rustoleum Adhesion Aid applied by spray gun
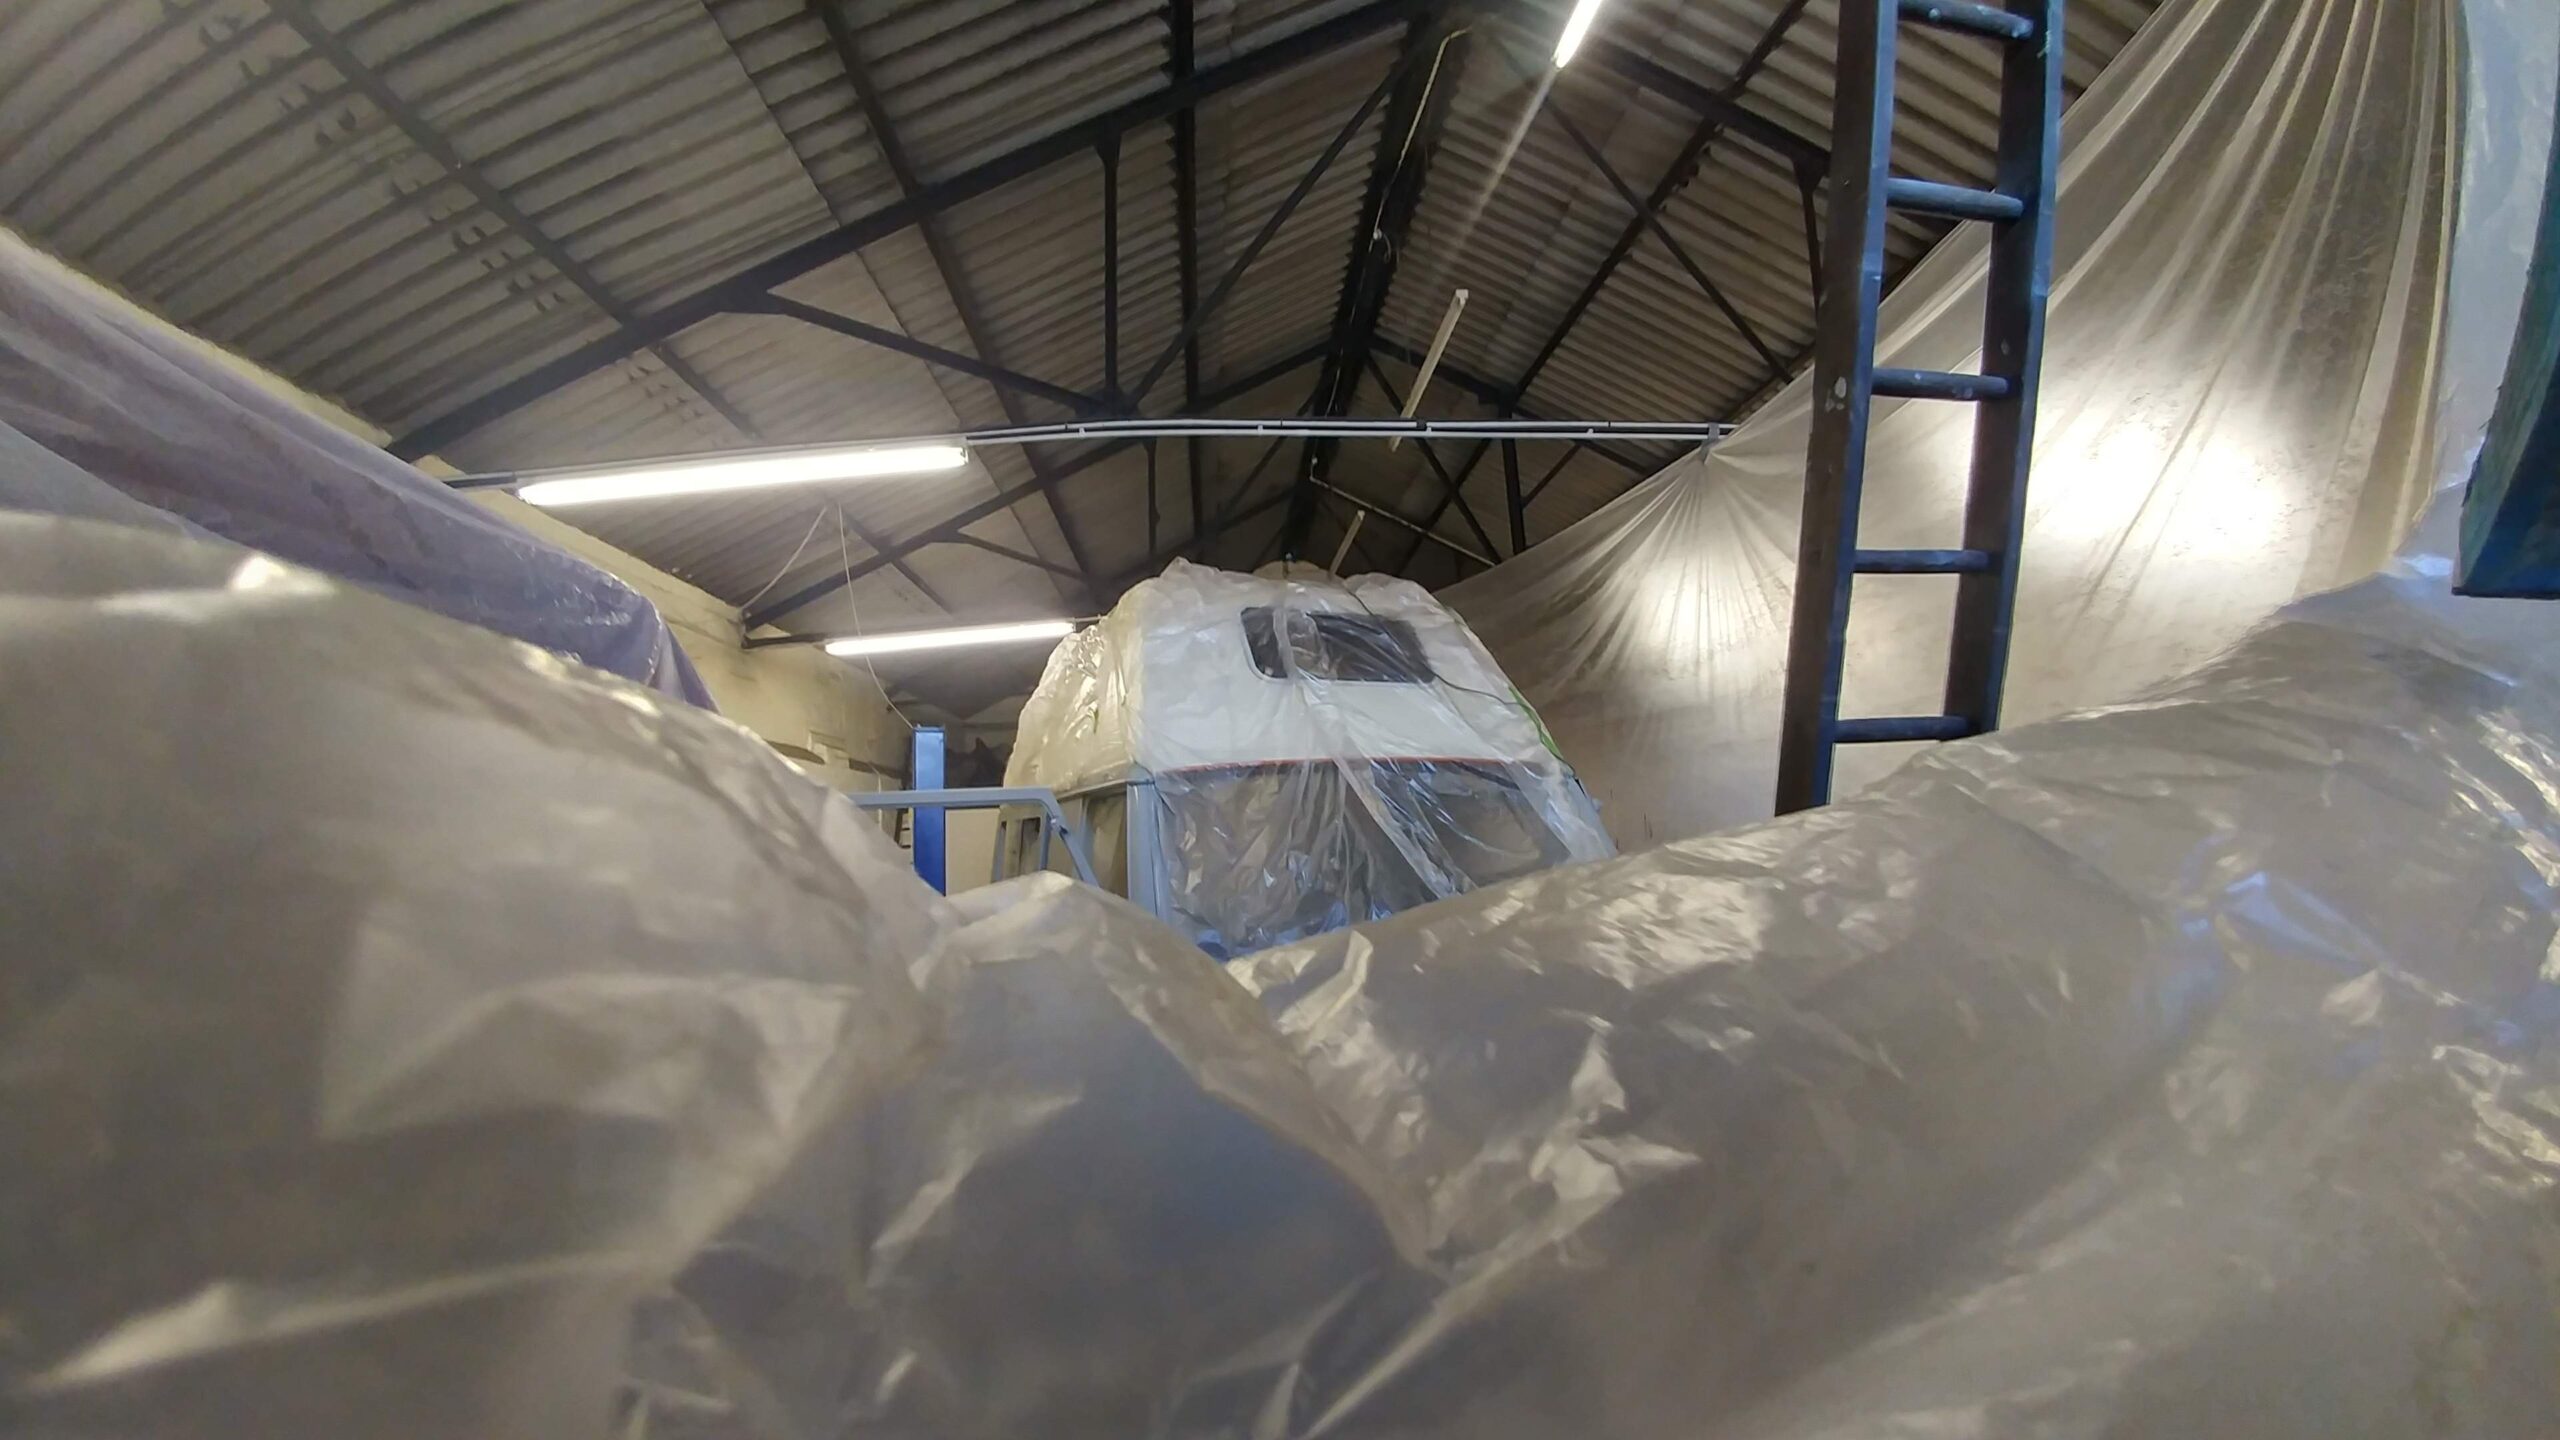
Then it’s time to get Walt ready to finally get that roof painted…
[fve]https://www.youtube.com/watch?v=ziudik2ReL4[/fve]
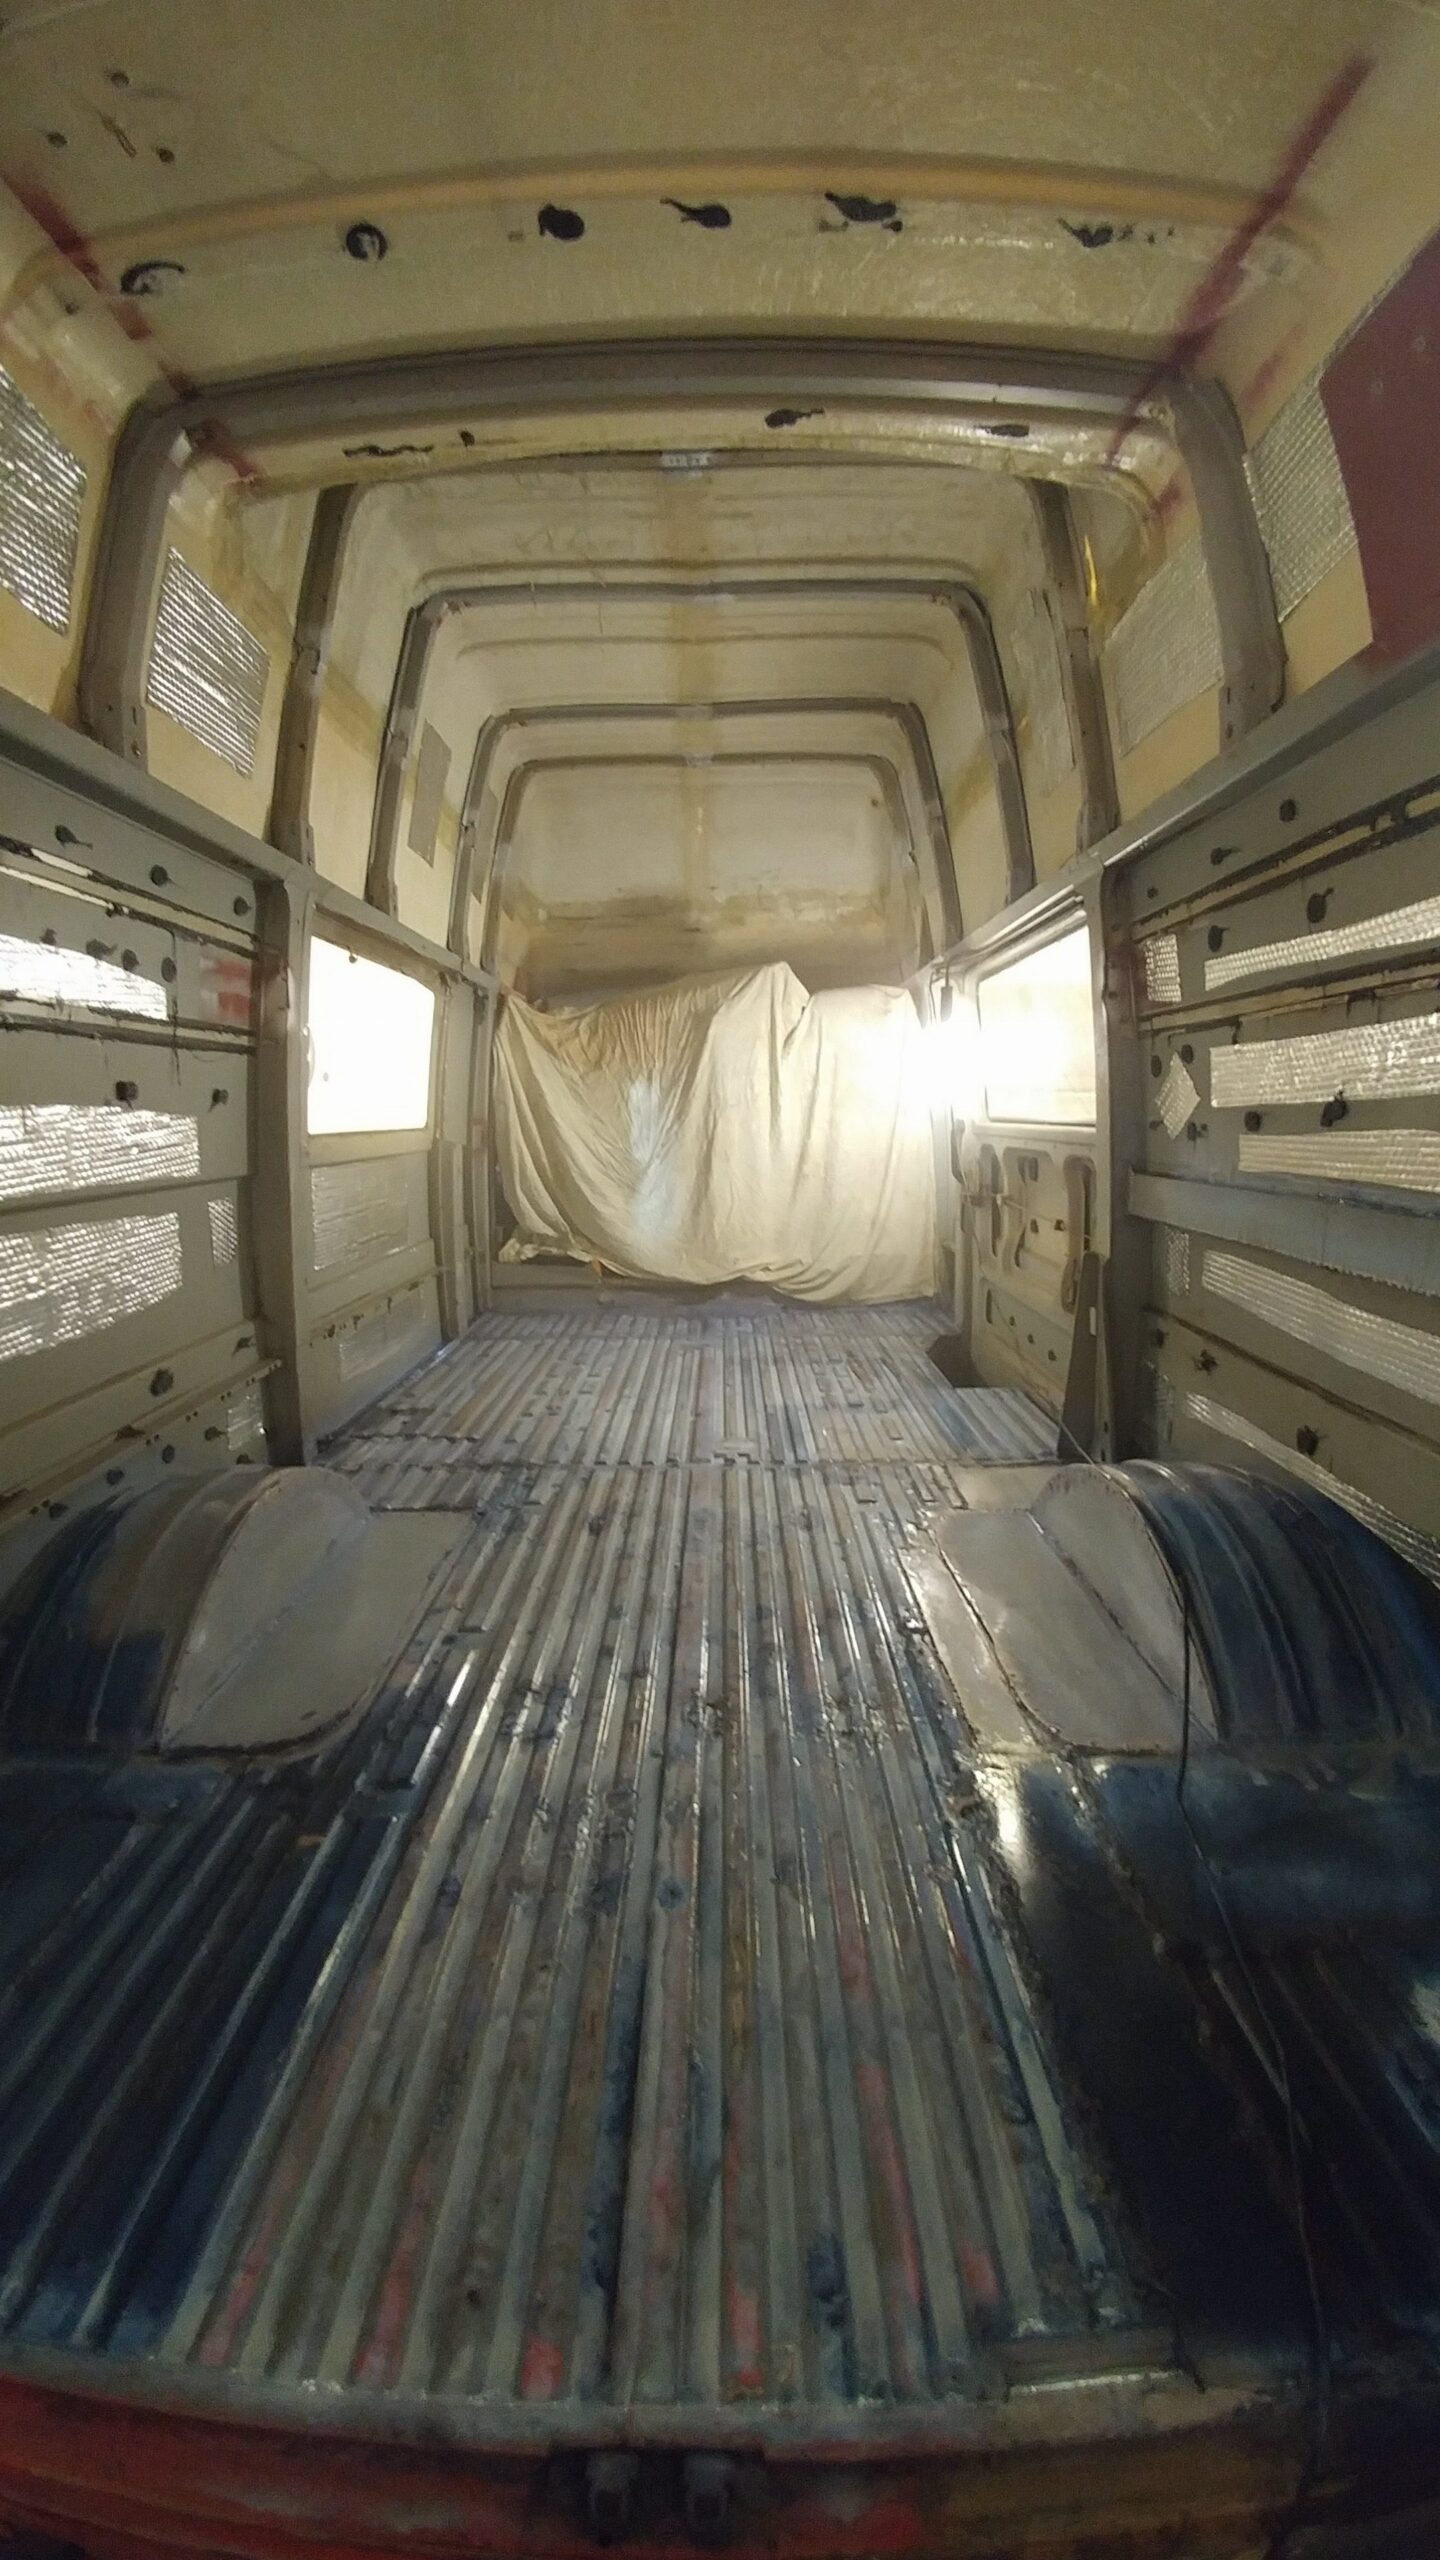
But first I had part fill in the old side window, weld in new steel and cut a hole for the new camper window…
-
- It’s like Christmas!
-
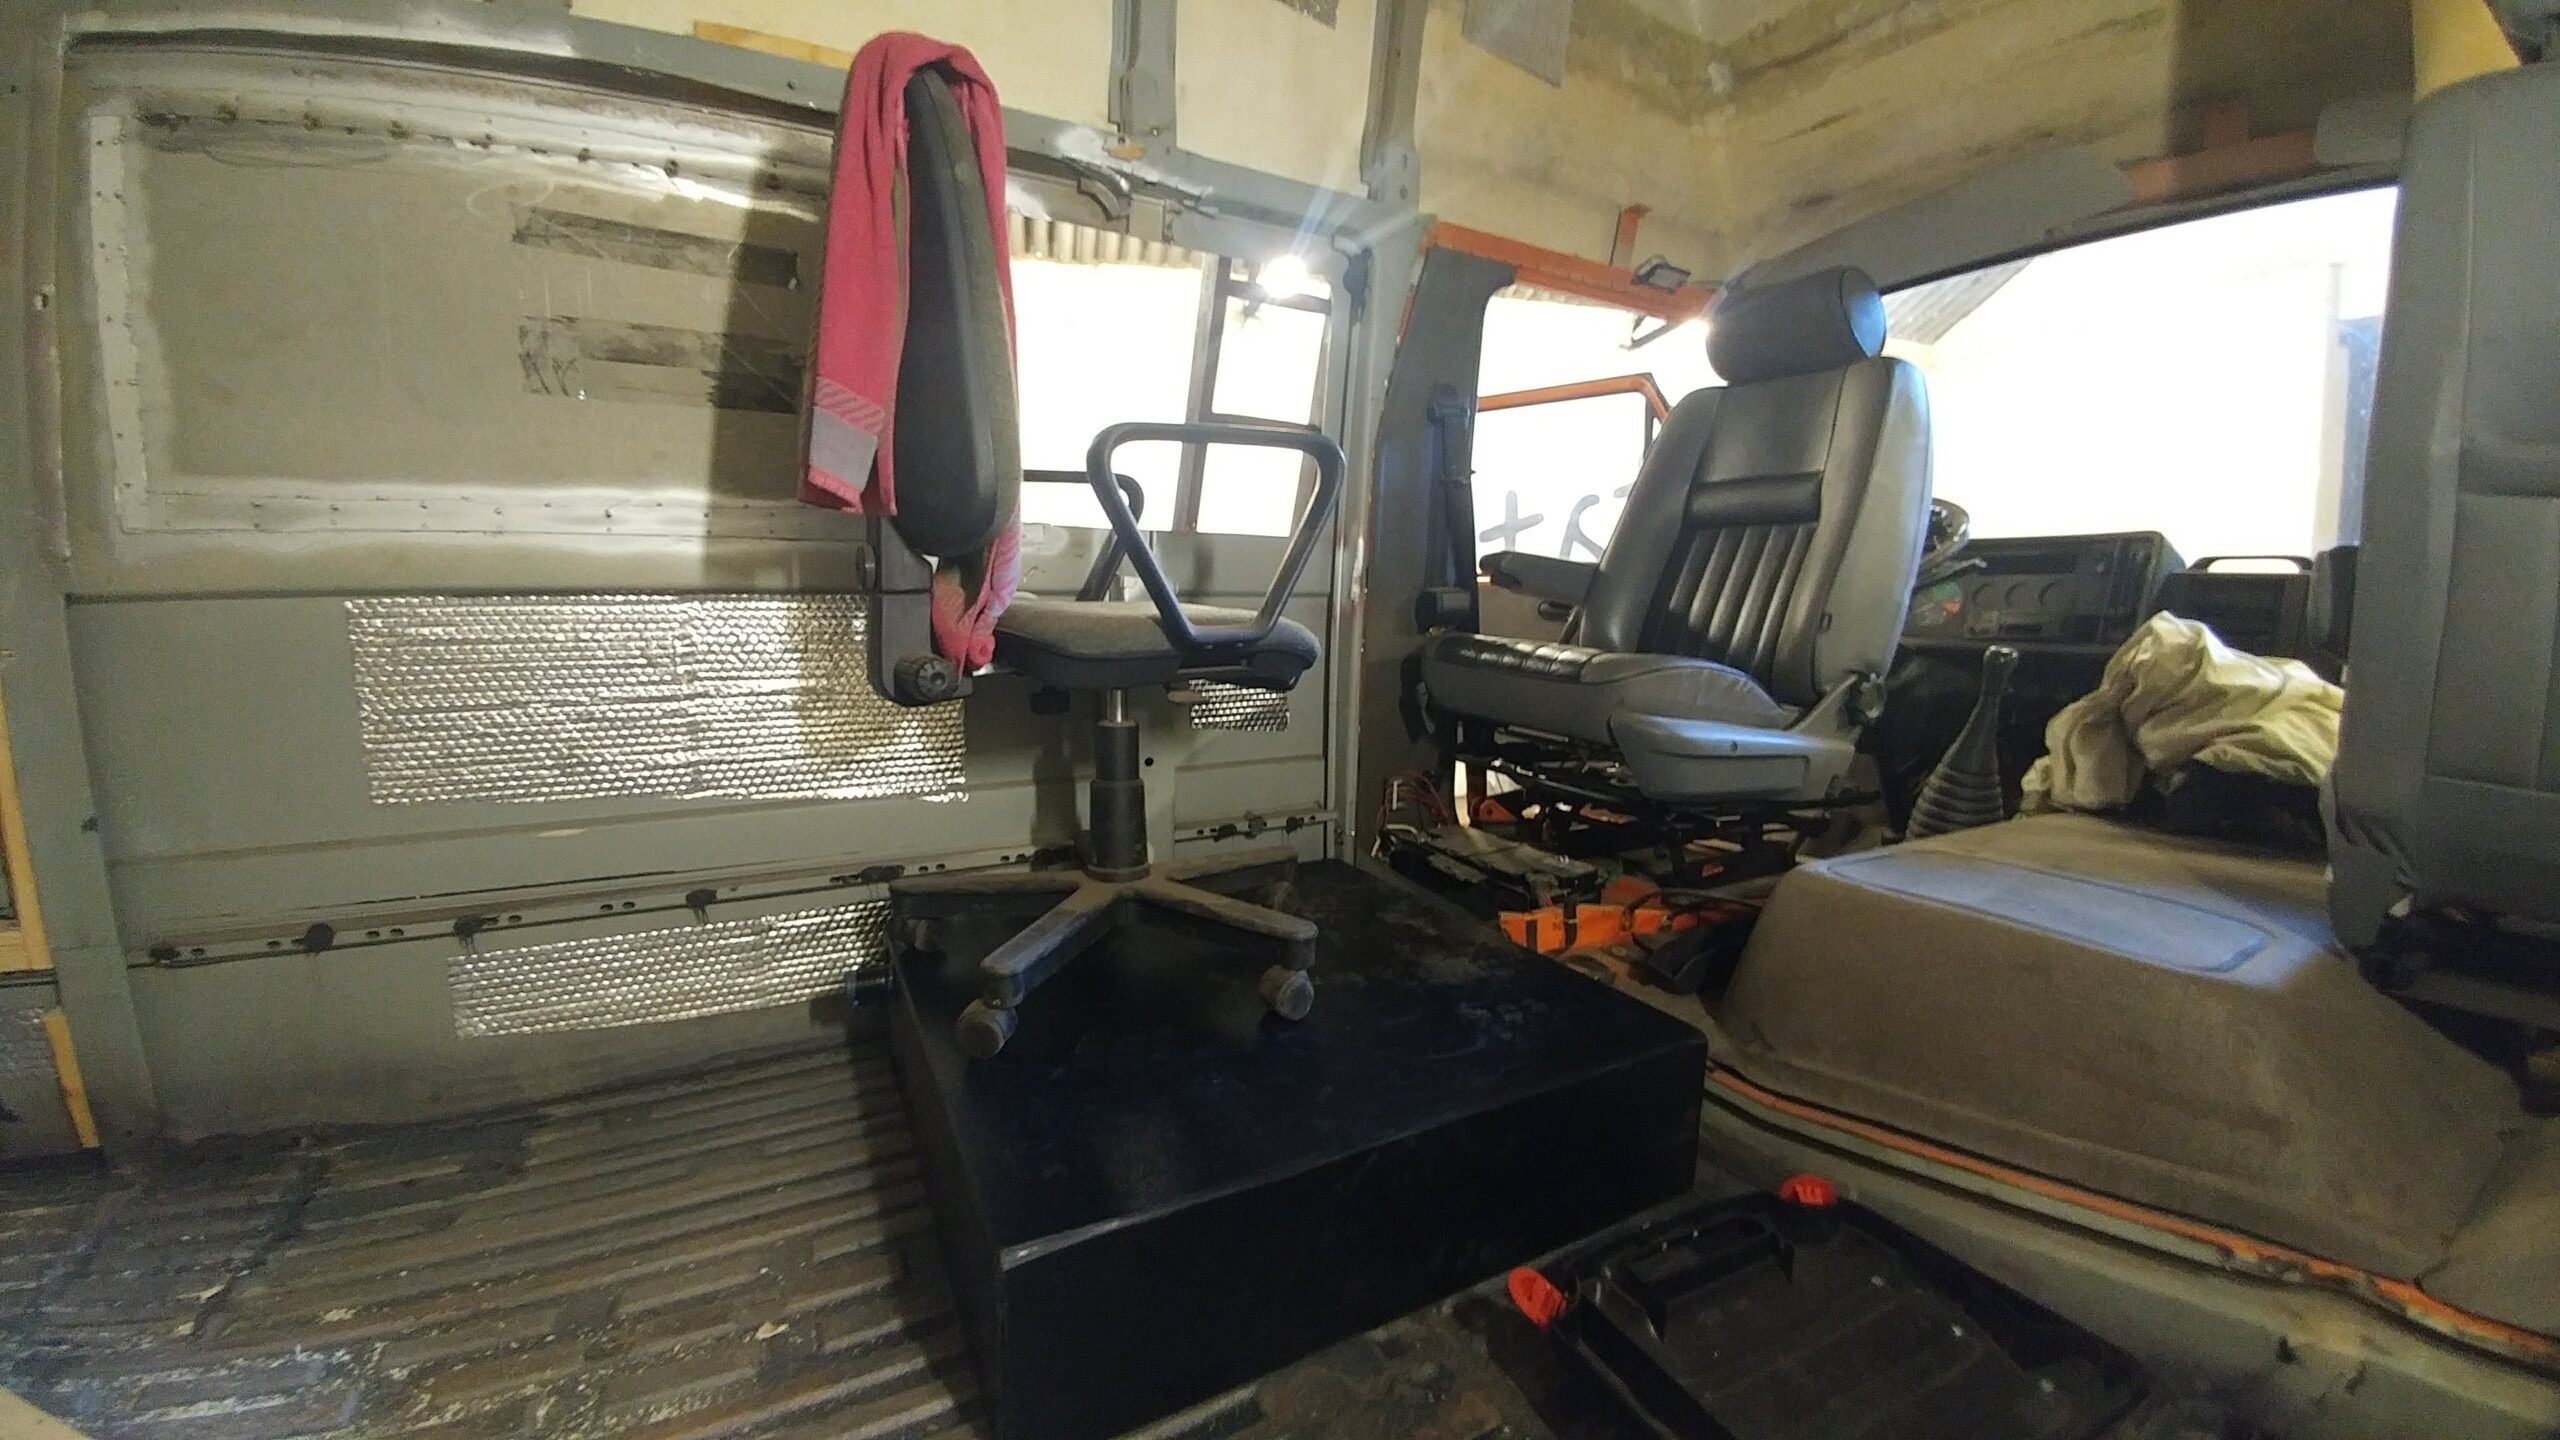
- Sizing up the rear dinette and figuring out seat height
-
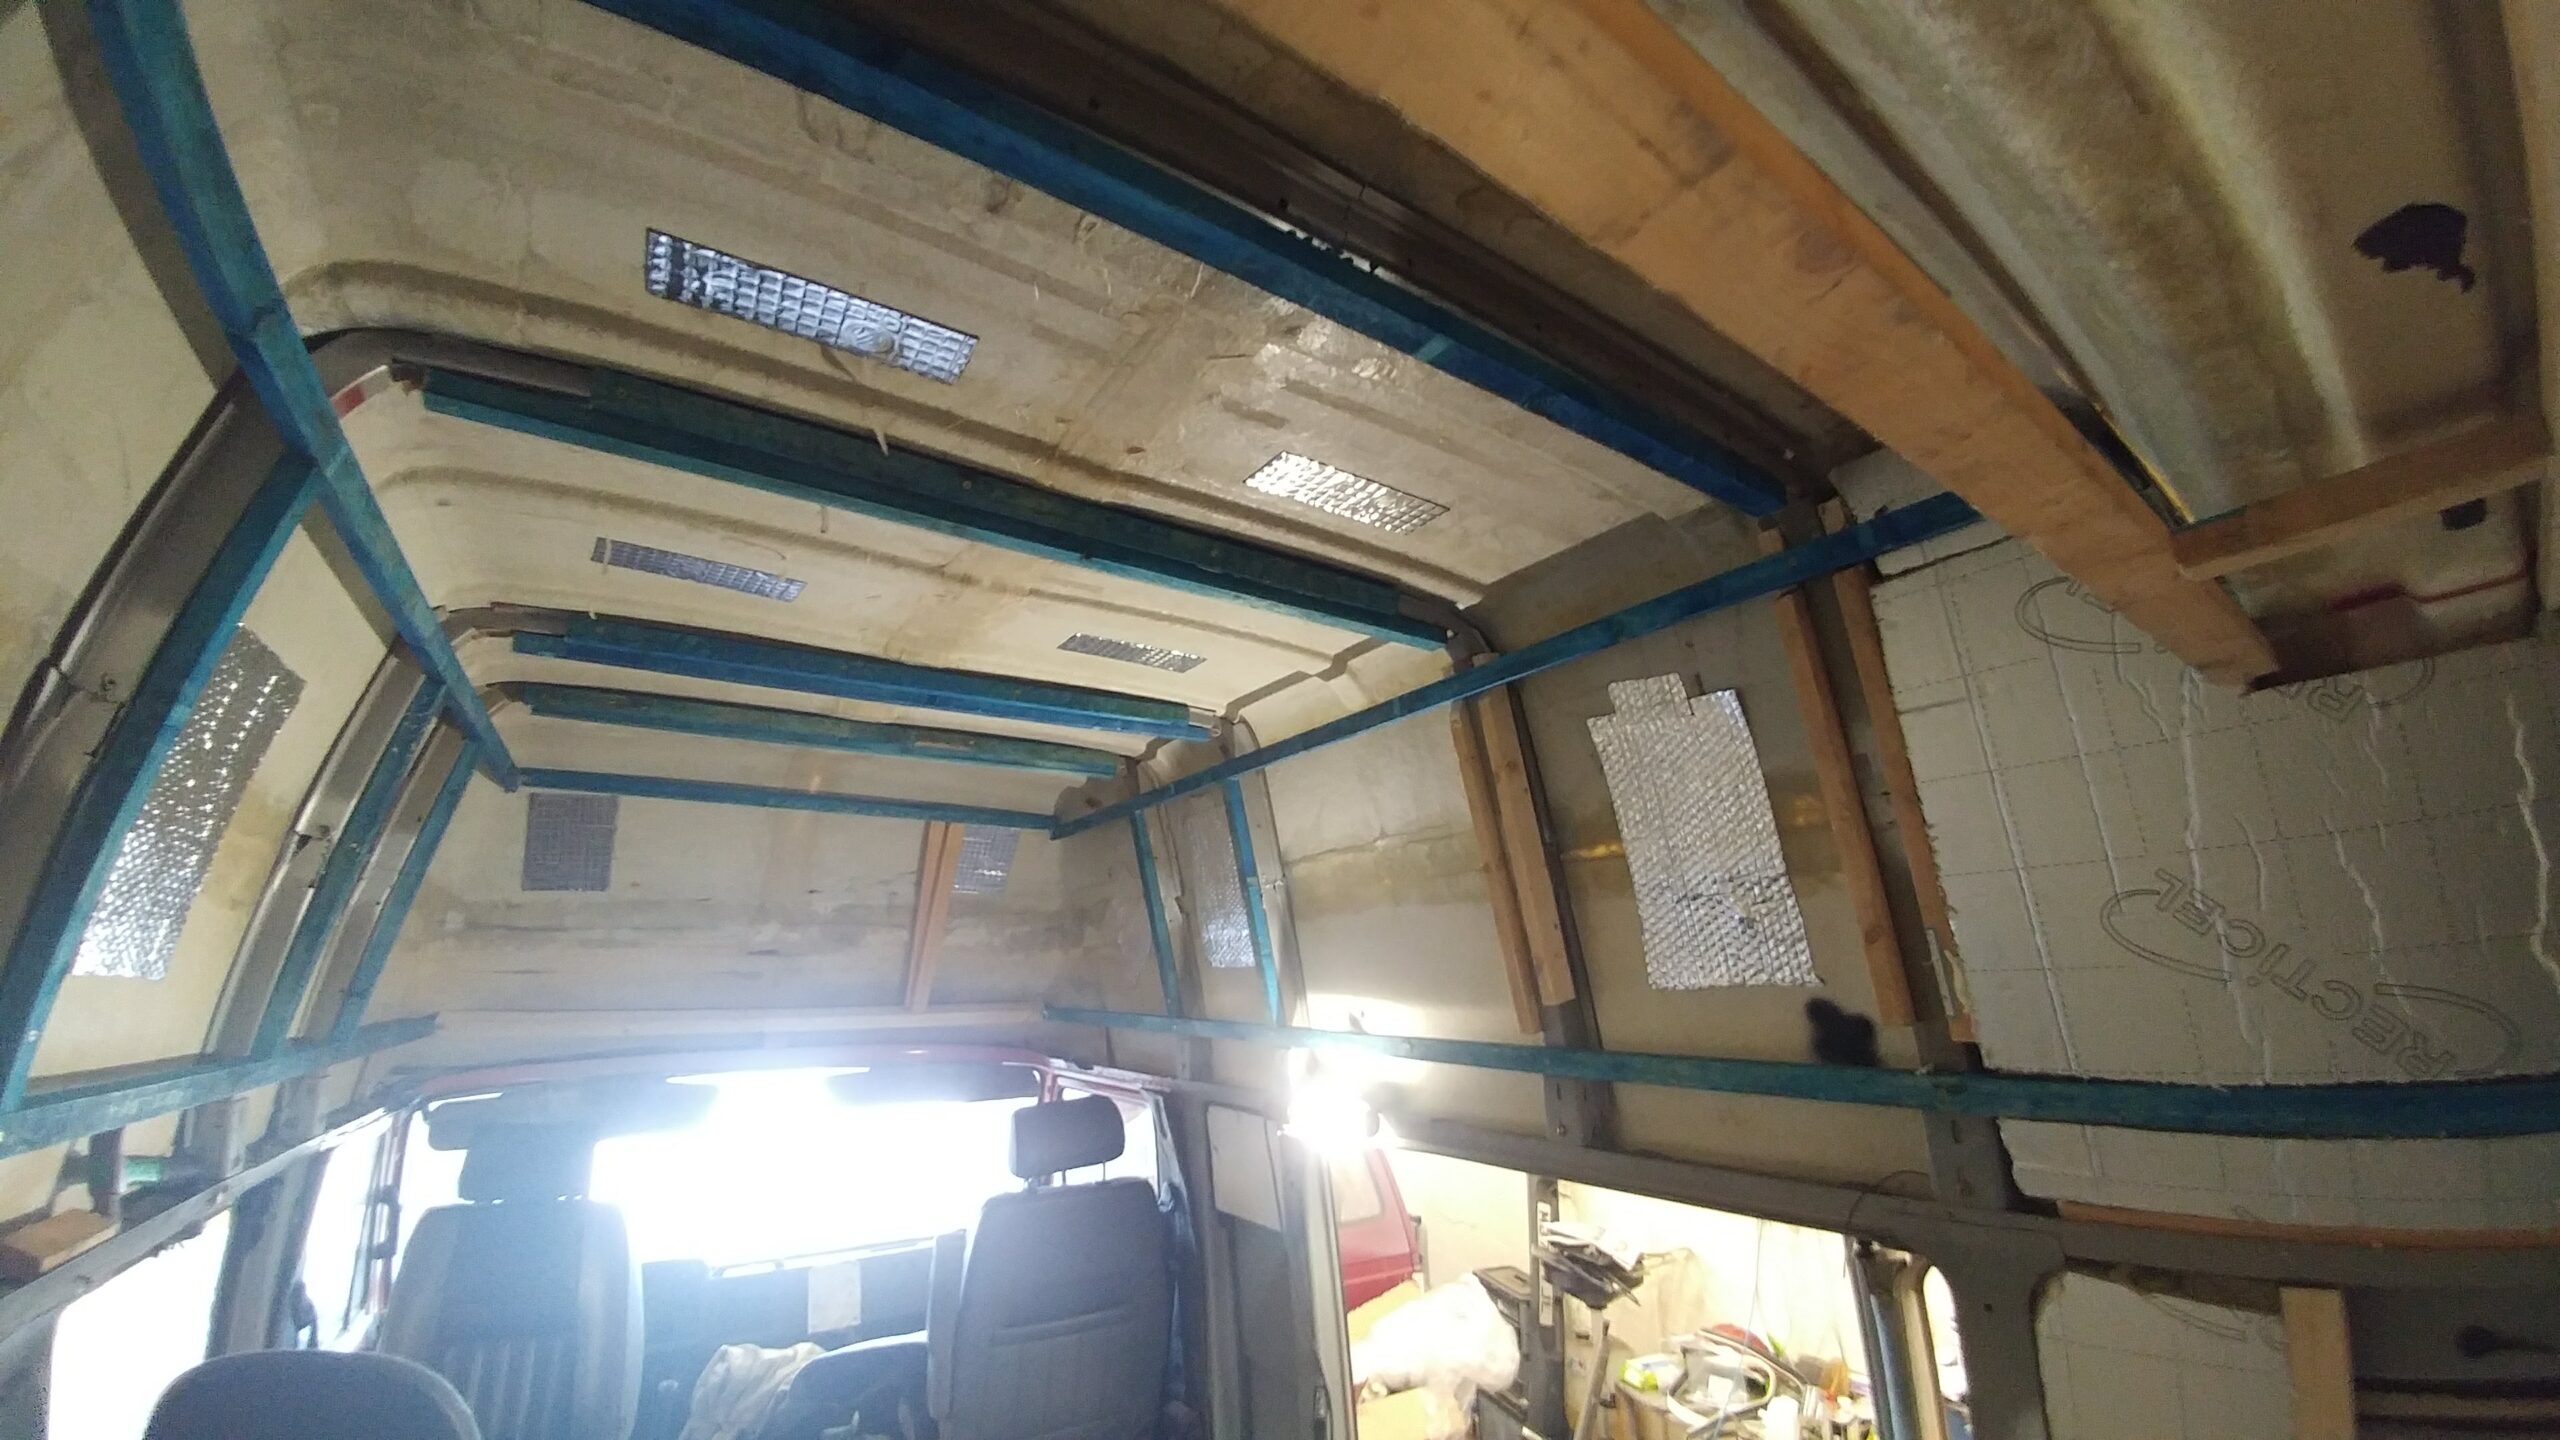
- Timber batten-work now in place to the front of the van
-

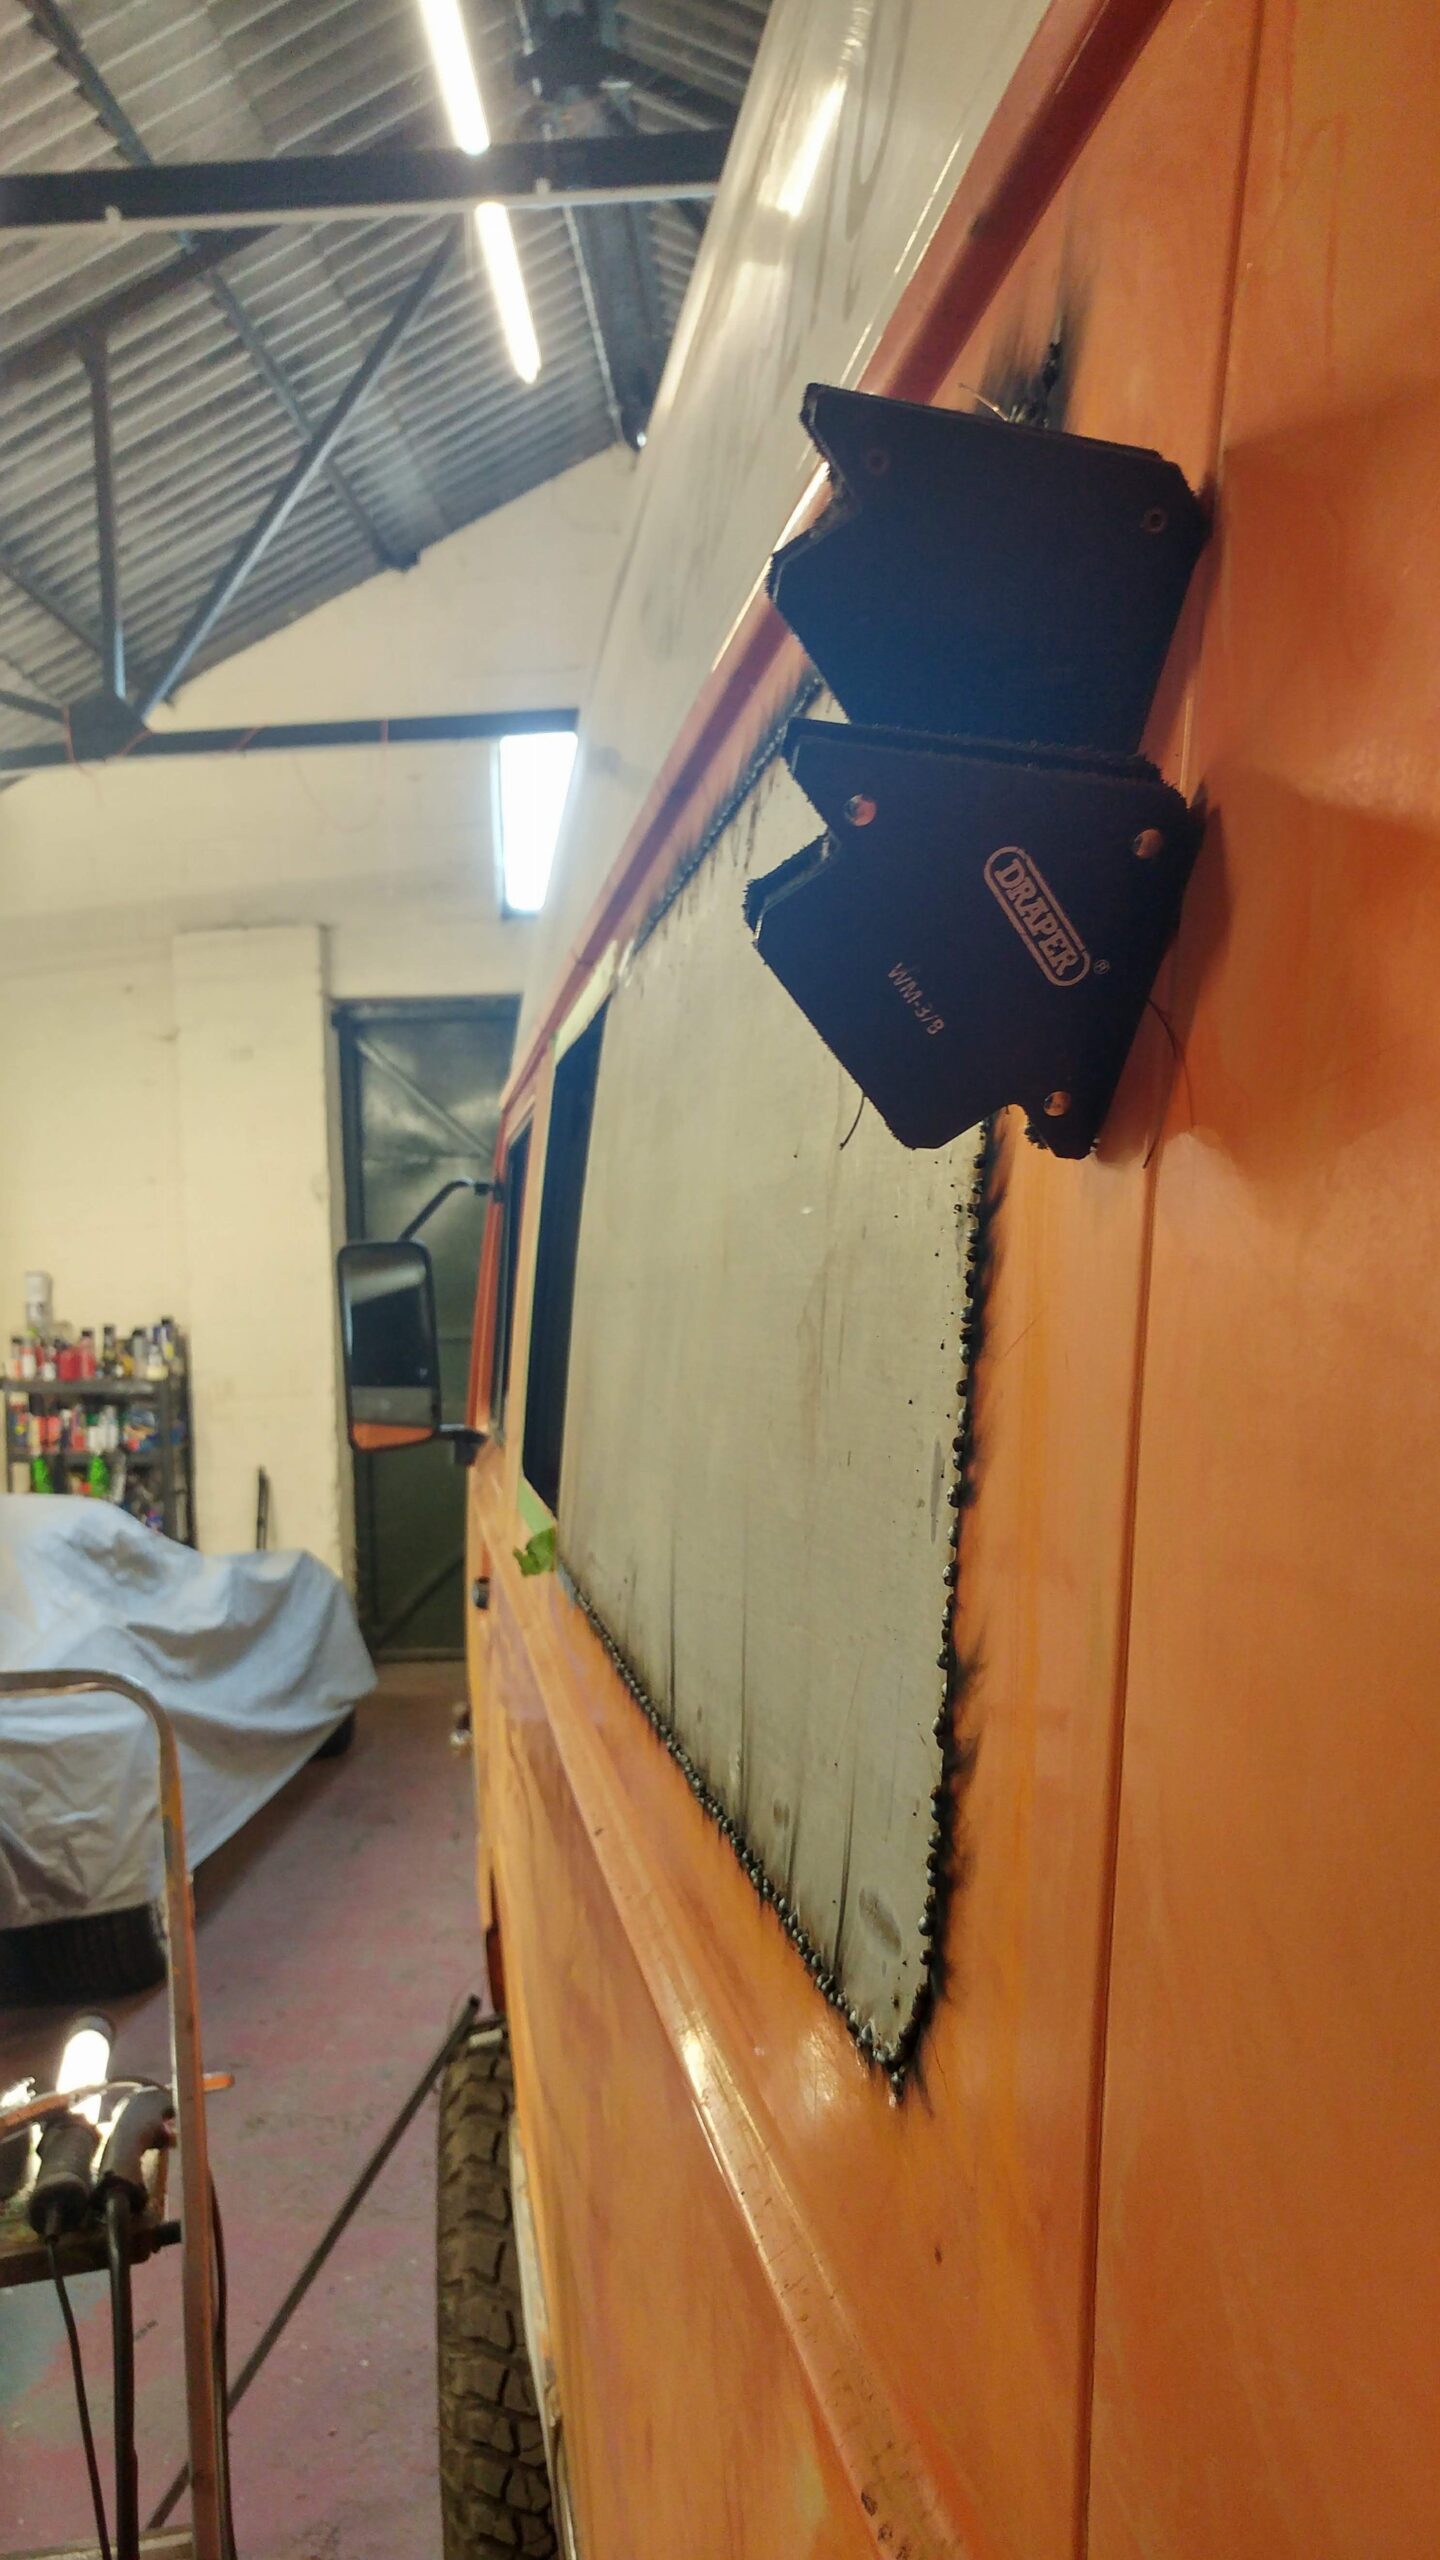
- New whole cut; new steel welded in place
-
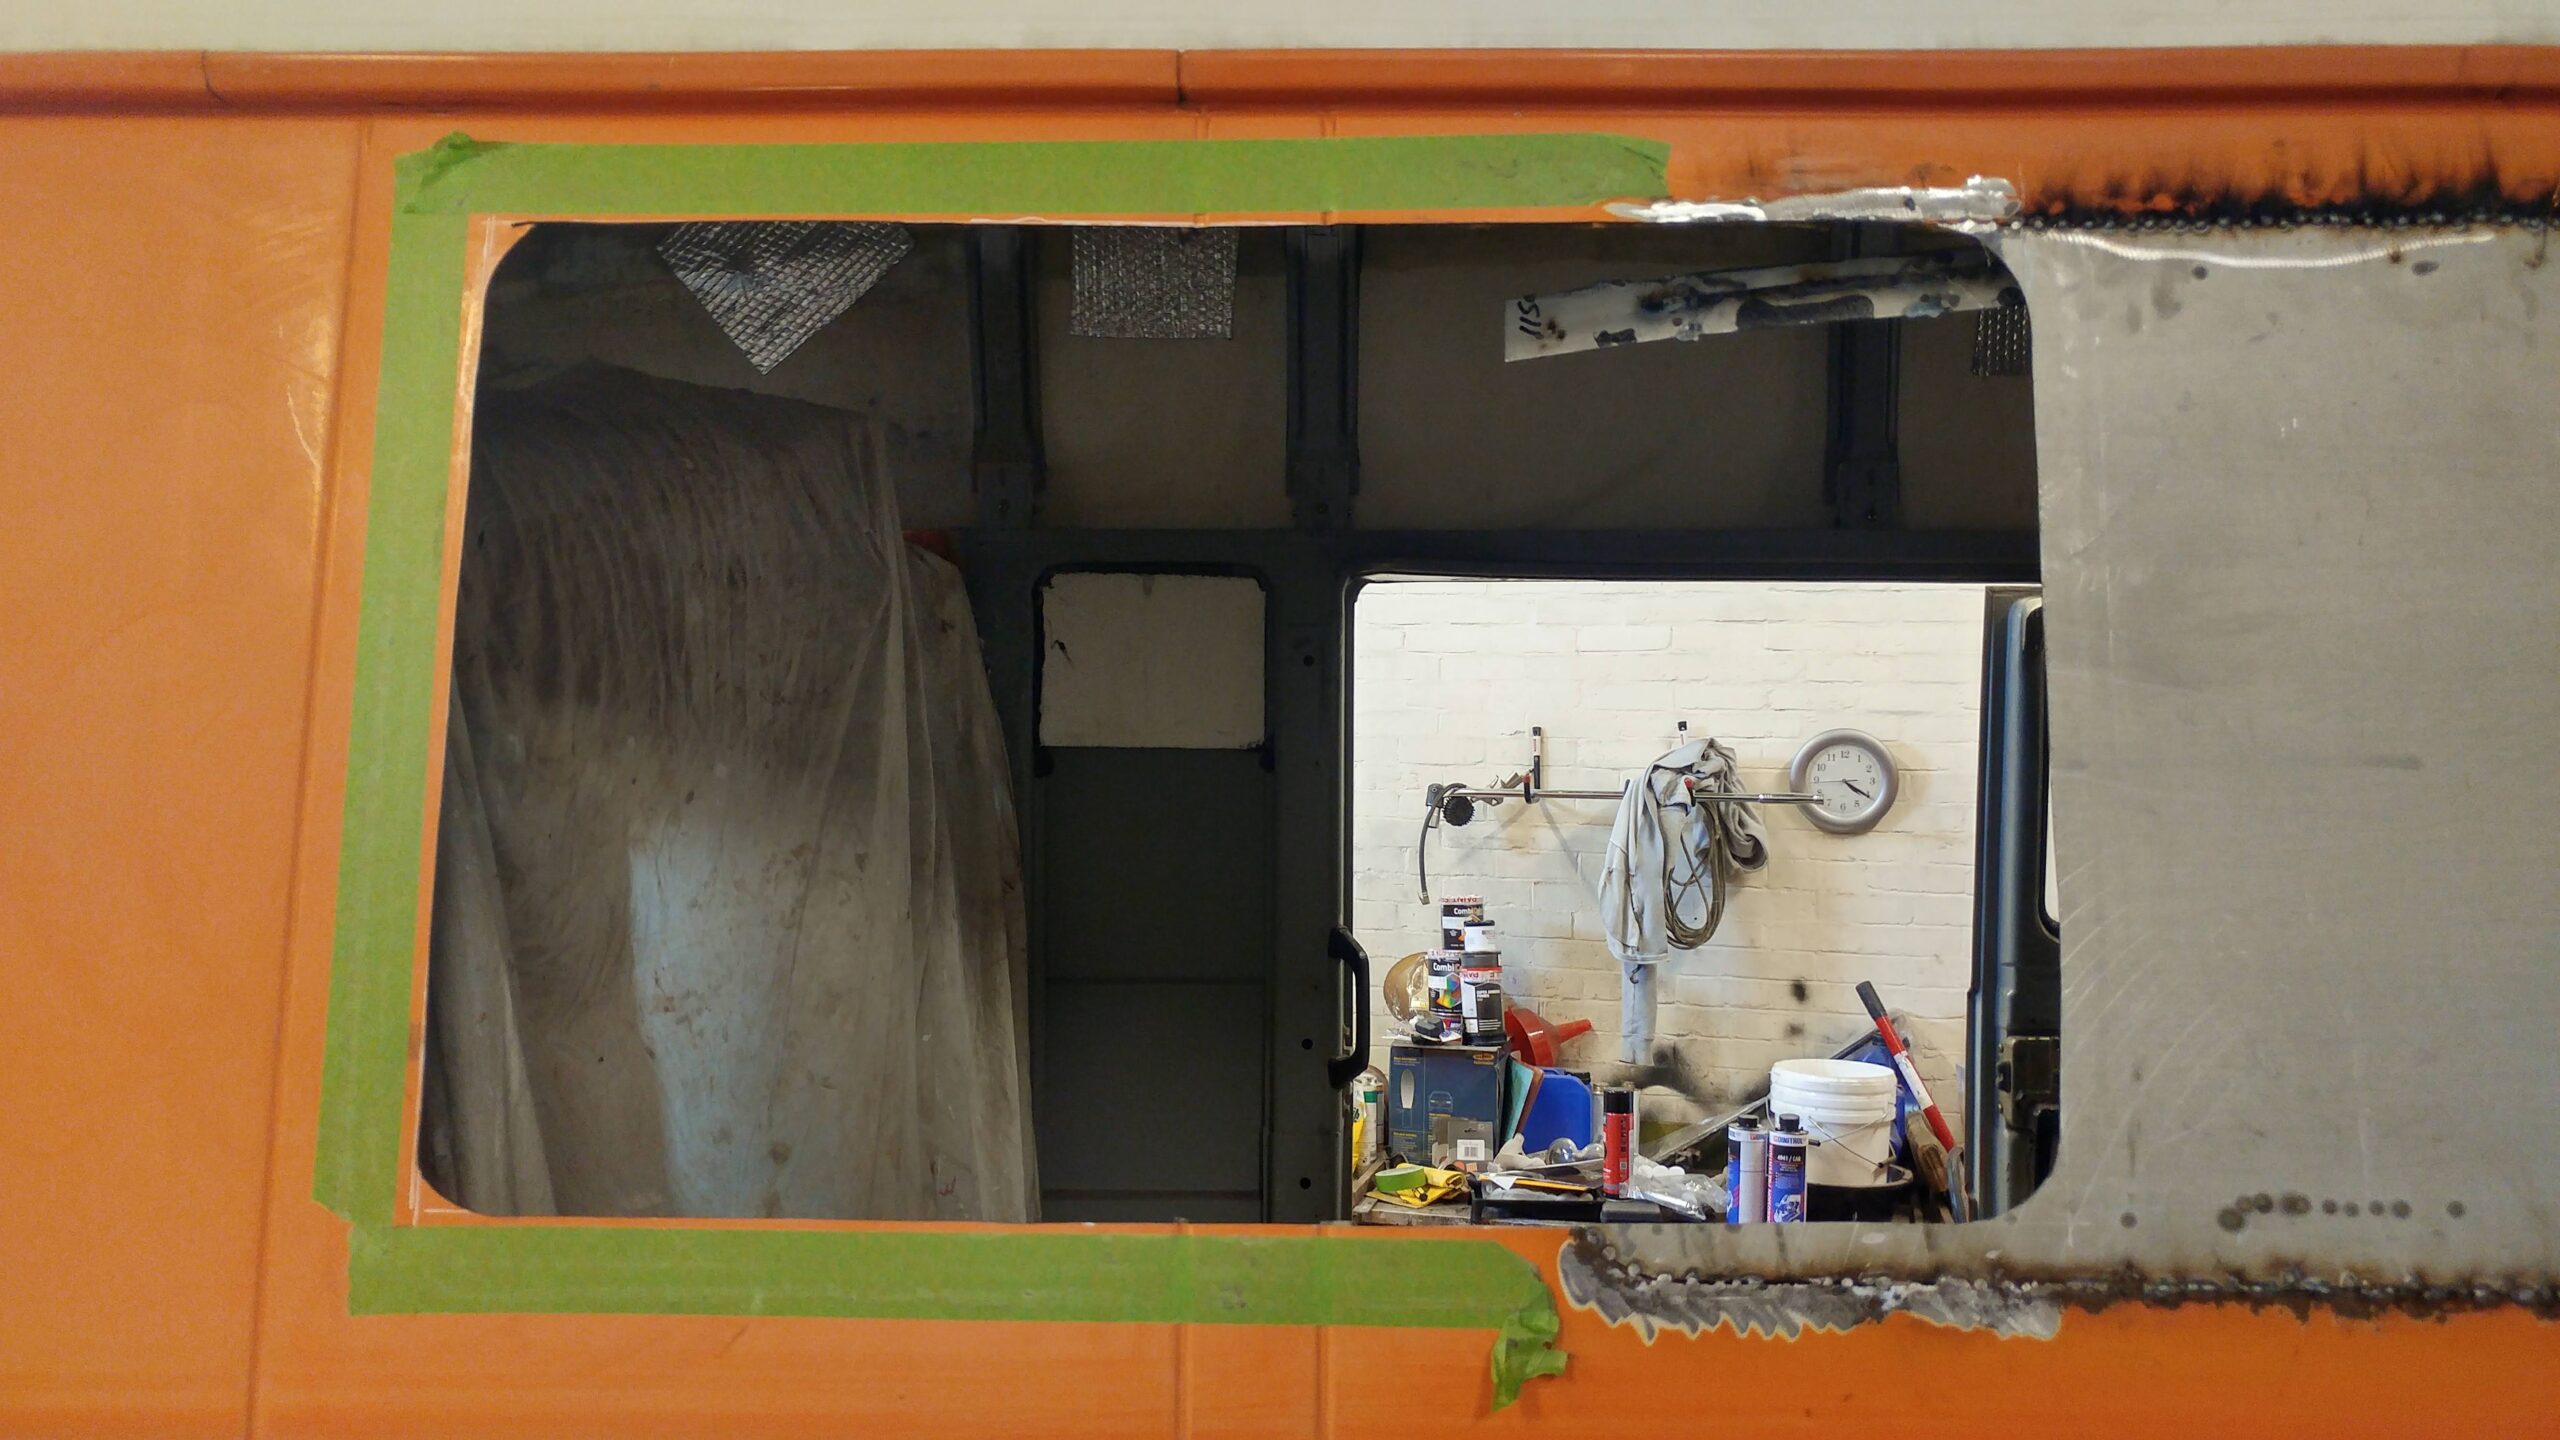
- New hole cut in new steel
-
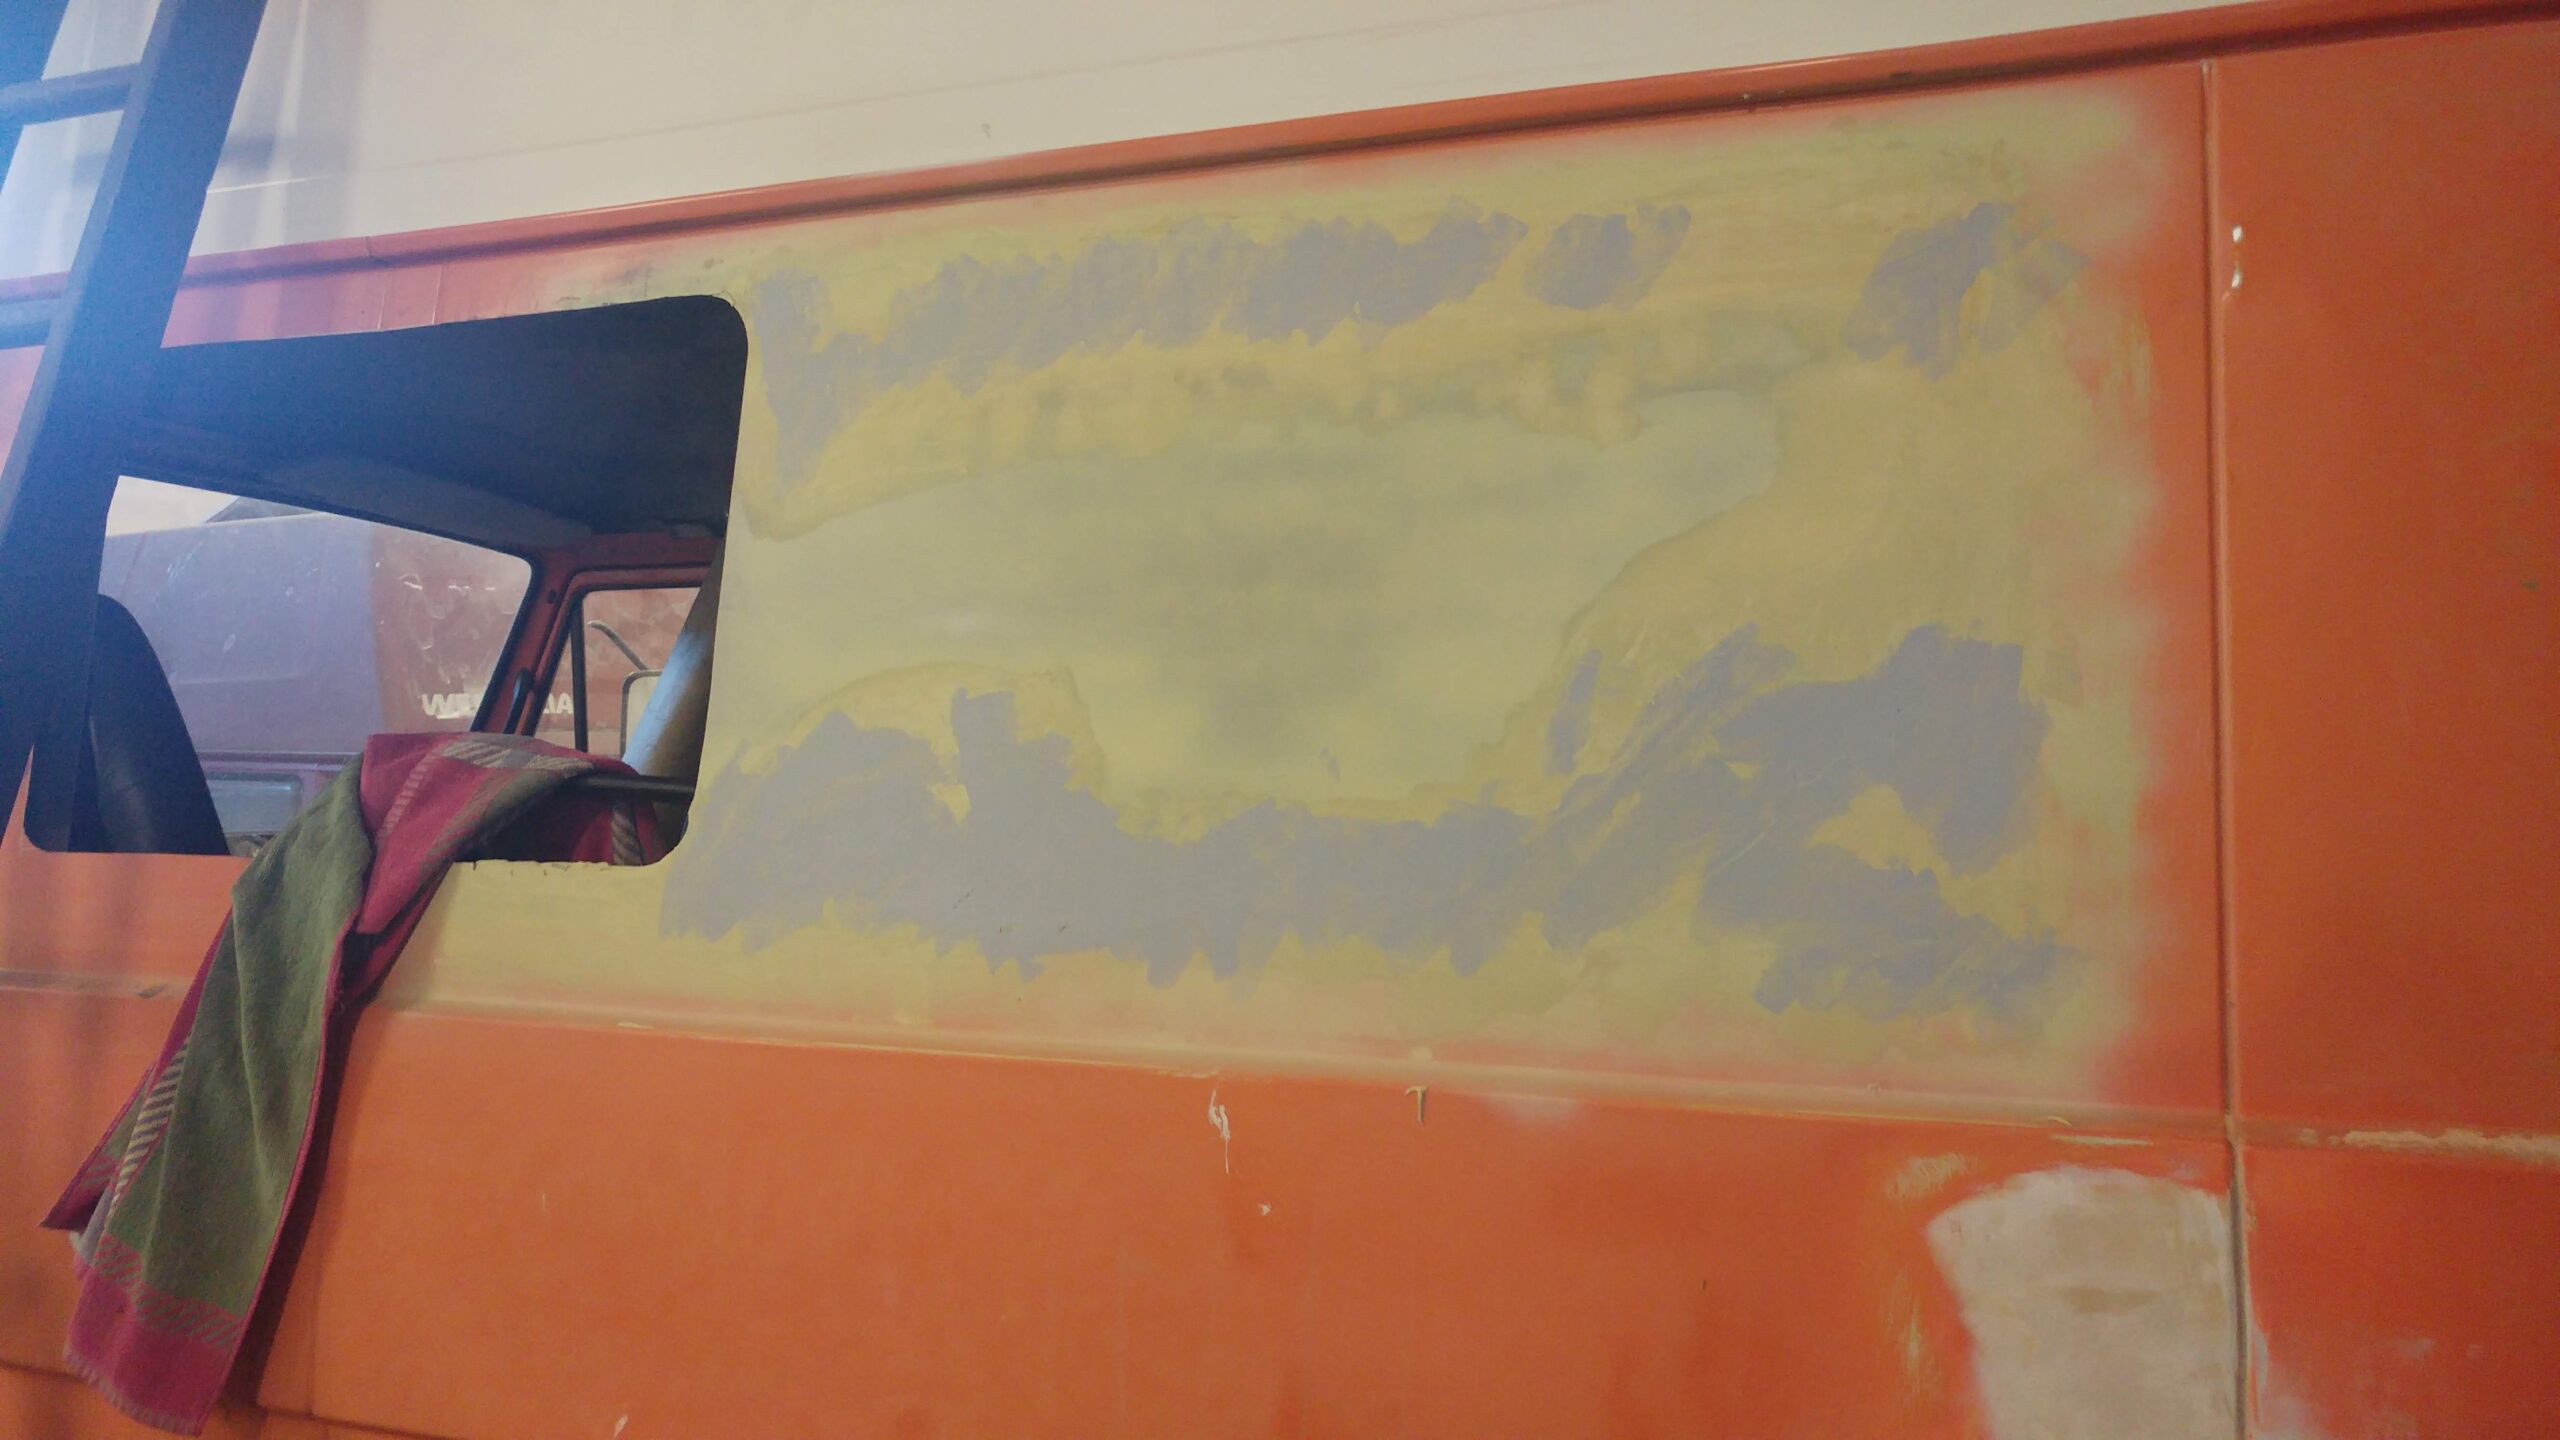
- Let the filling and sanding commence
-
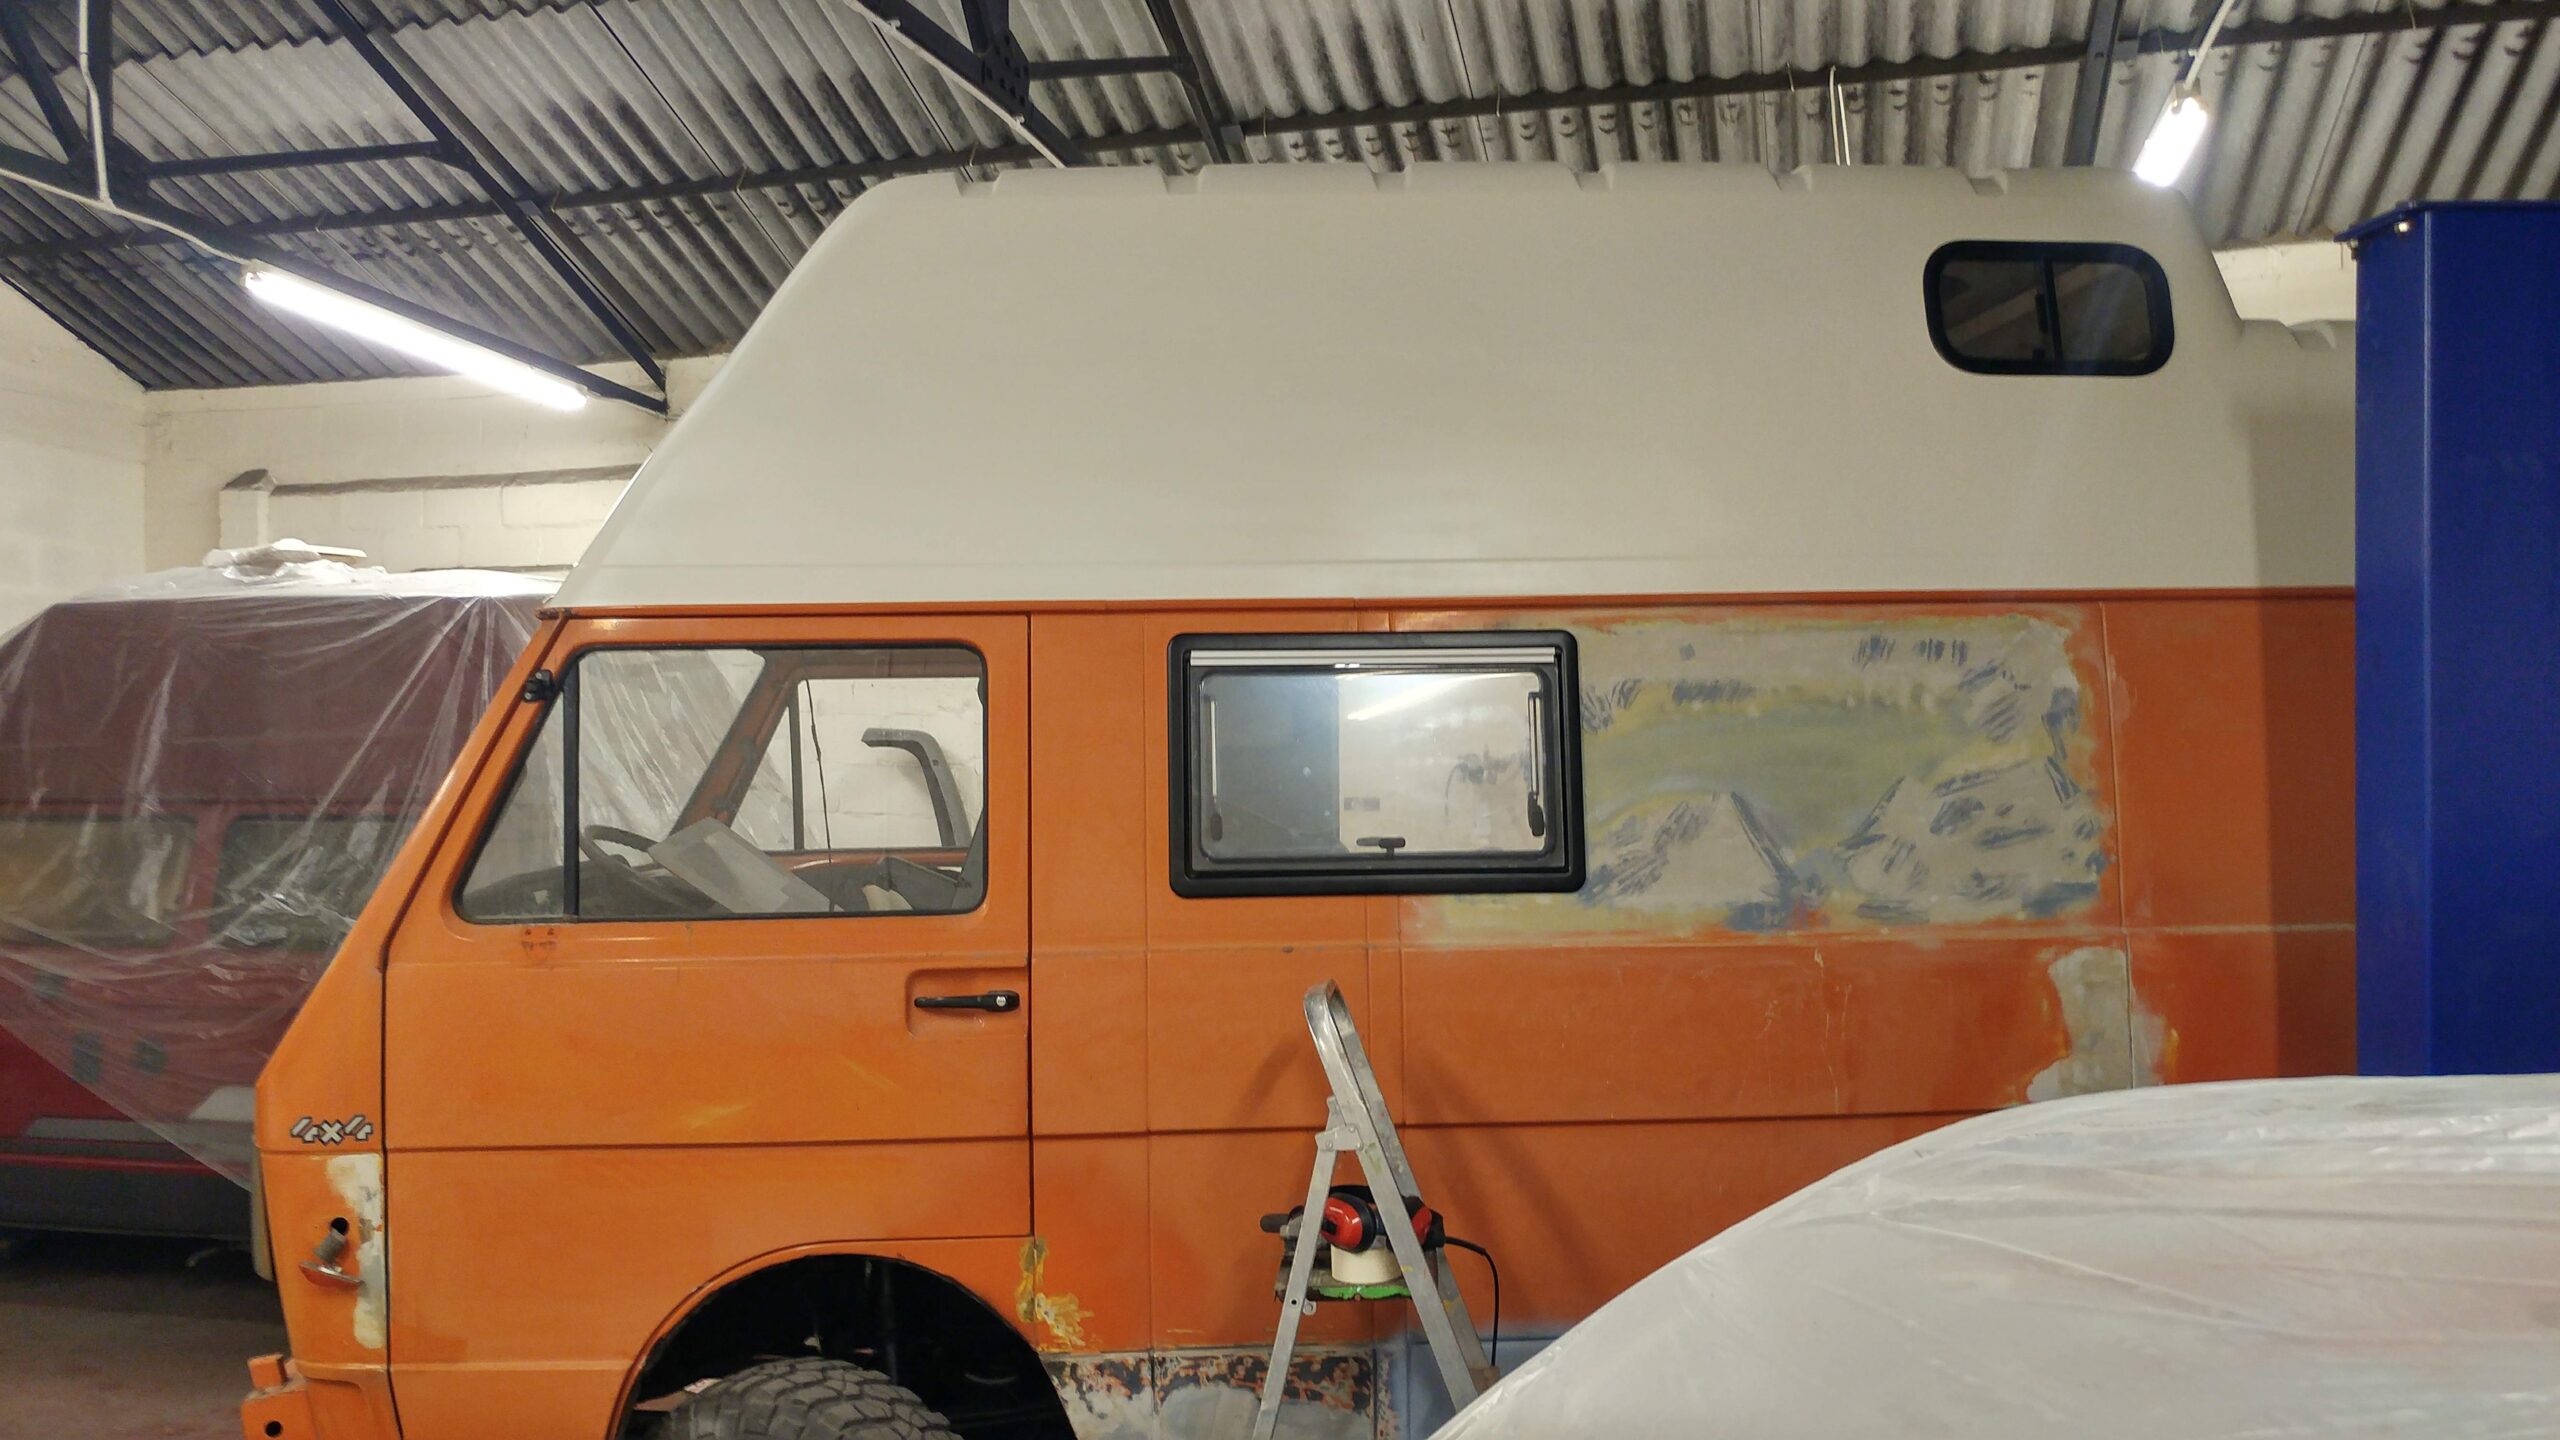
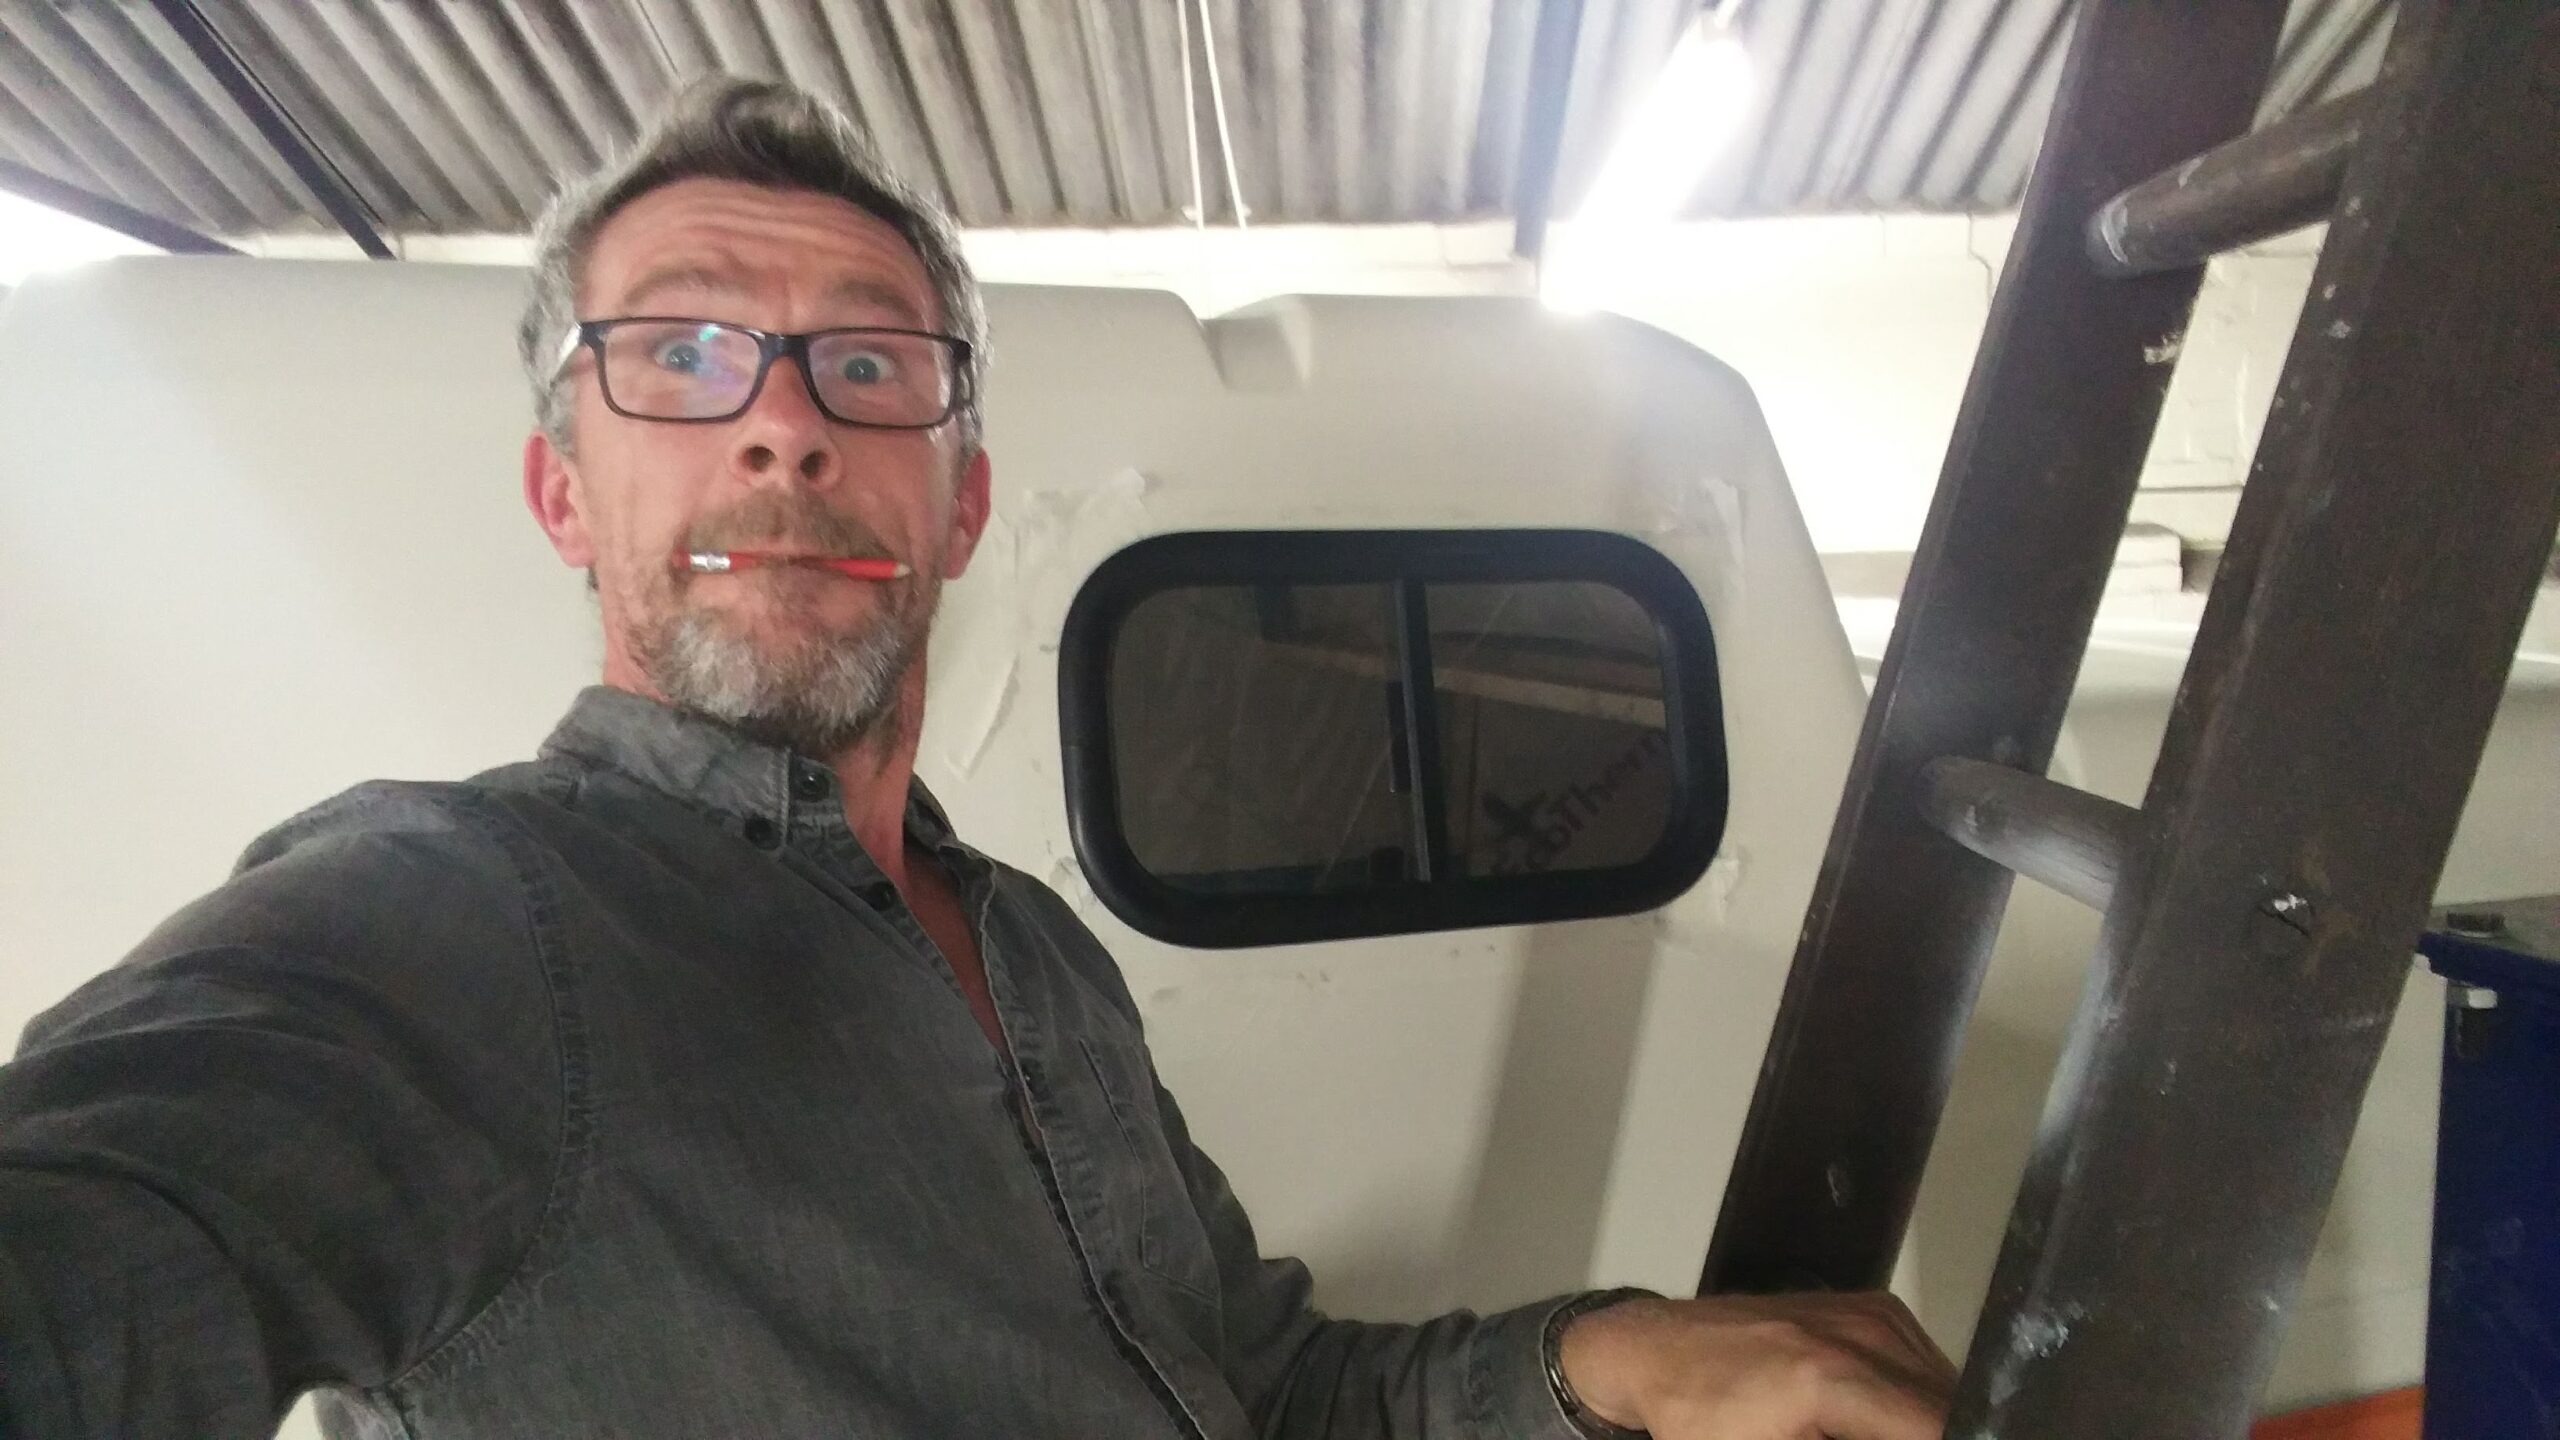
- Test fitting the new camper window
-
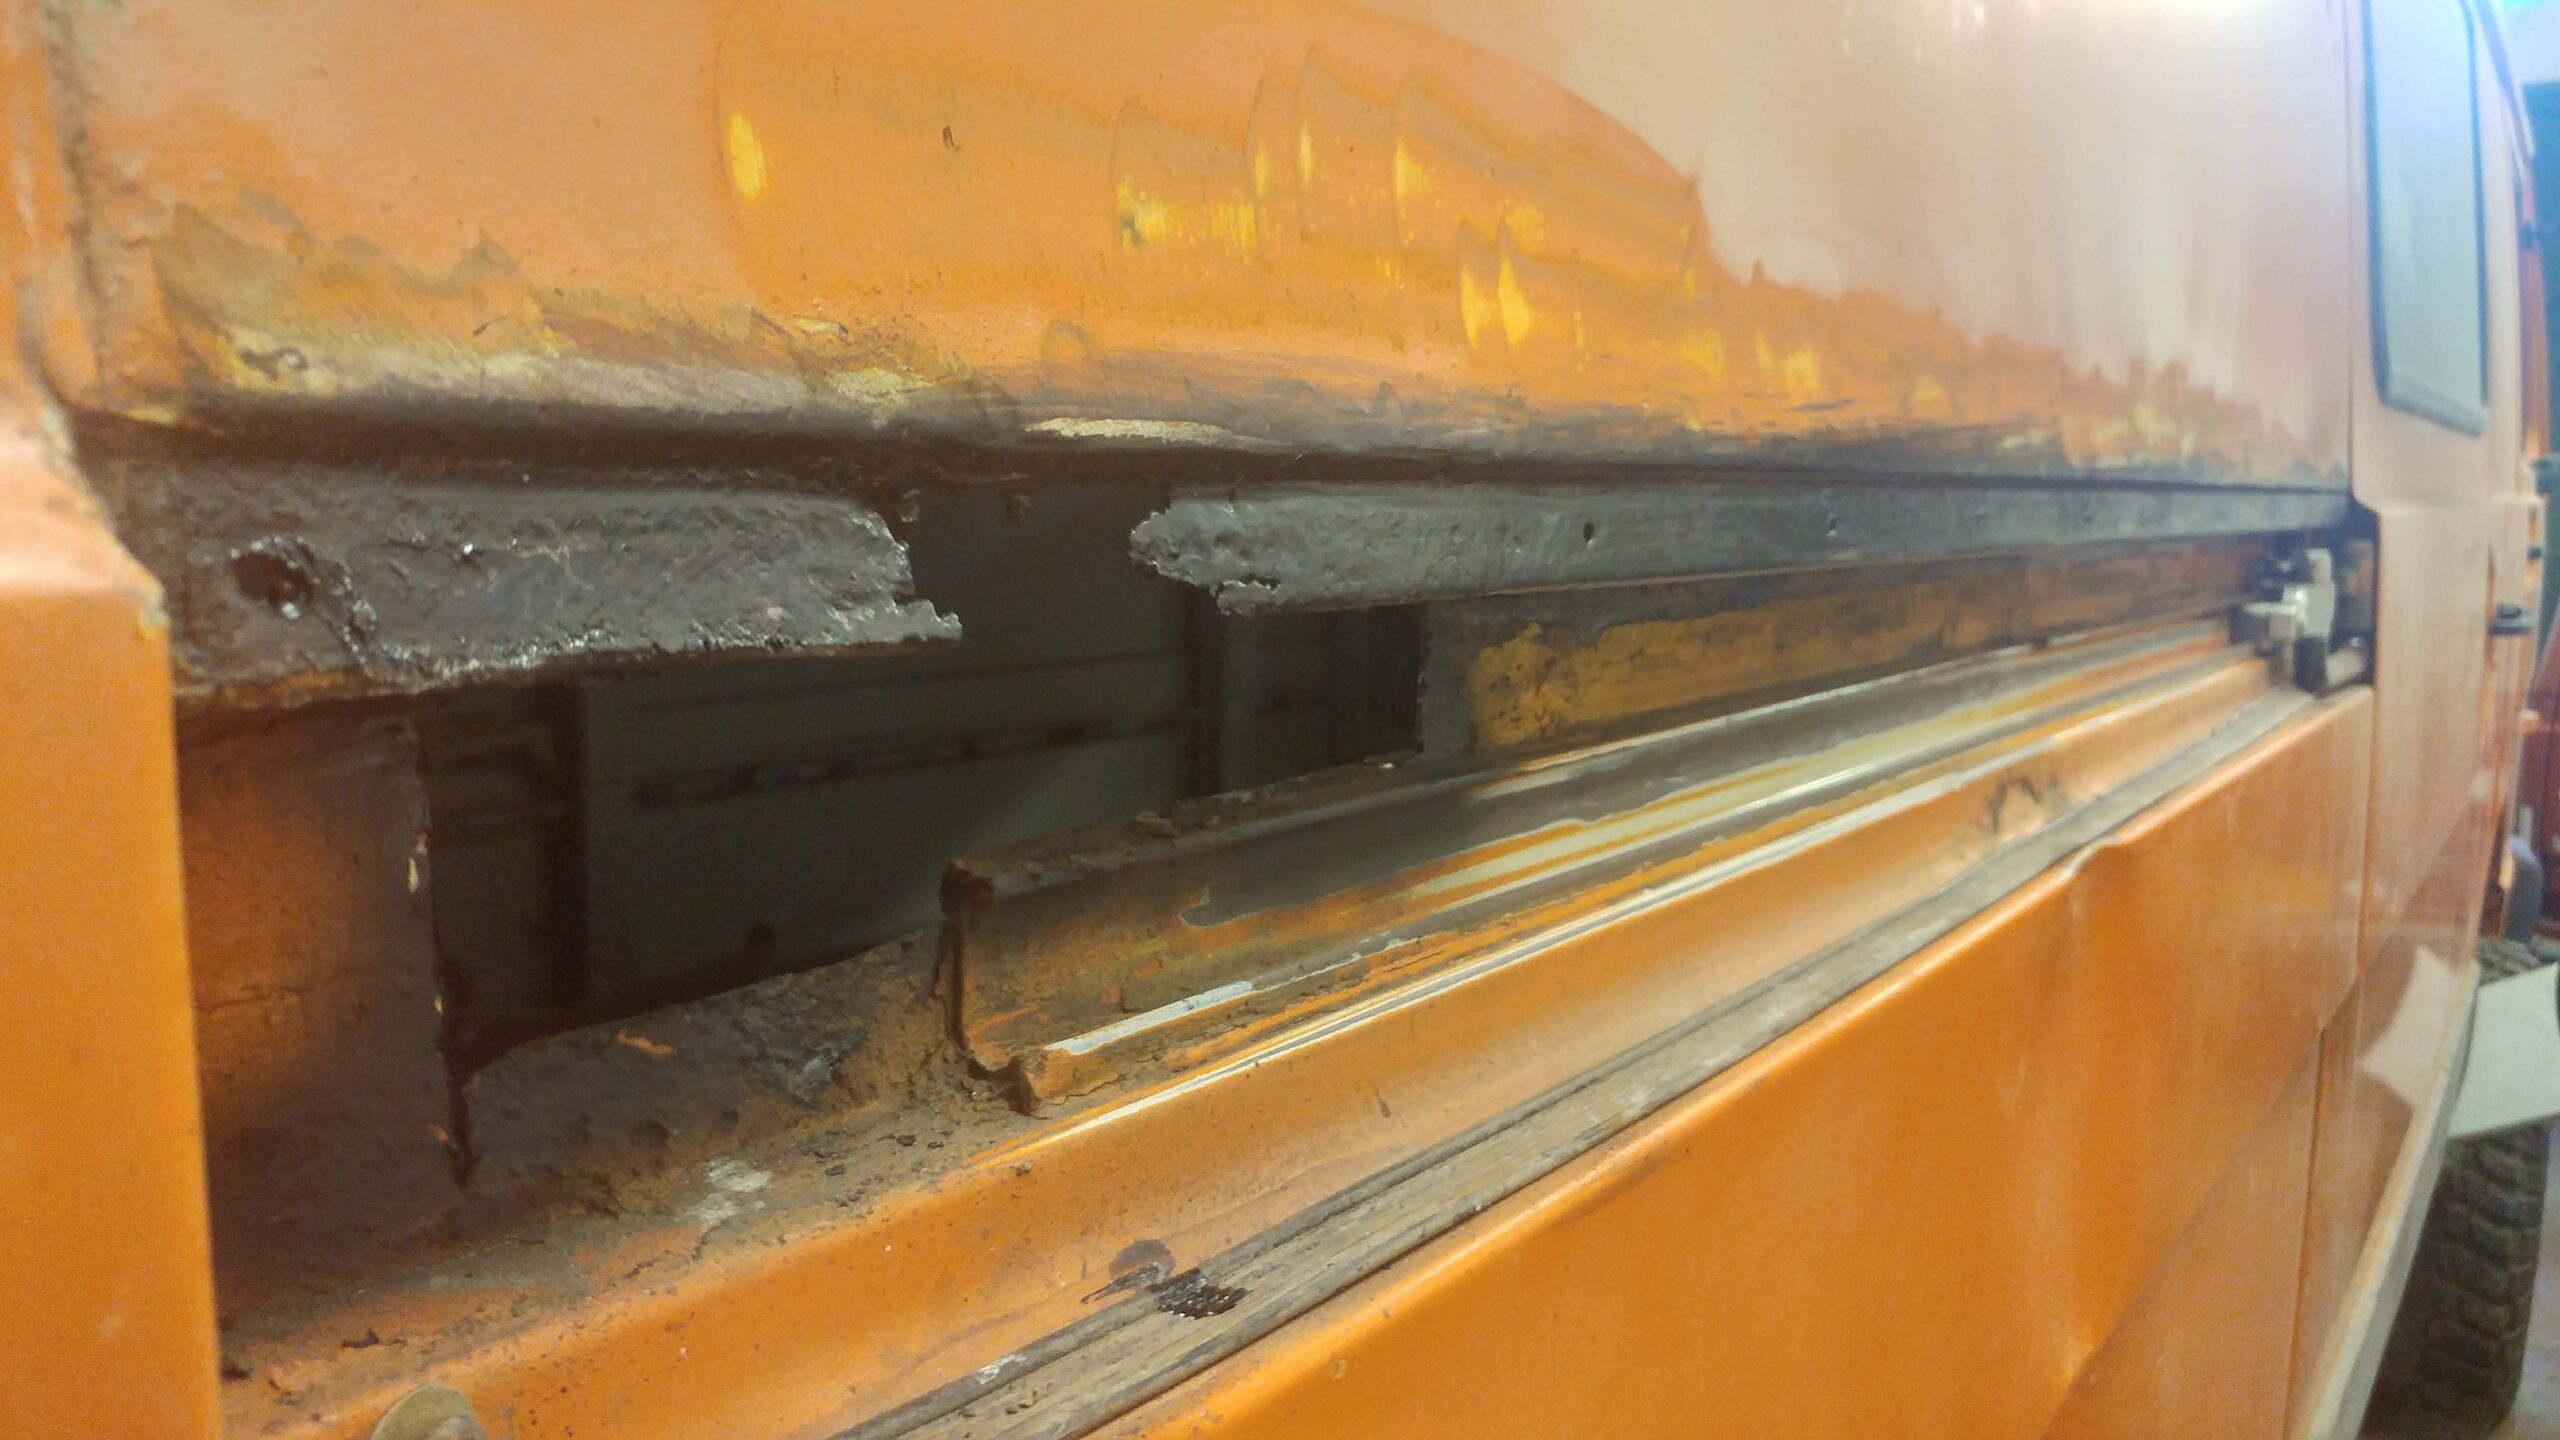
- Time to fix the mount for teh rail that supports the shroud for the sliding door mechanism
-

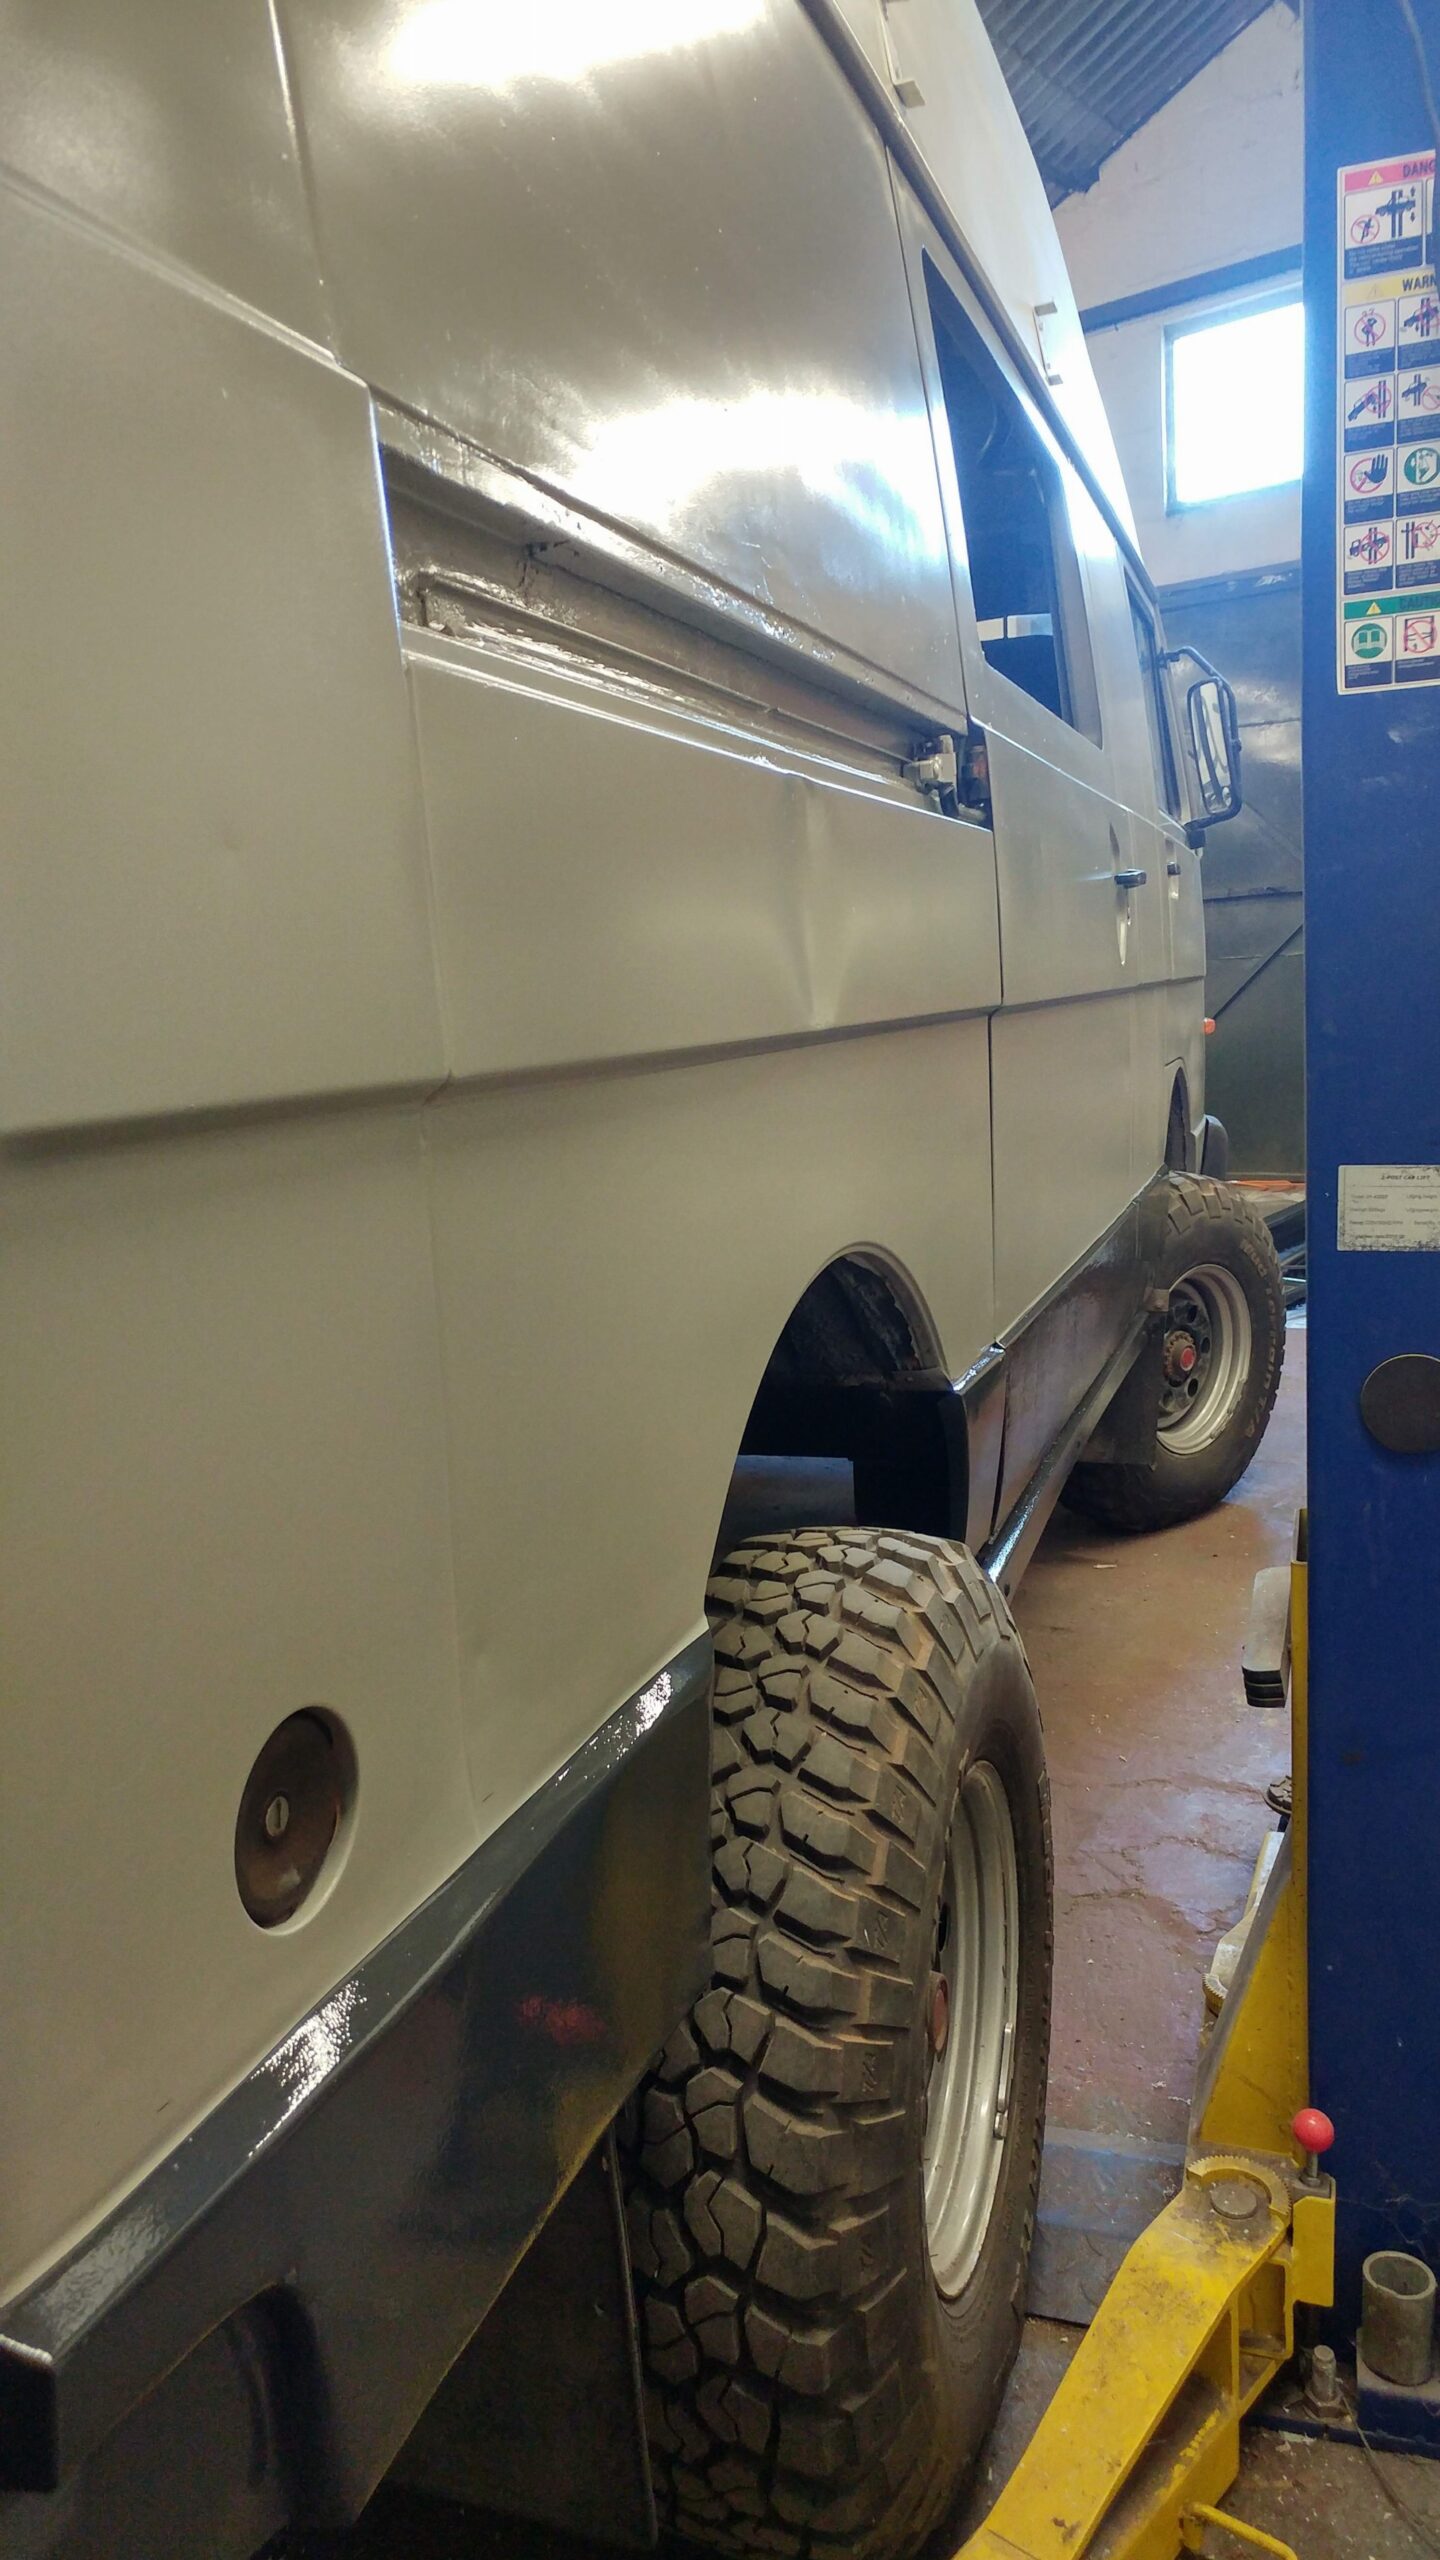
- Almost time to say goodbye to the old, filled and new sills
-
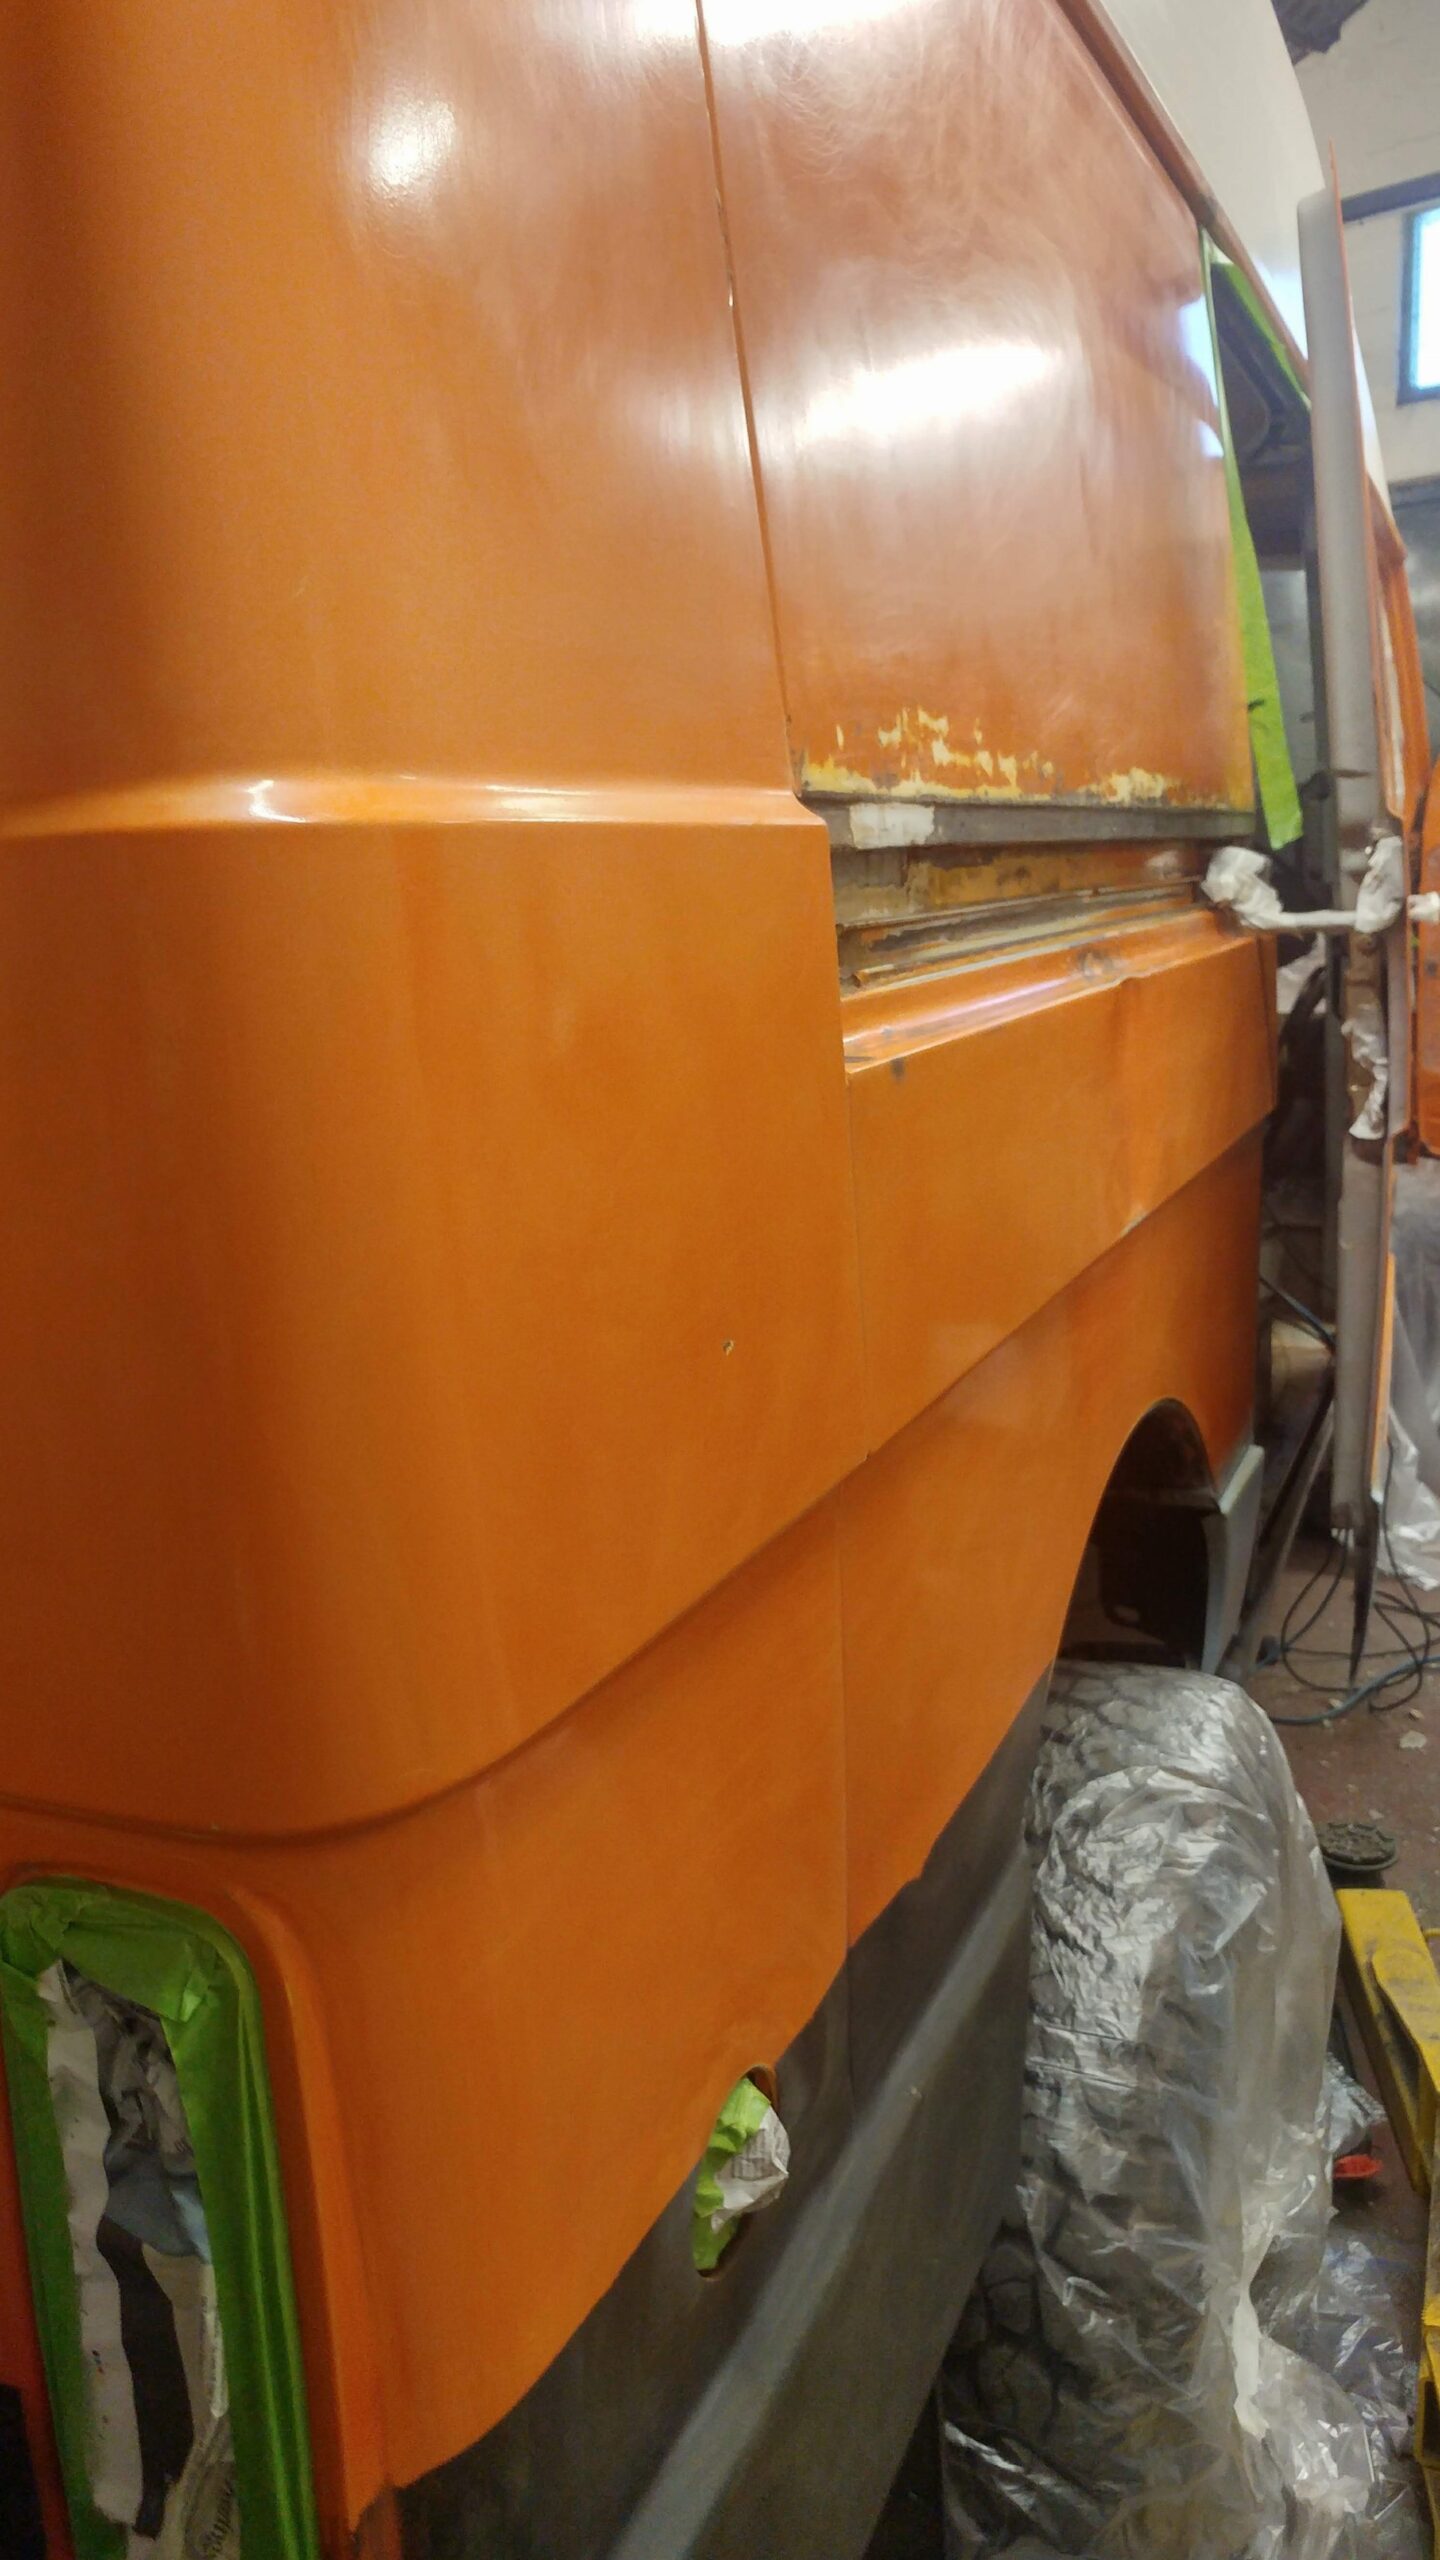
- Sliding door housing filled and ready to be painted
-
- The side wall sure looks flat but what will it look like painted?
-
- Getting ready to spray the door shuts
-
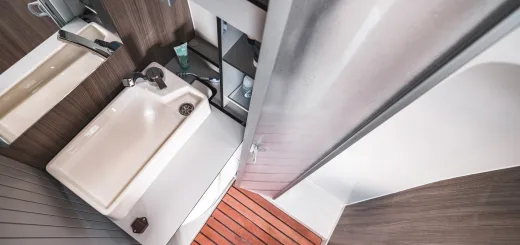
- Measuring (thrice) , cutting & fitting what will be the new shower room window
-
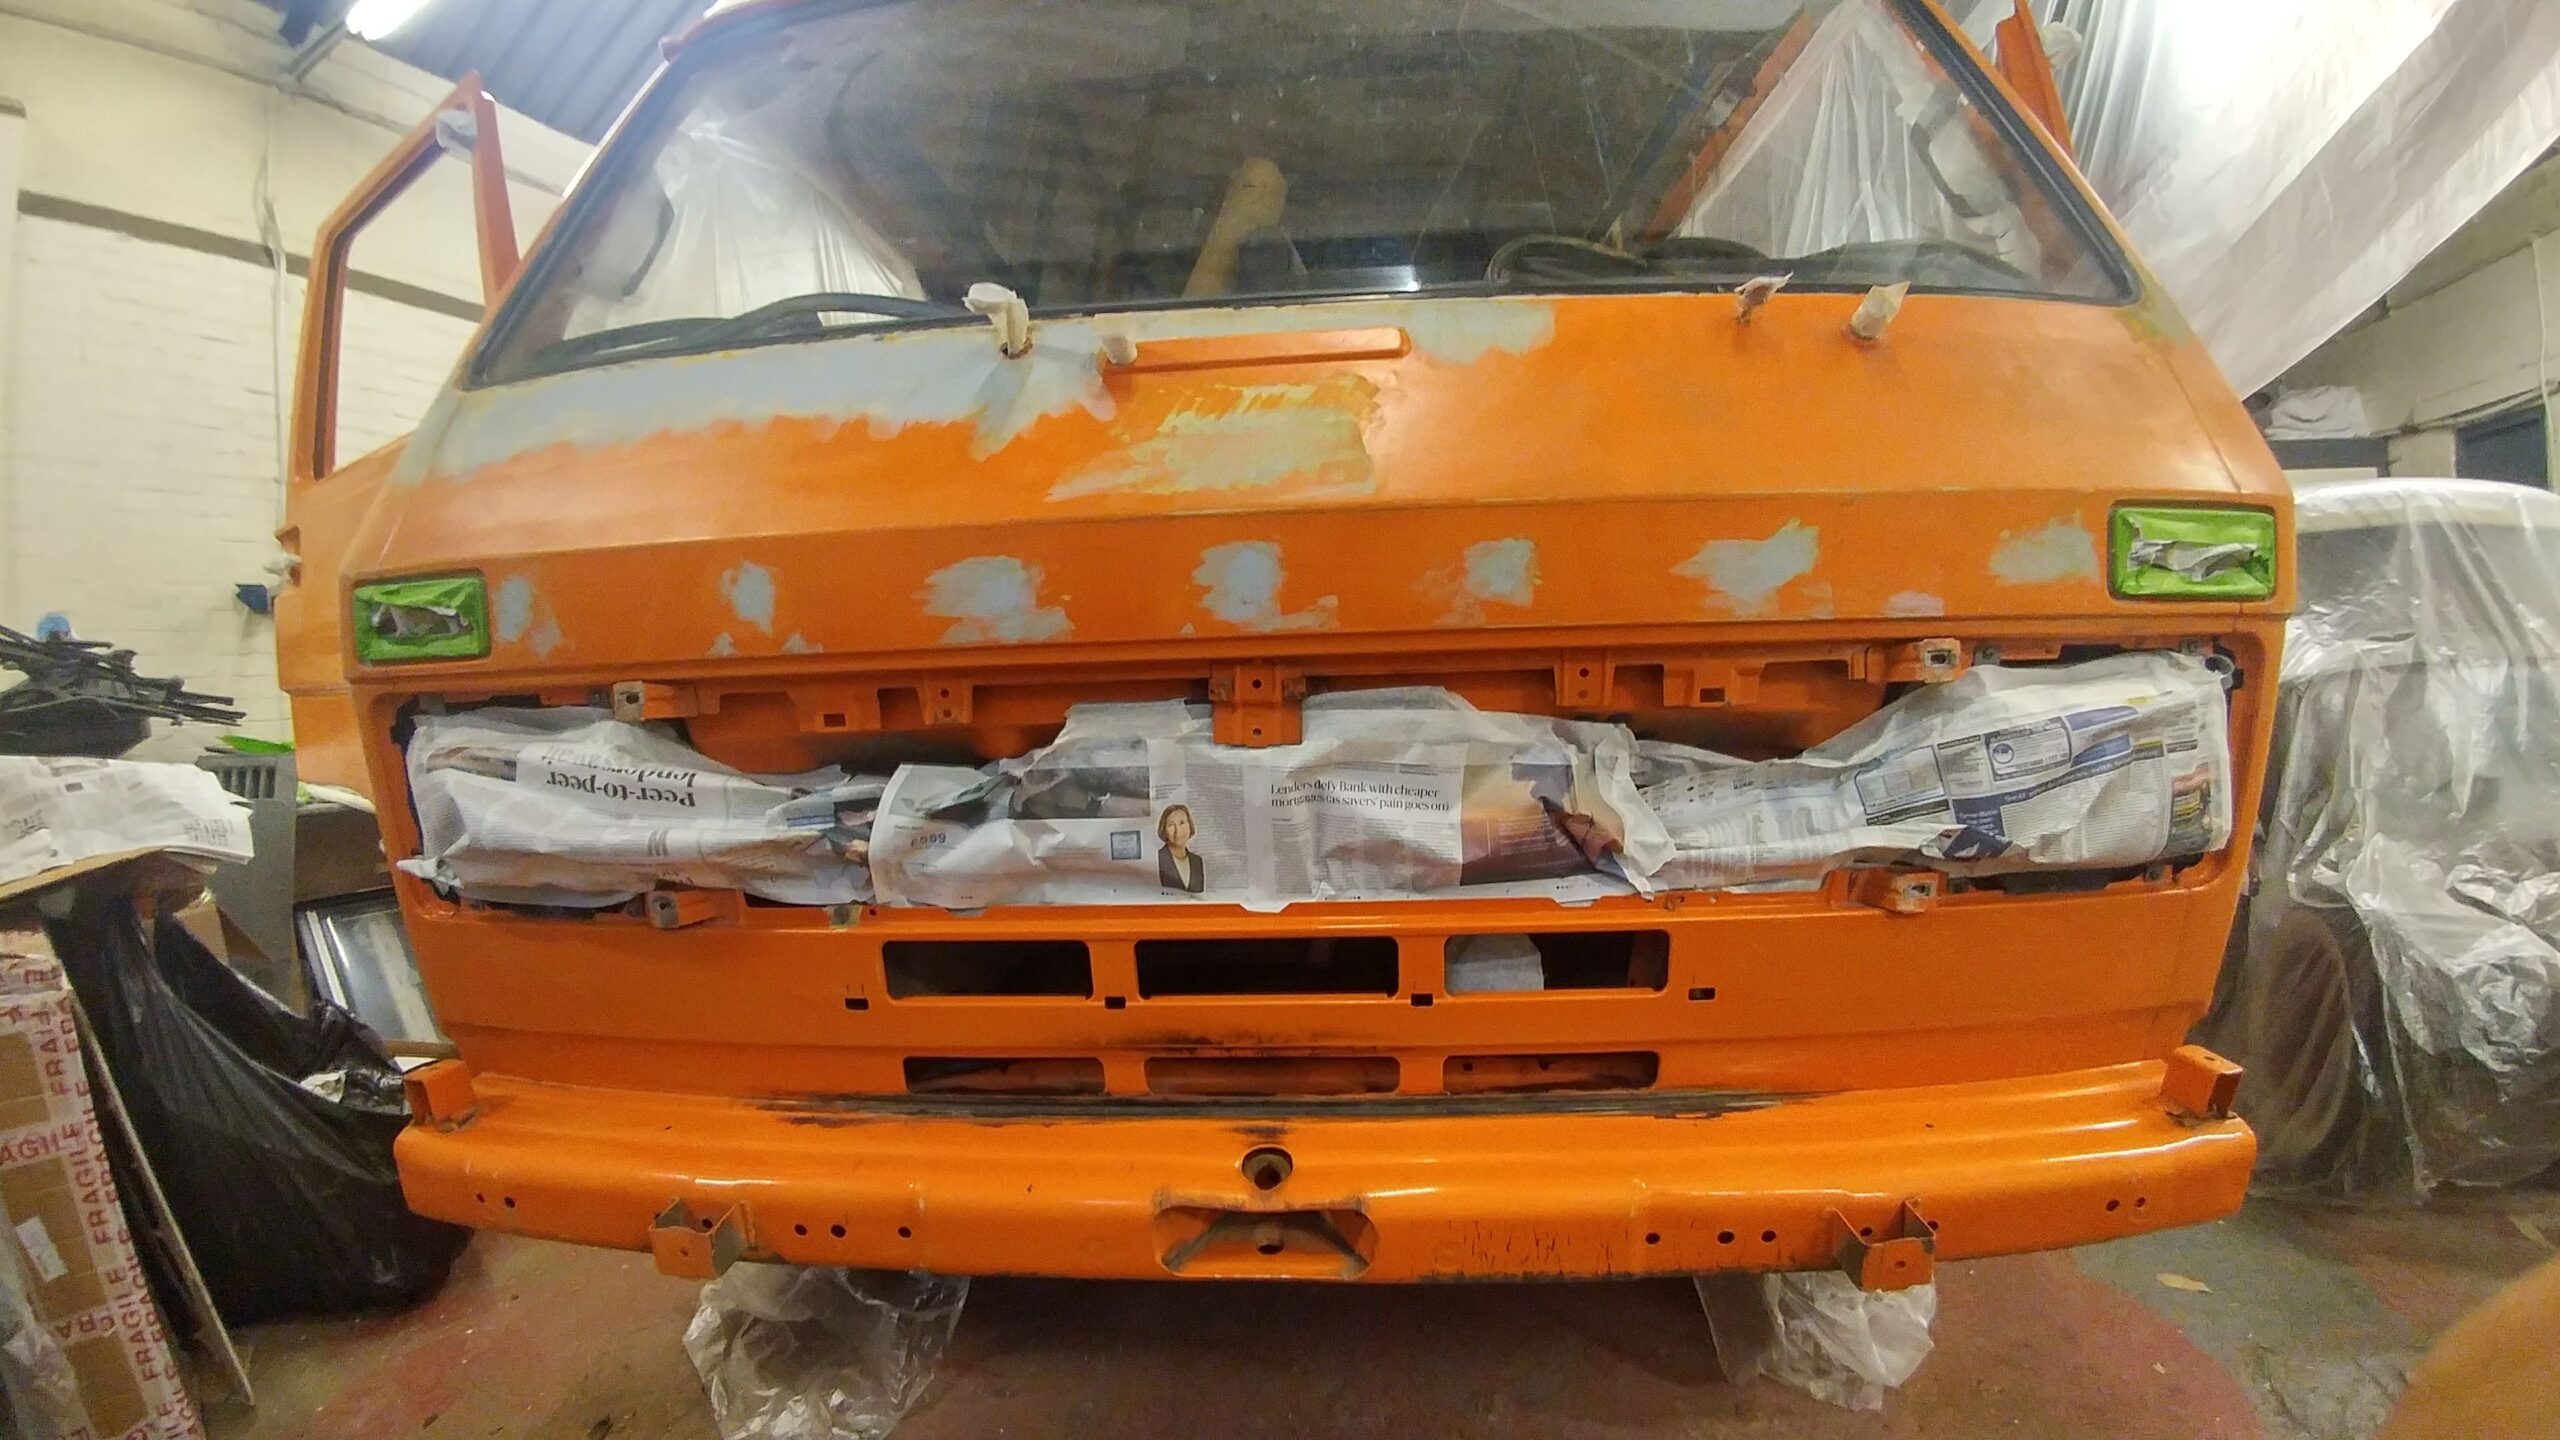
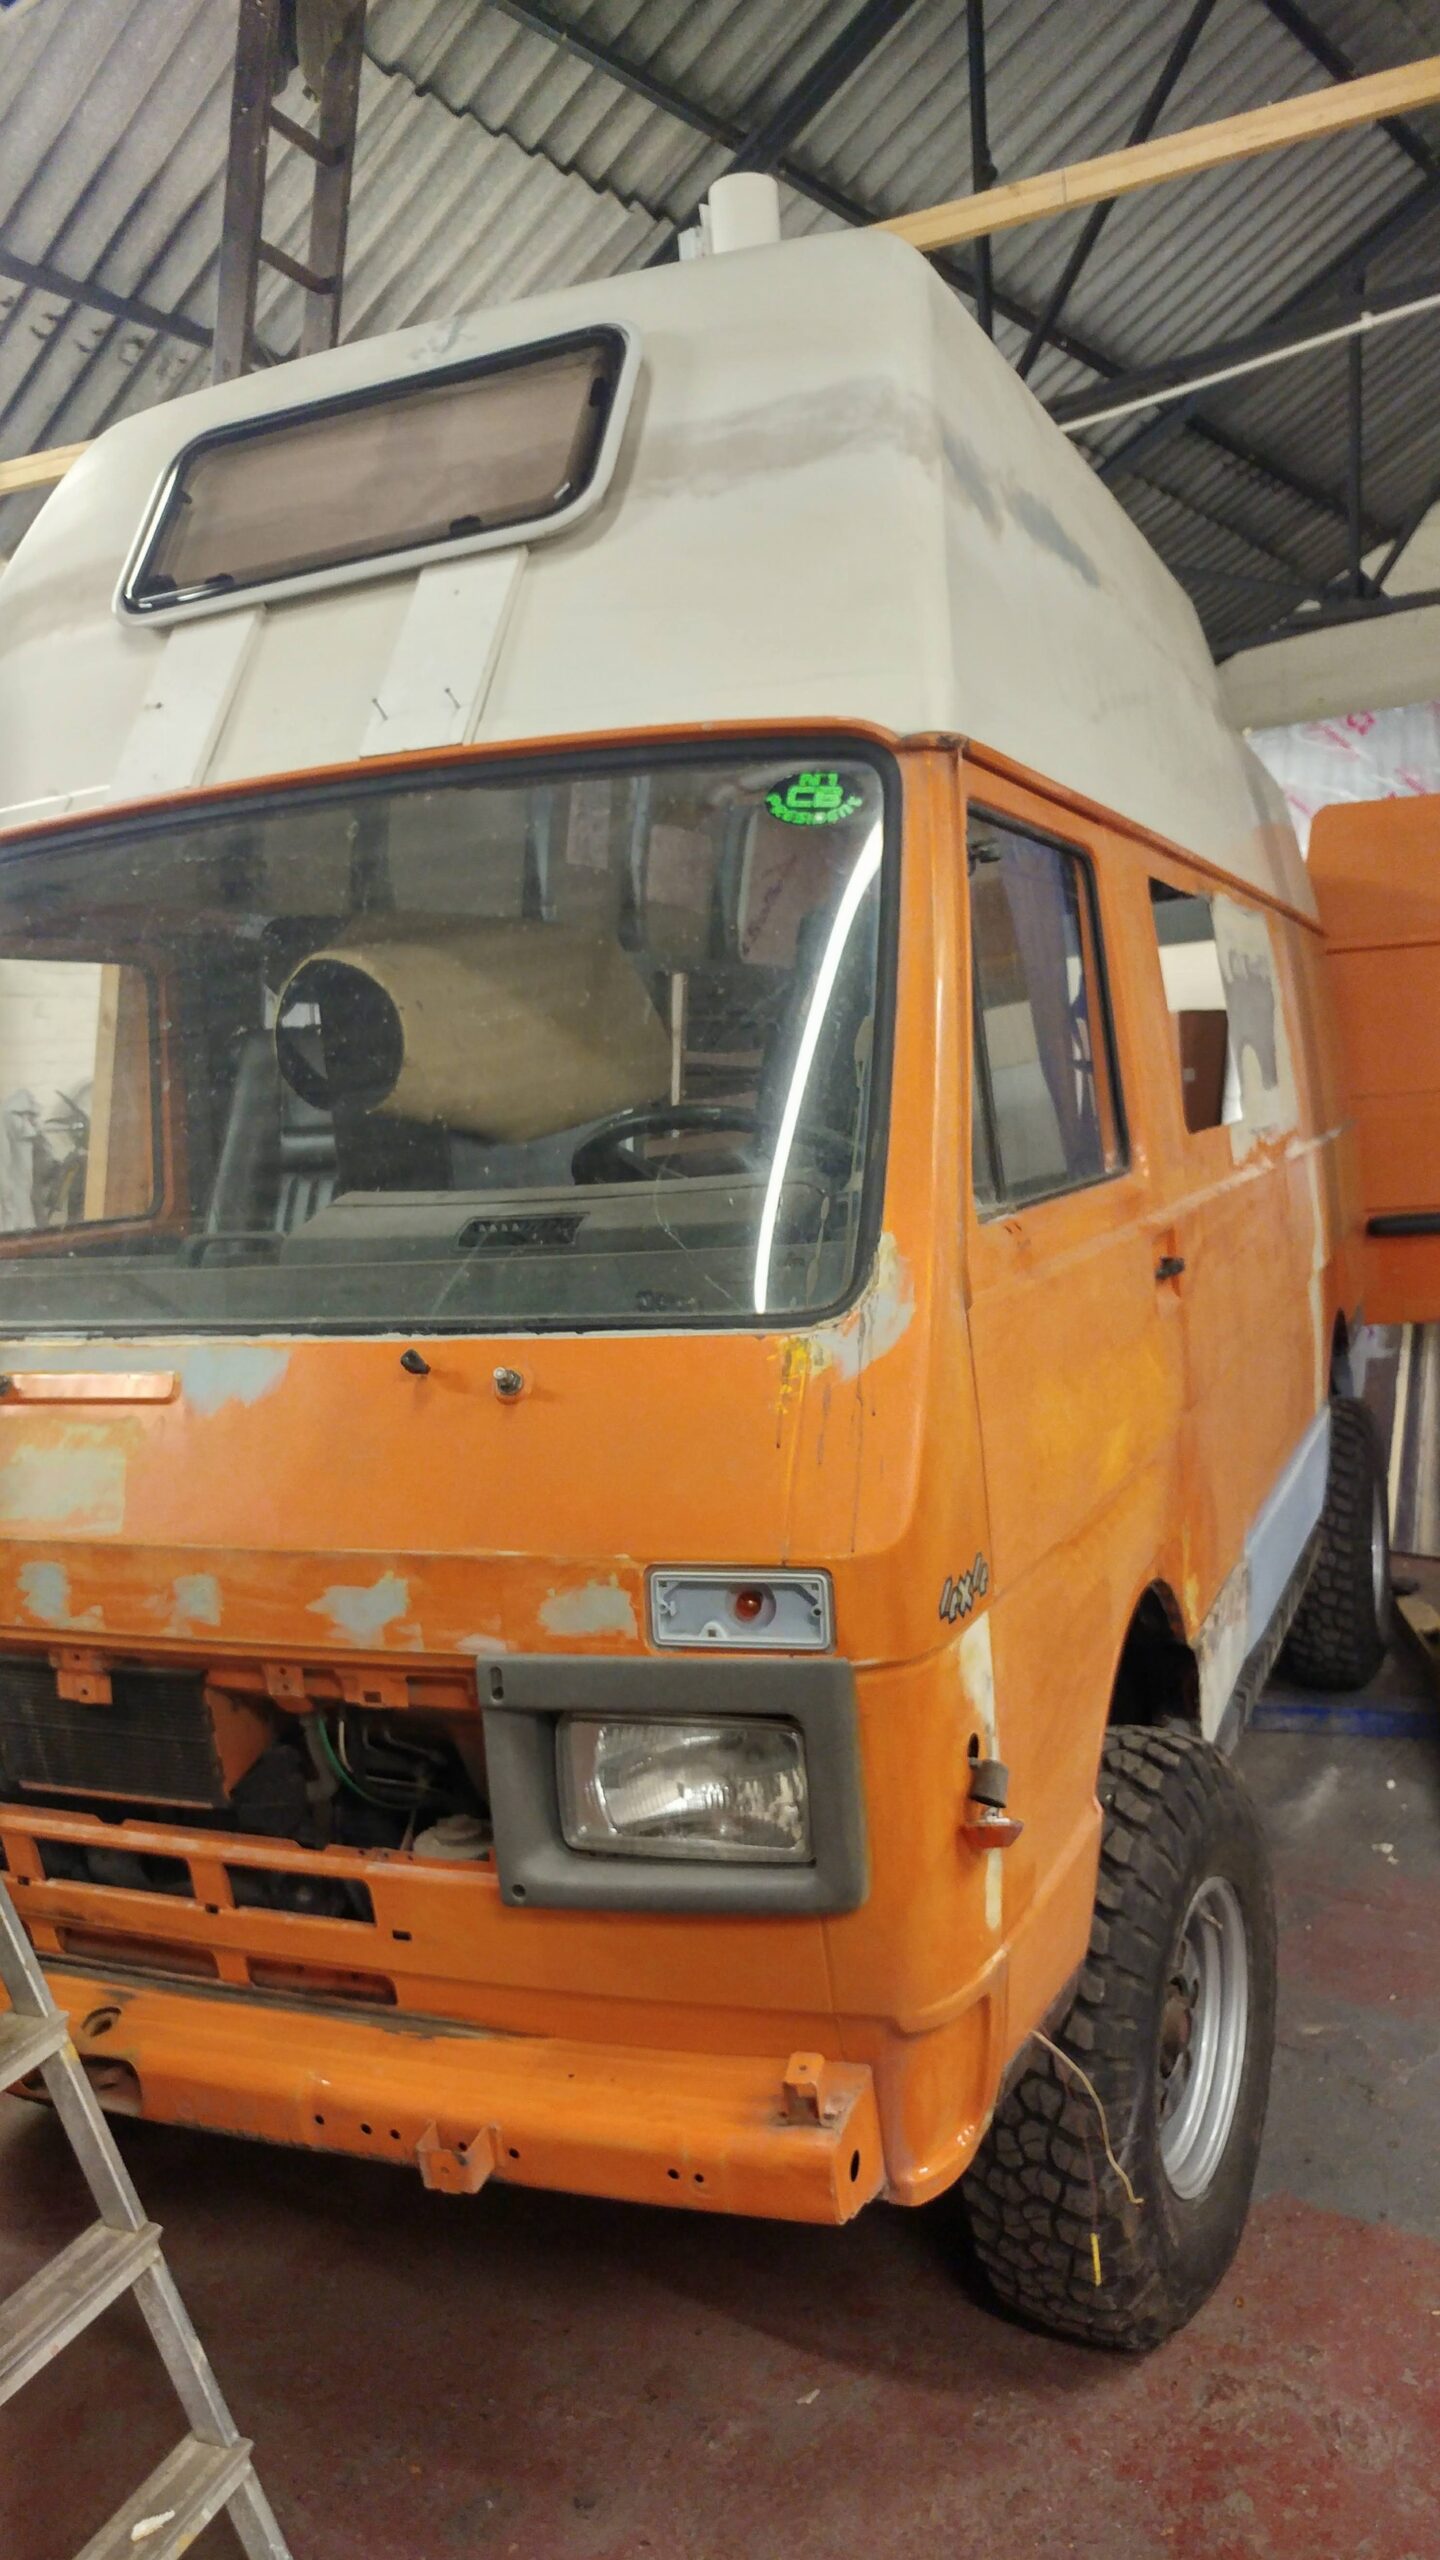
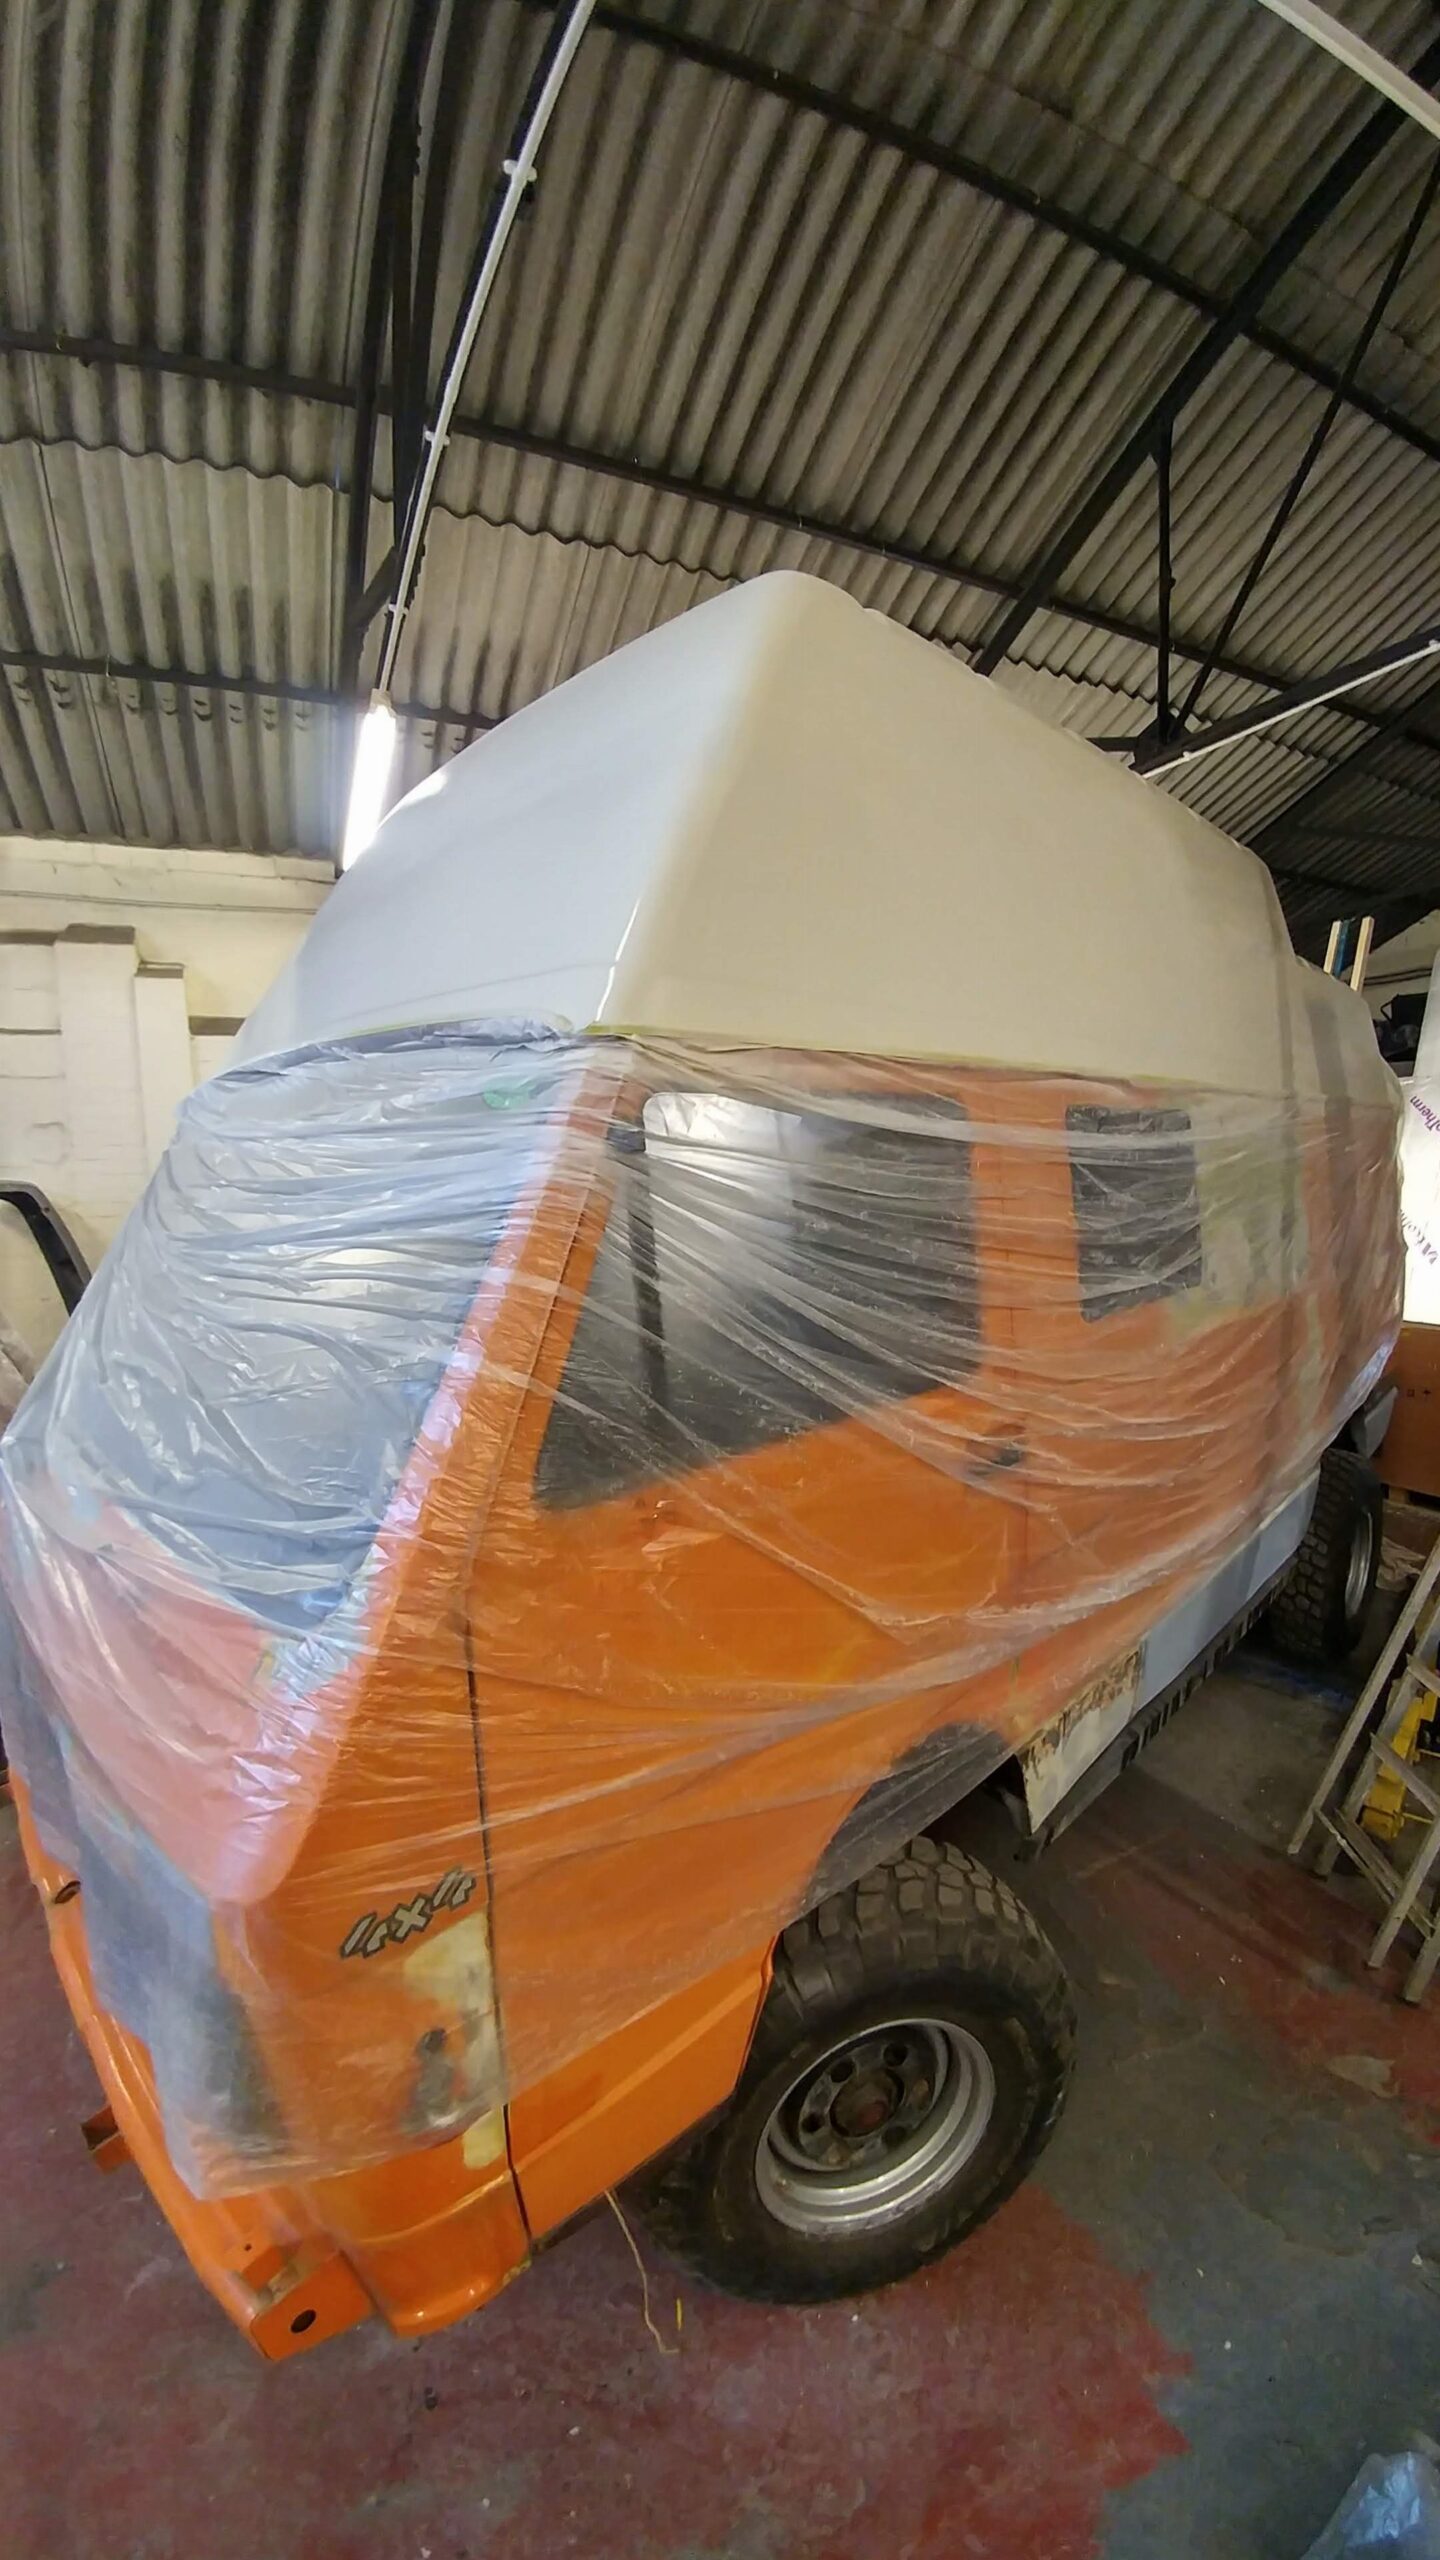
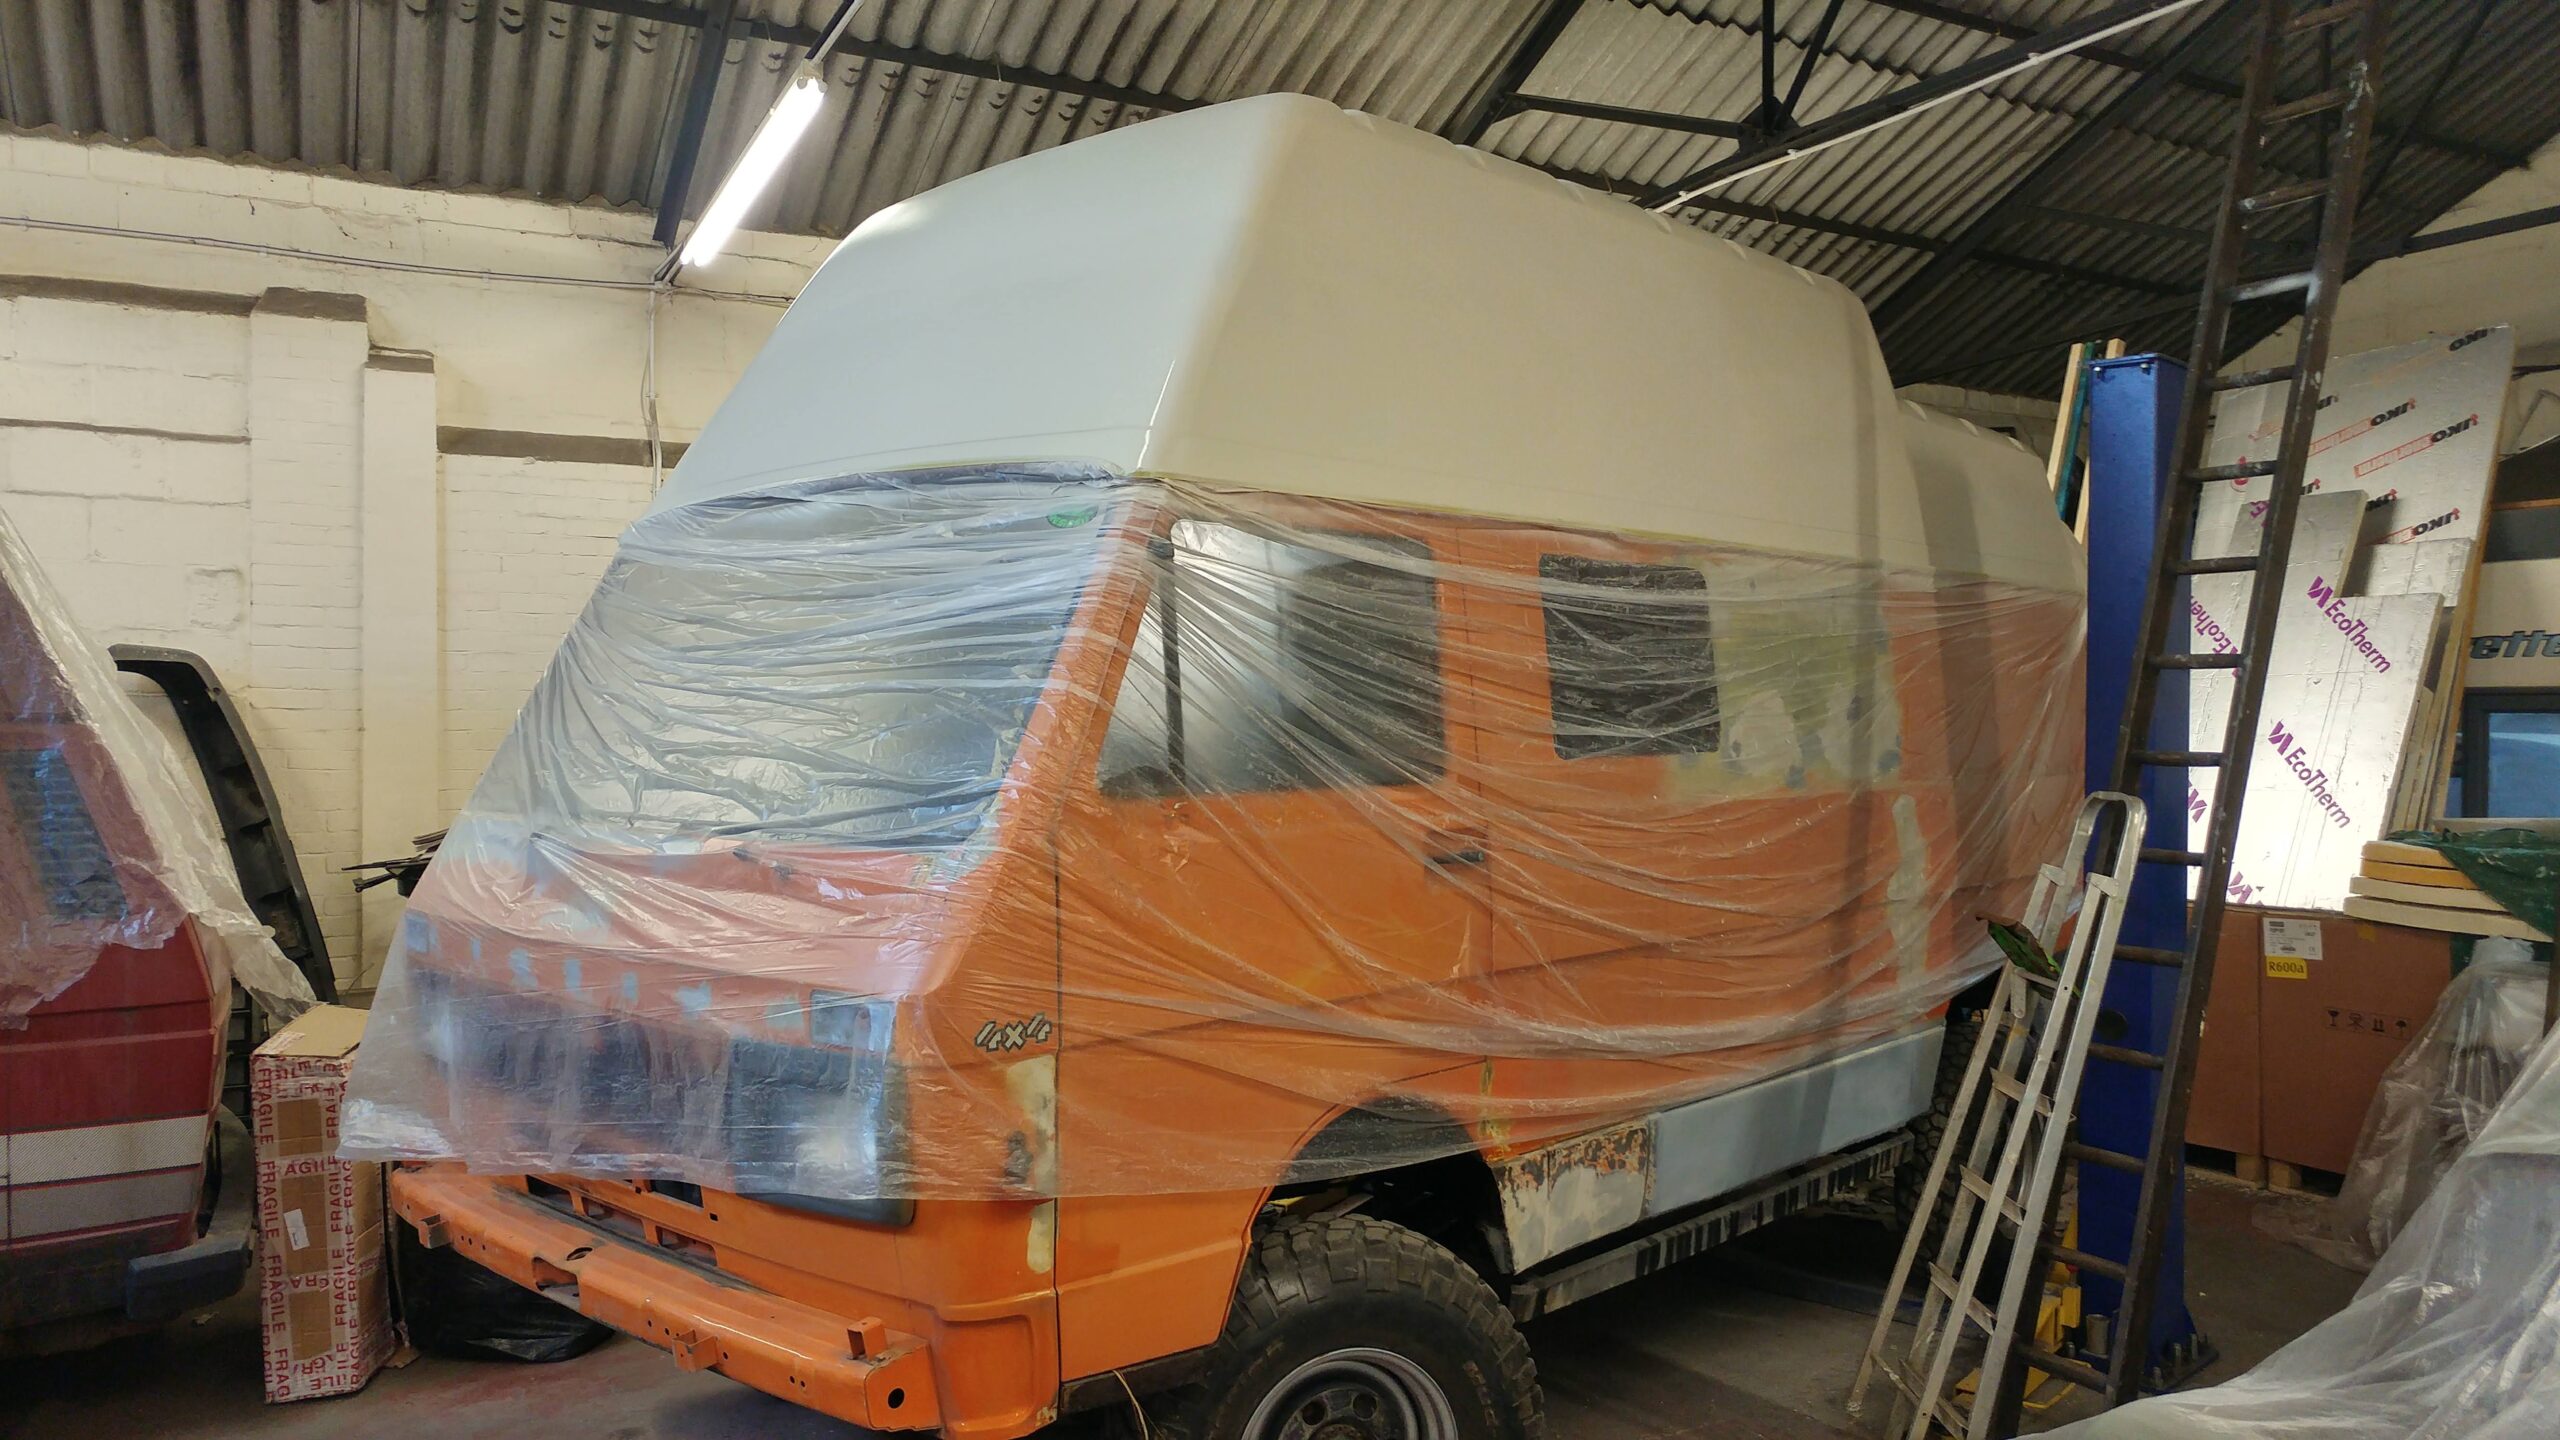
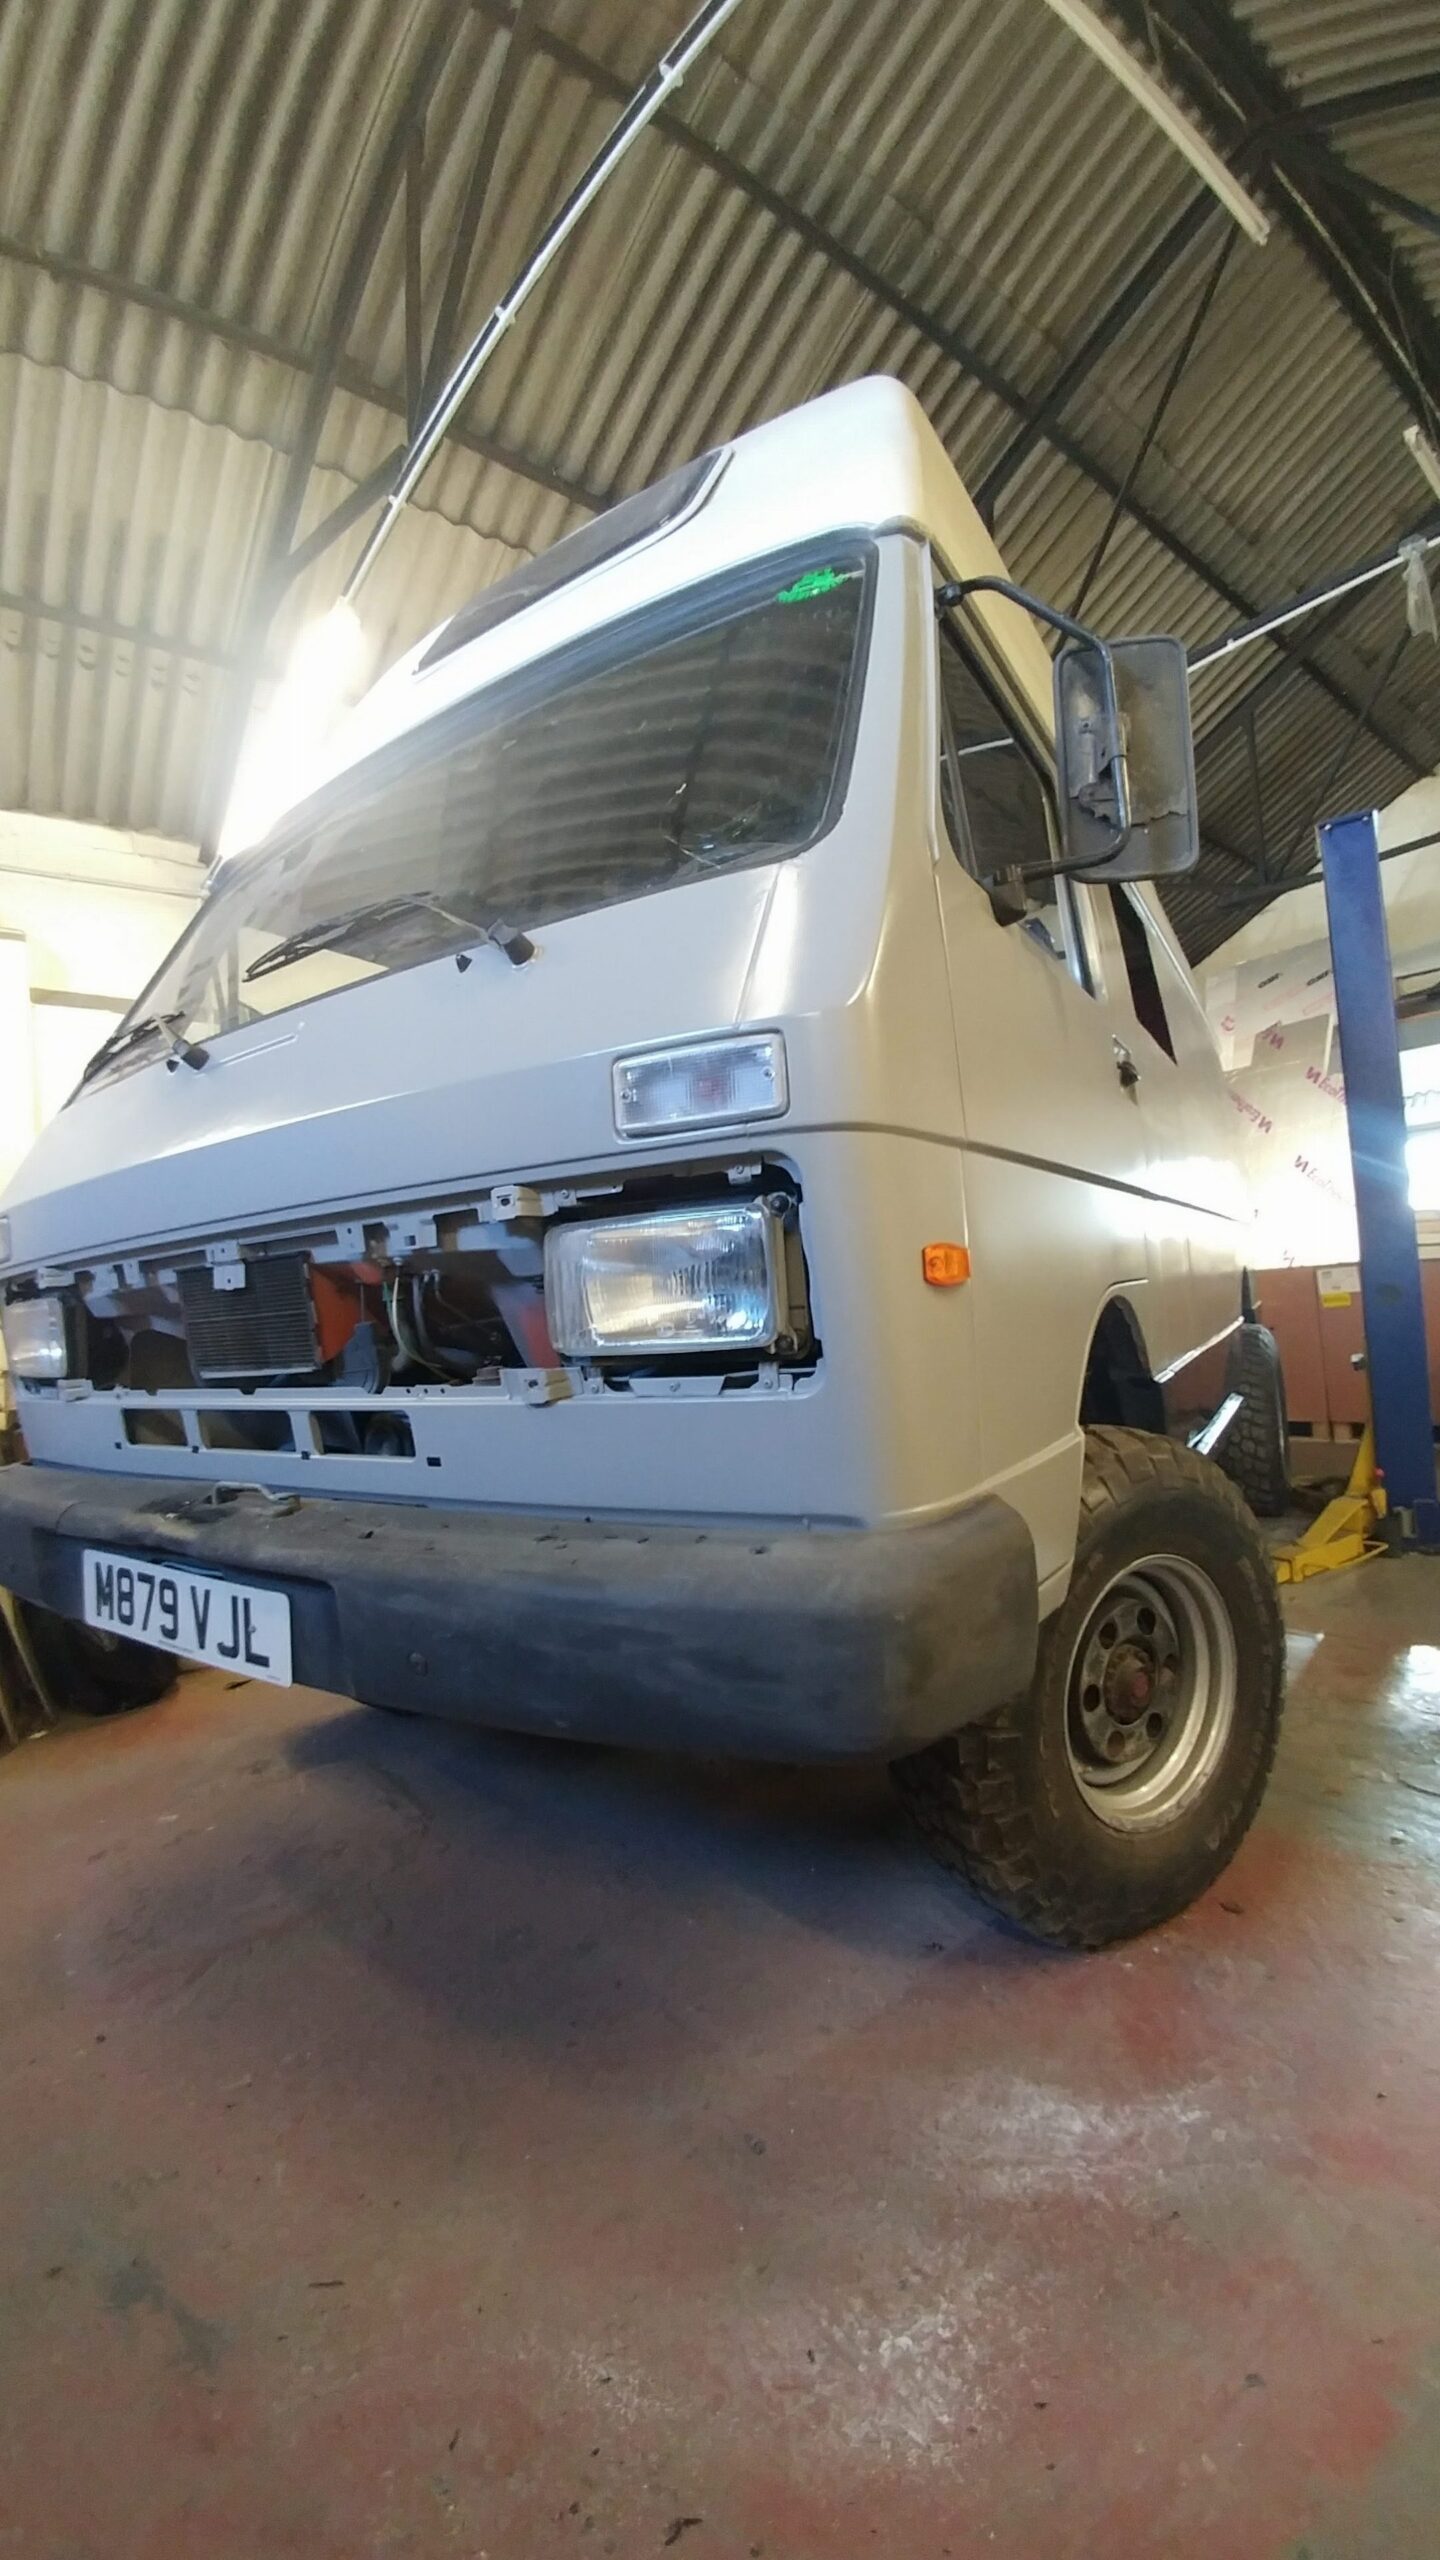
- Goodbye beautiful orange 🙁
-
- …and now… are you ready?!
[fve]https://www.youtube.com/watch?v=-28BmBPwUPQ[/fve]
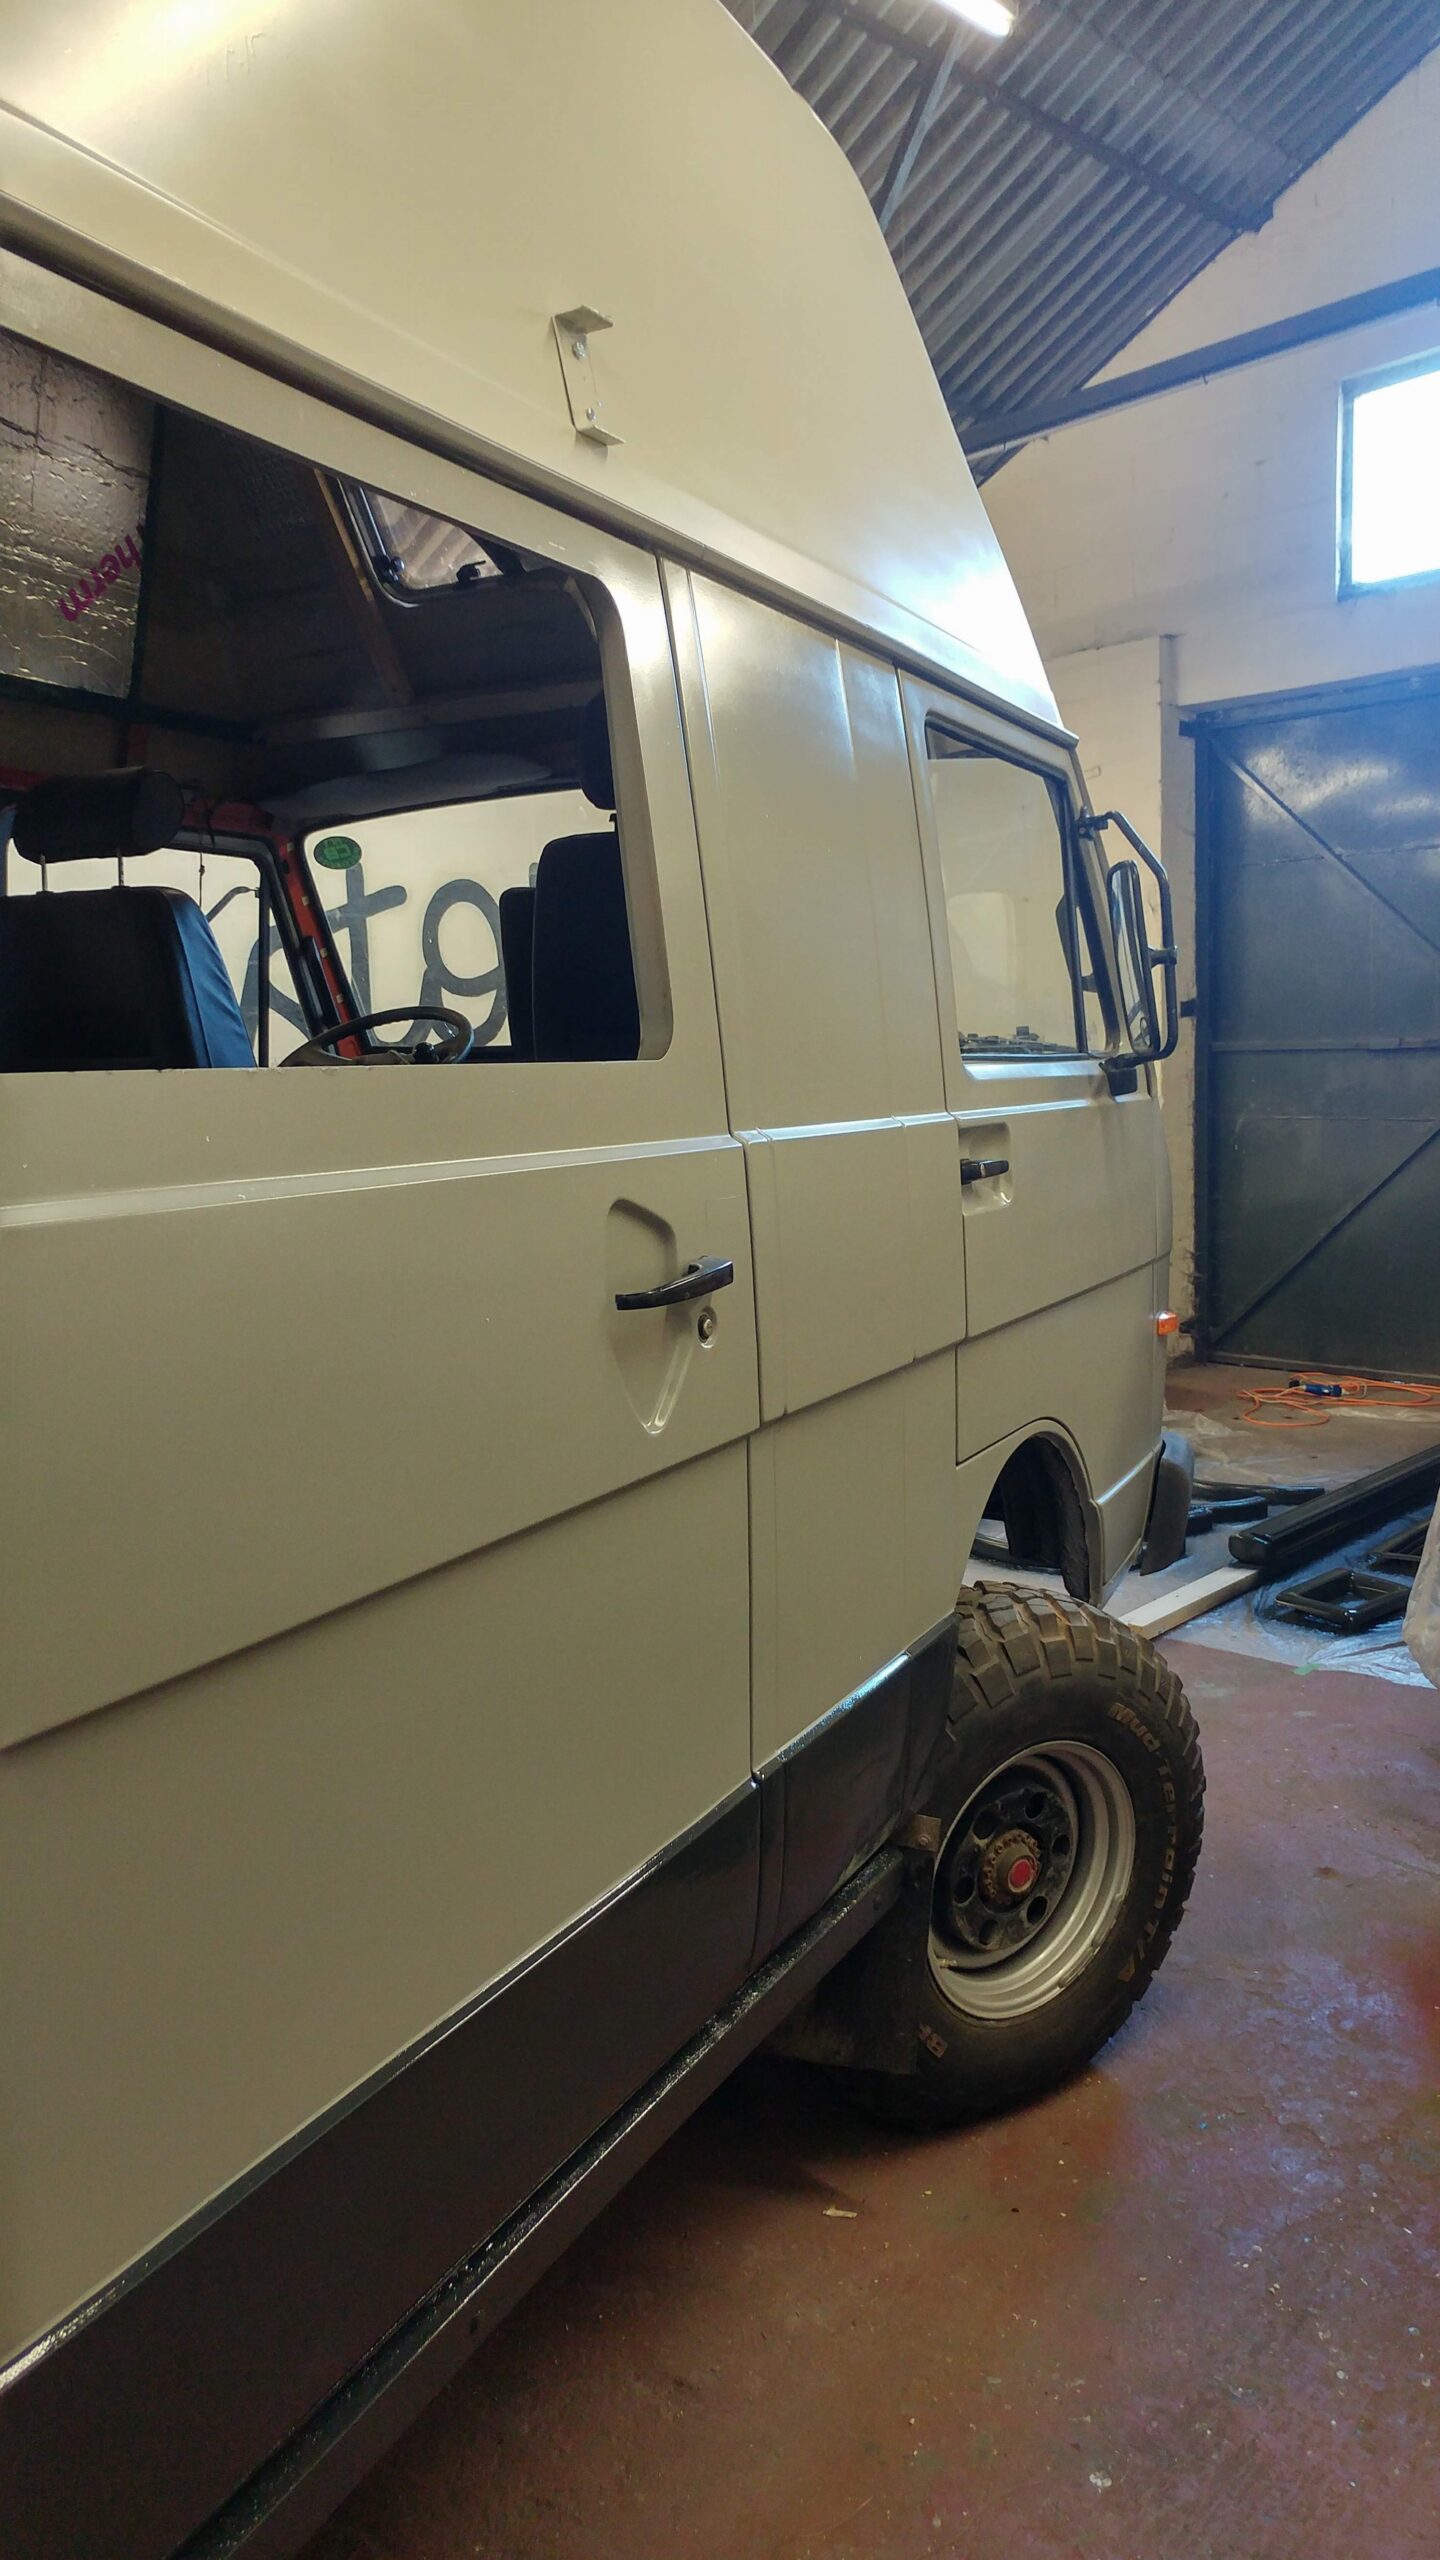
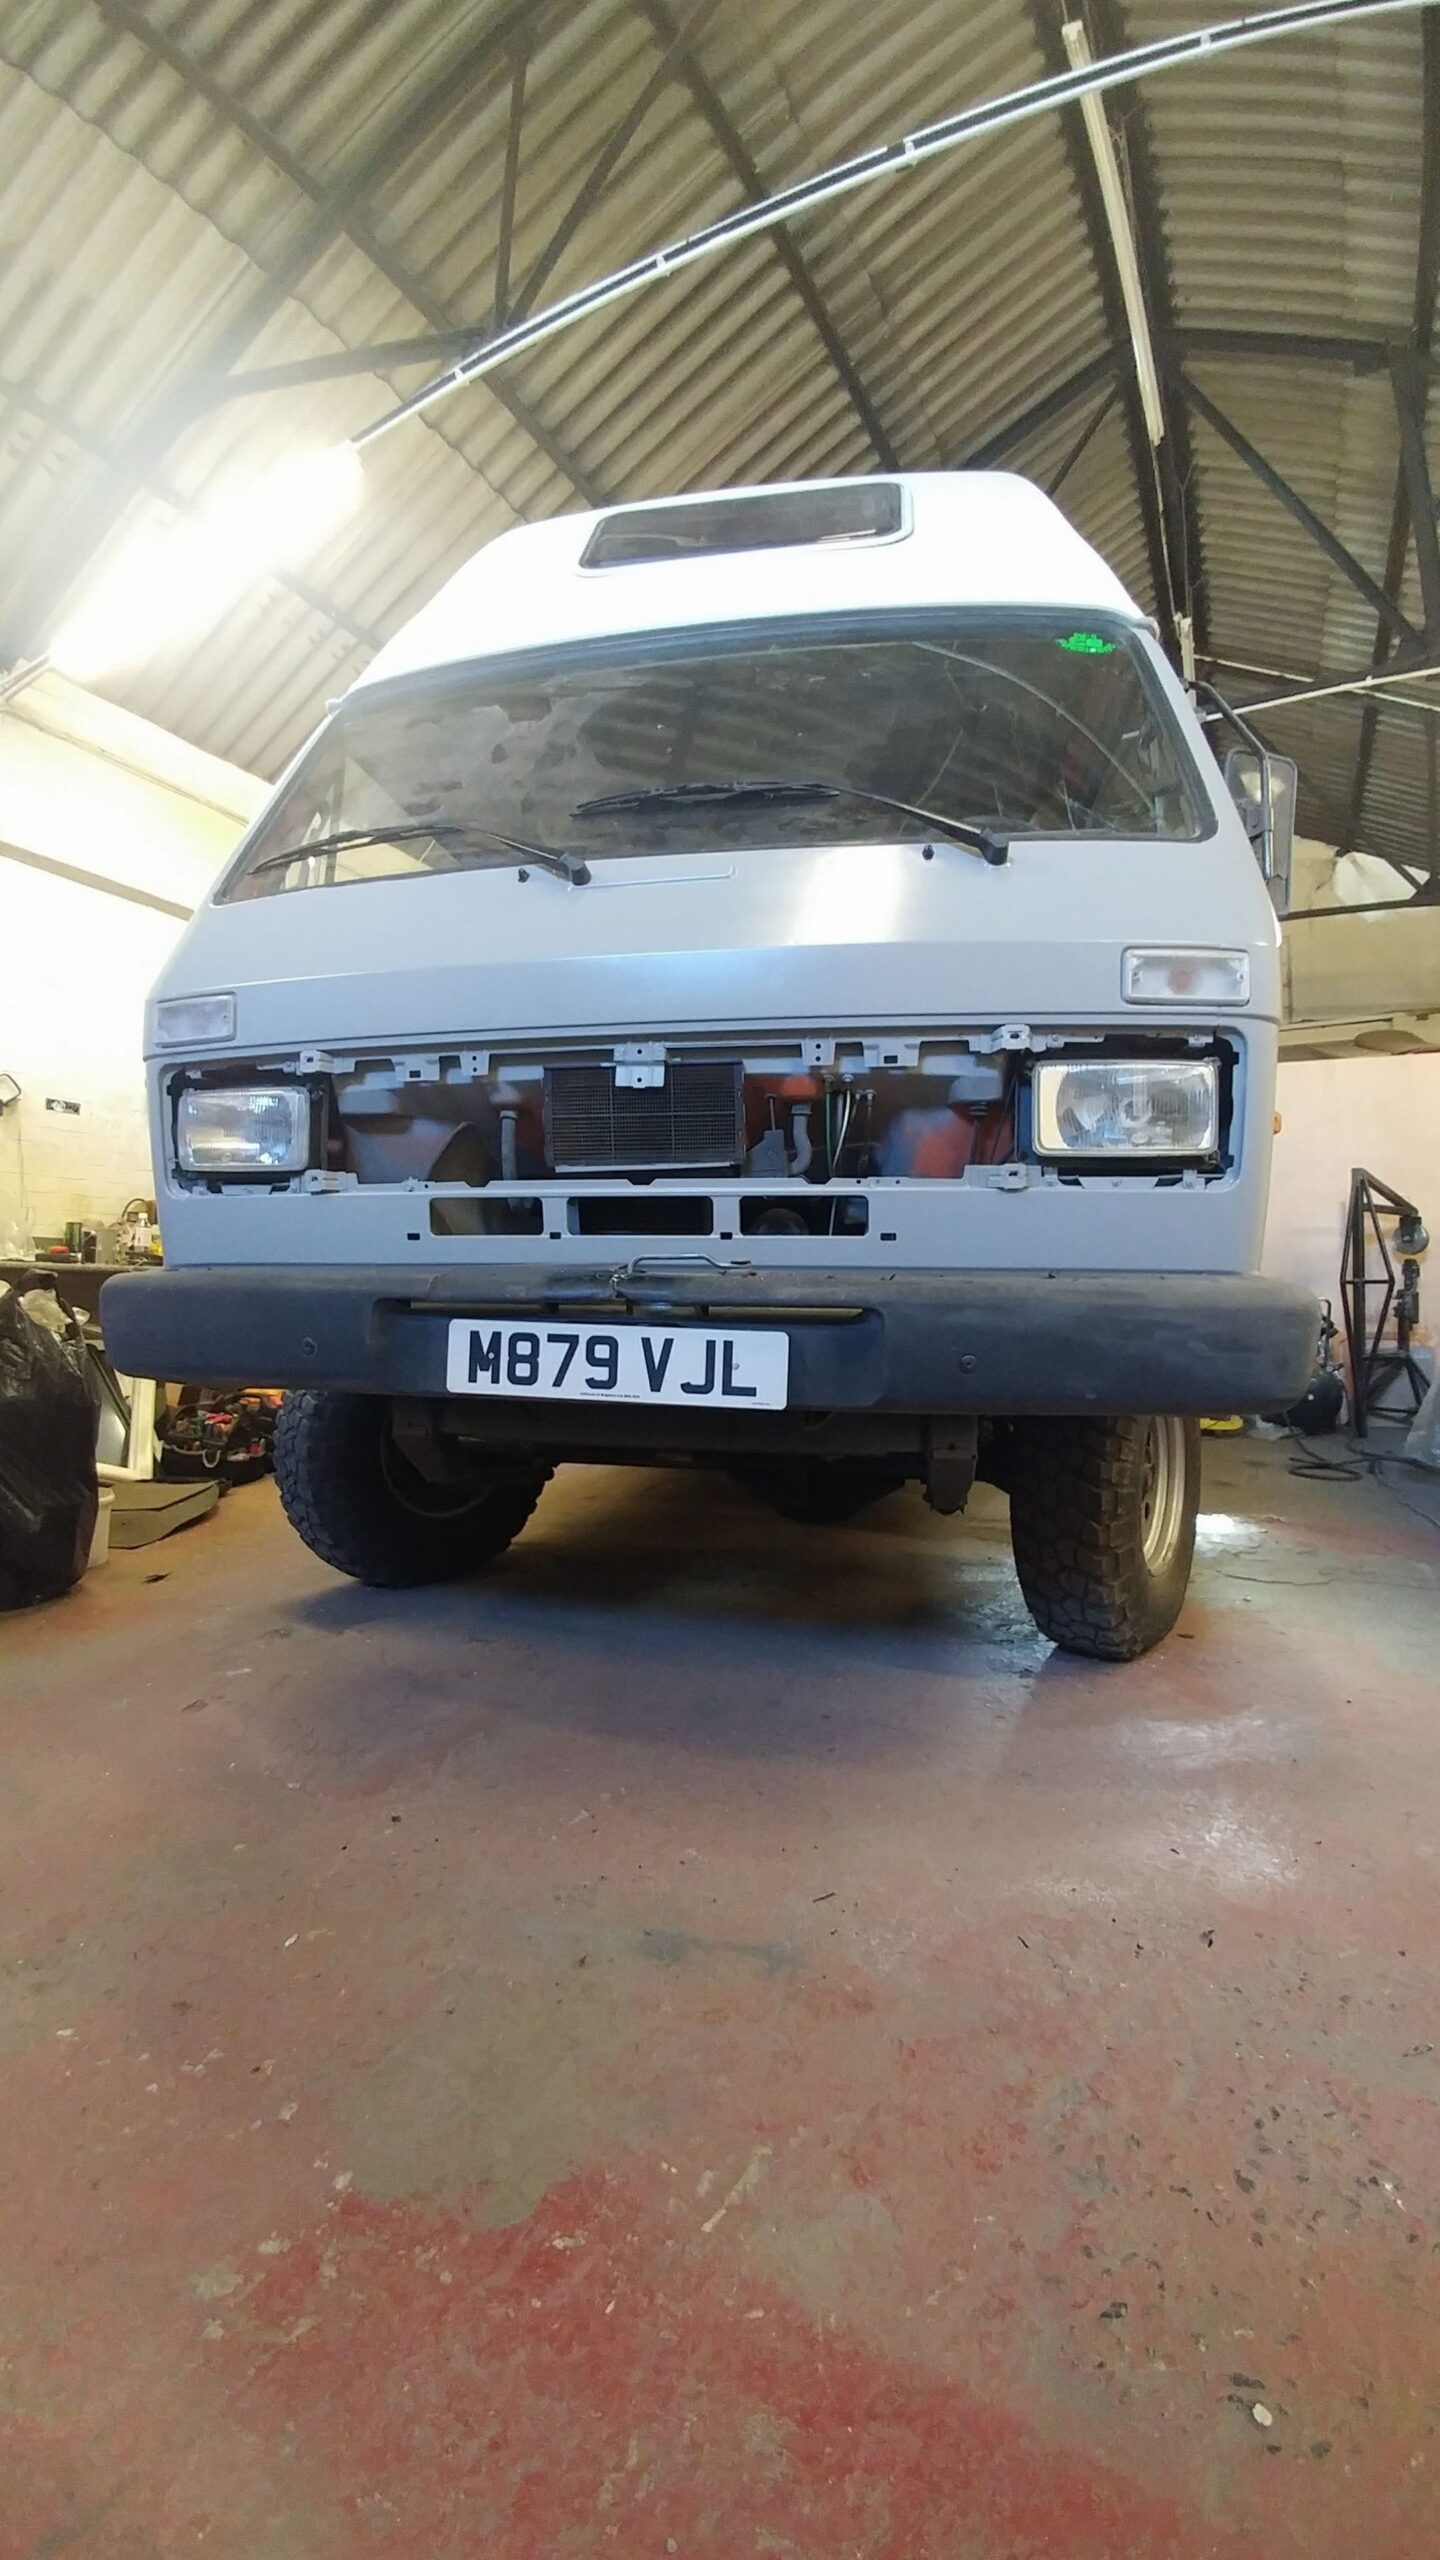
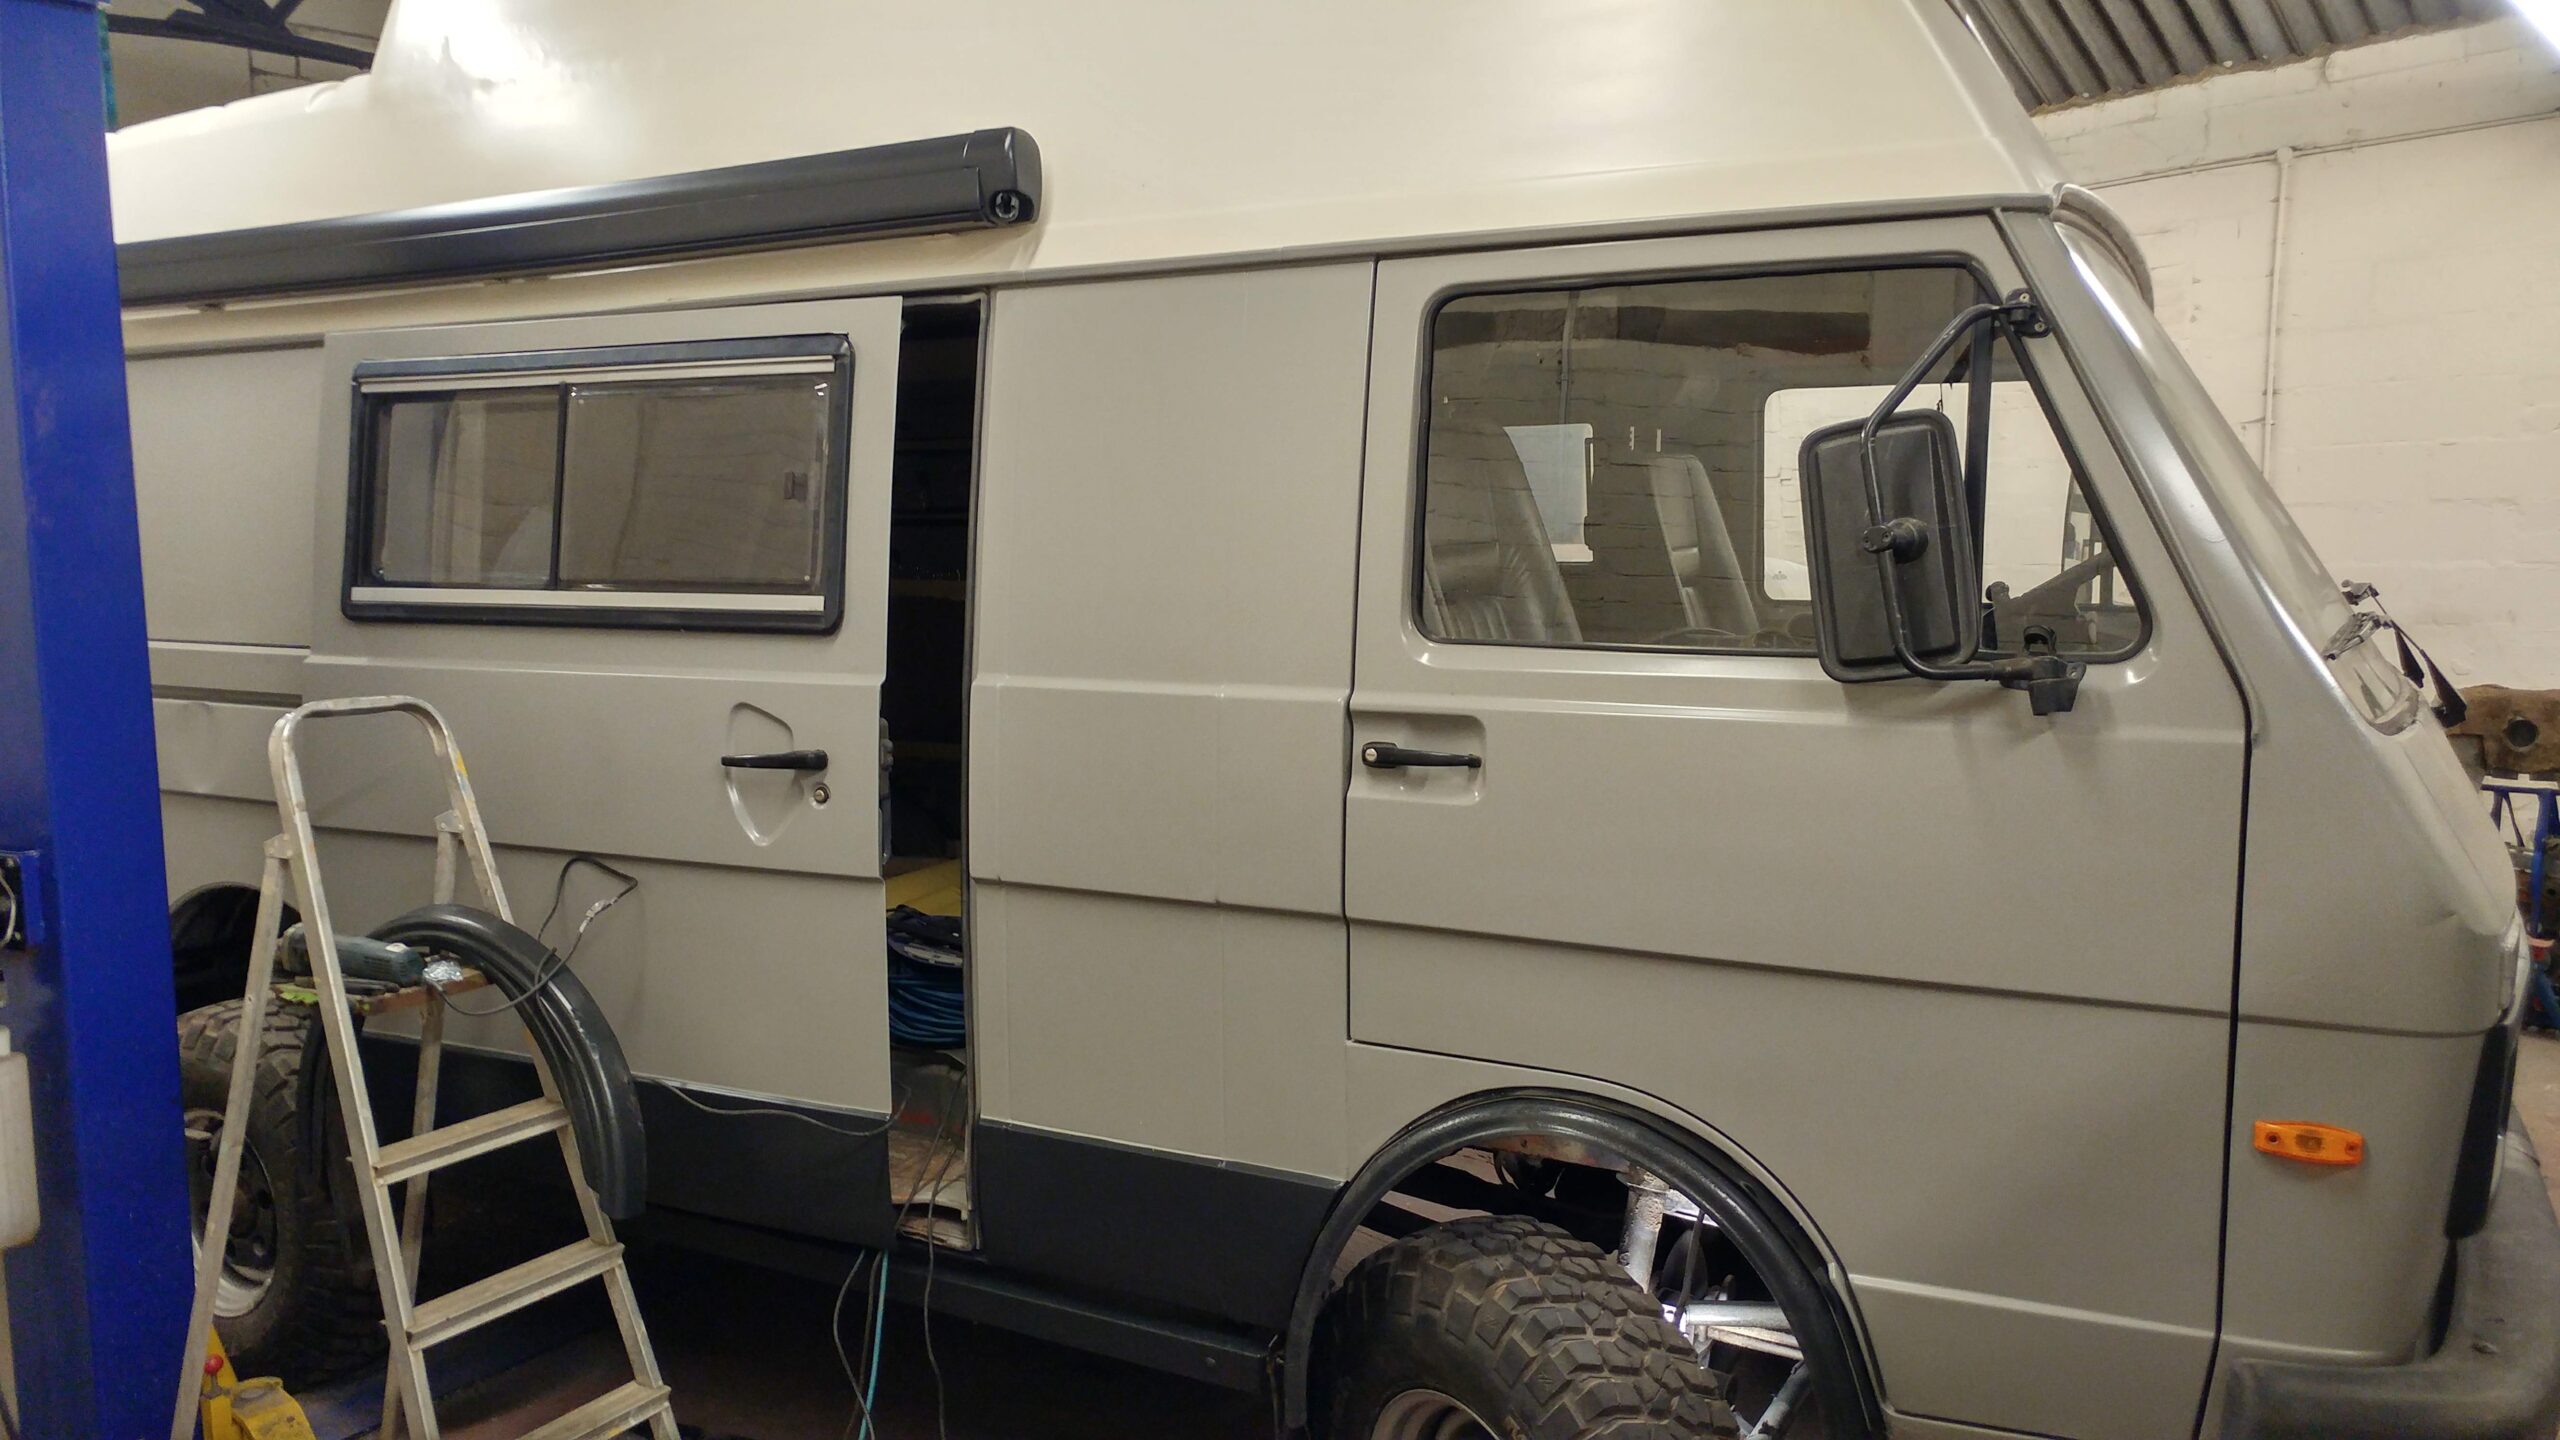
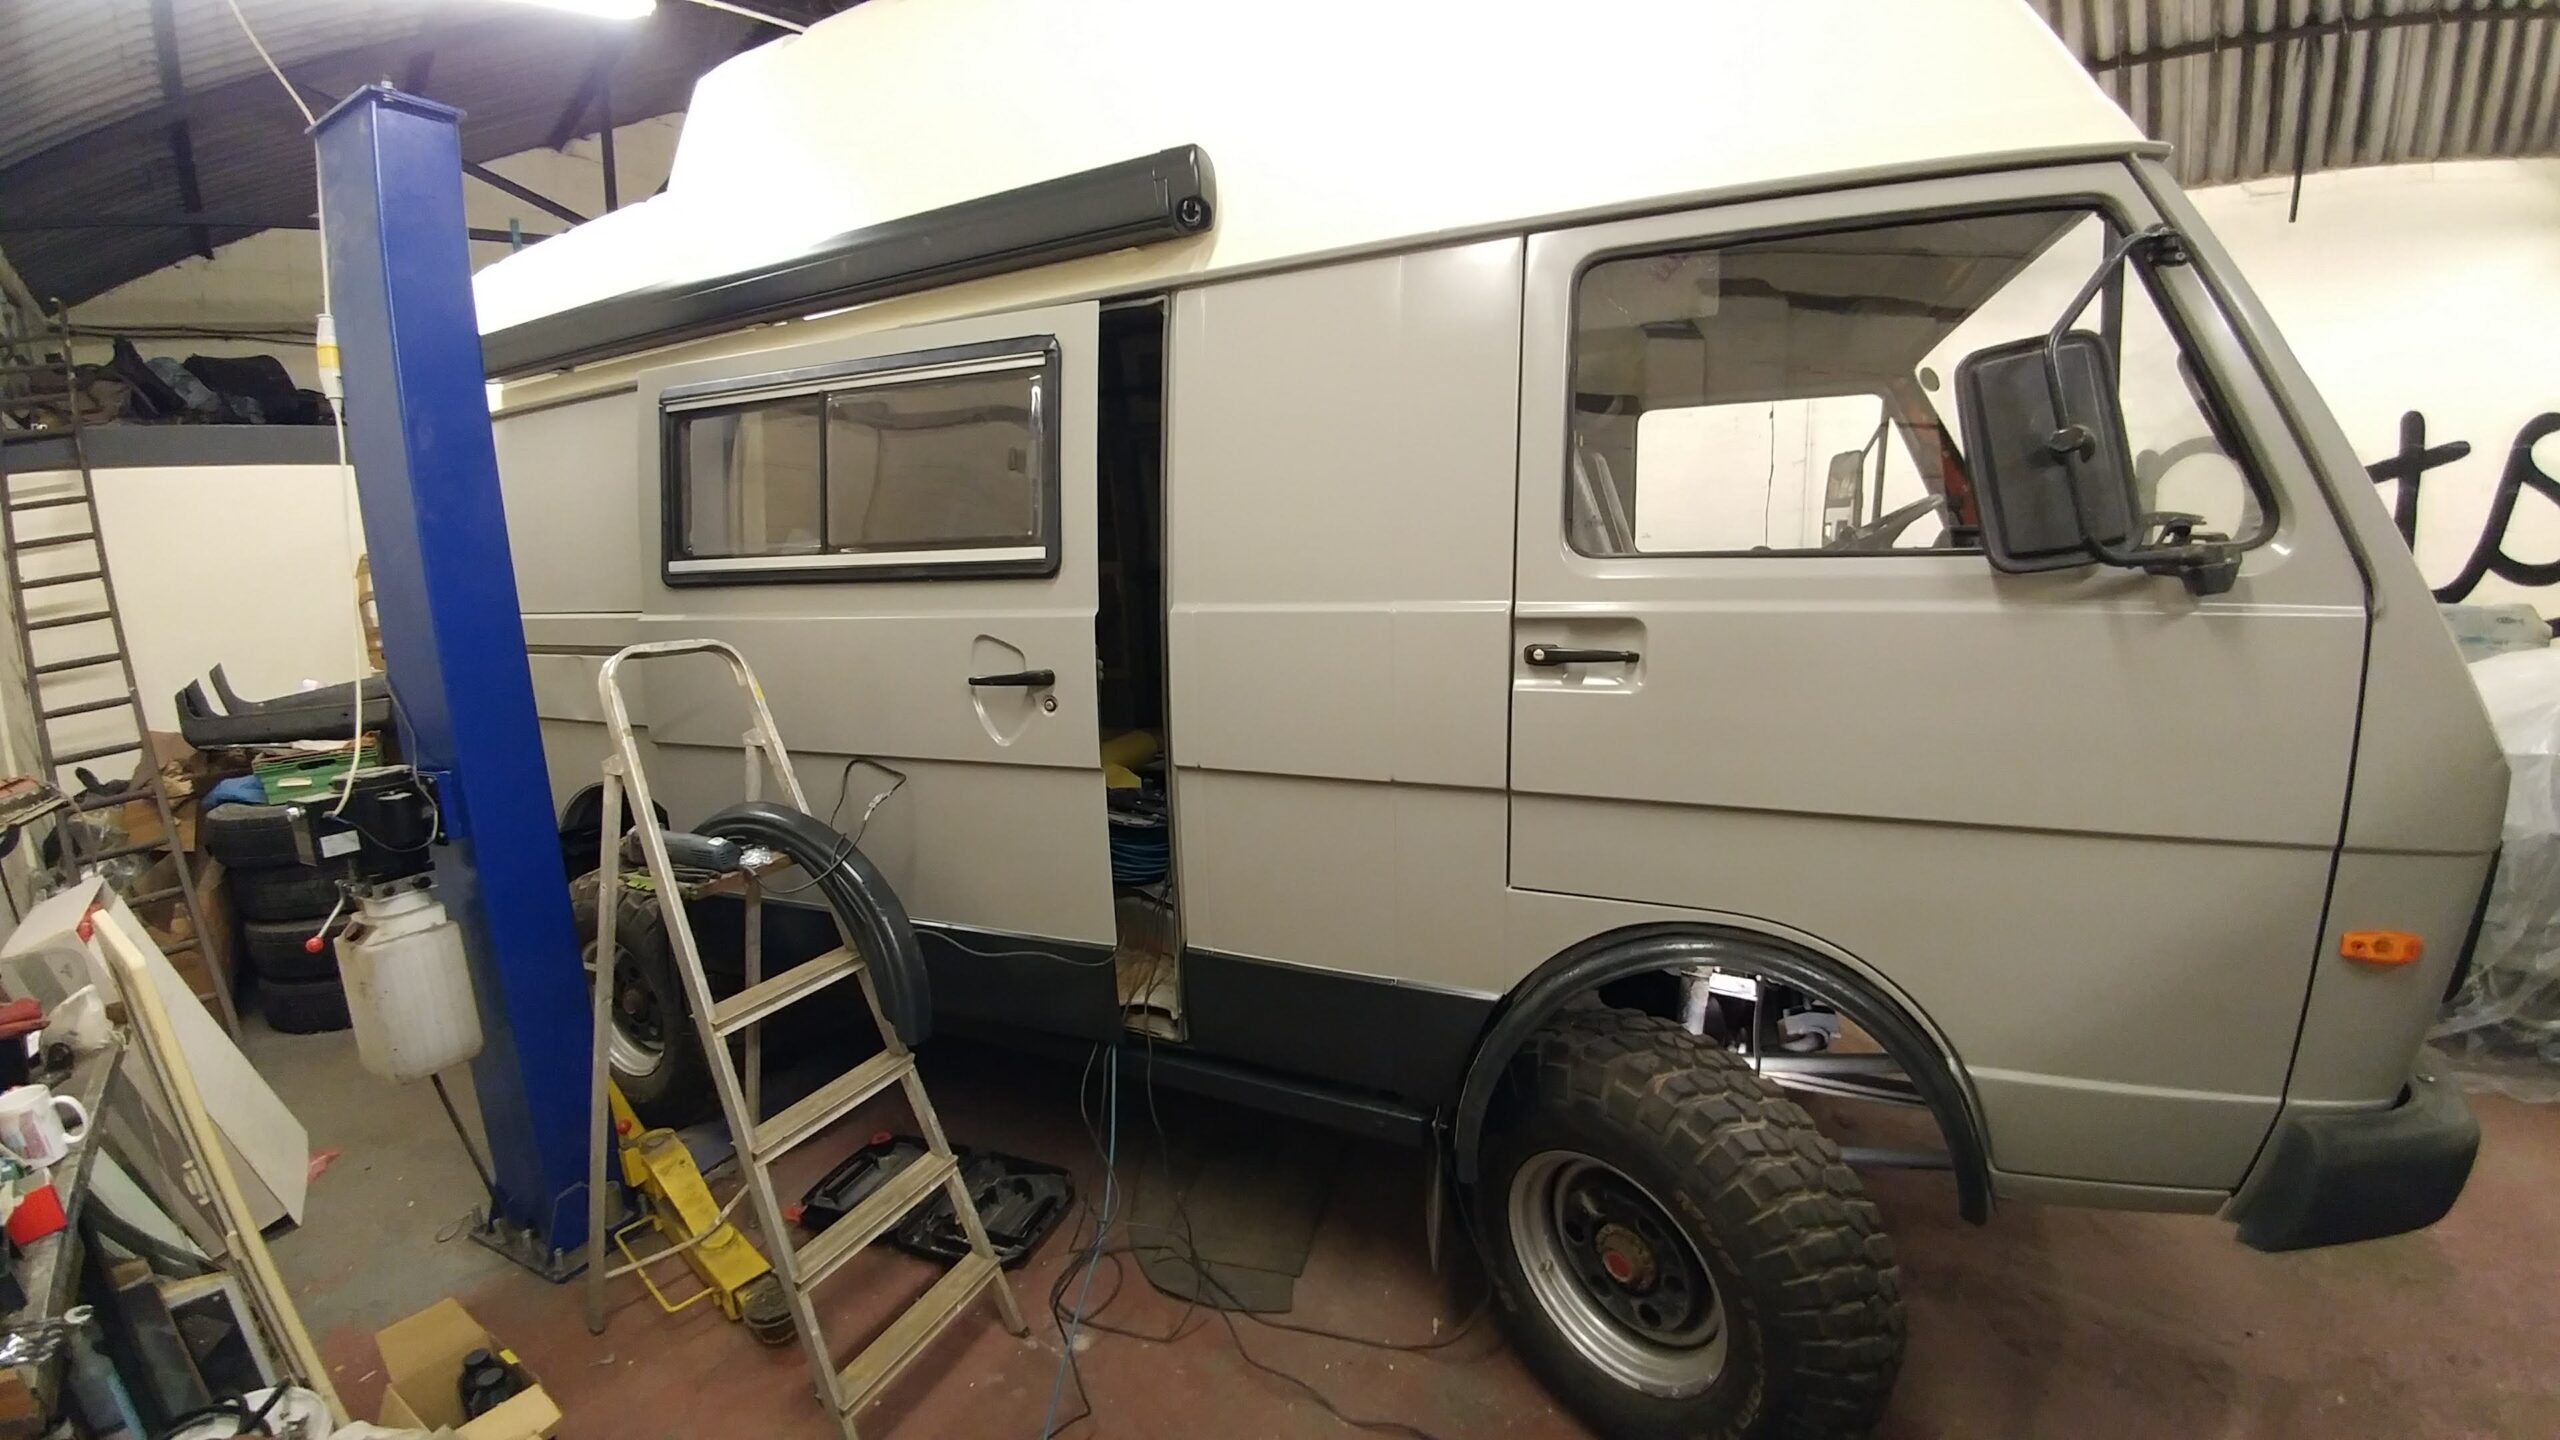
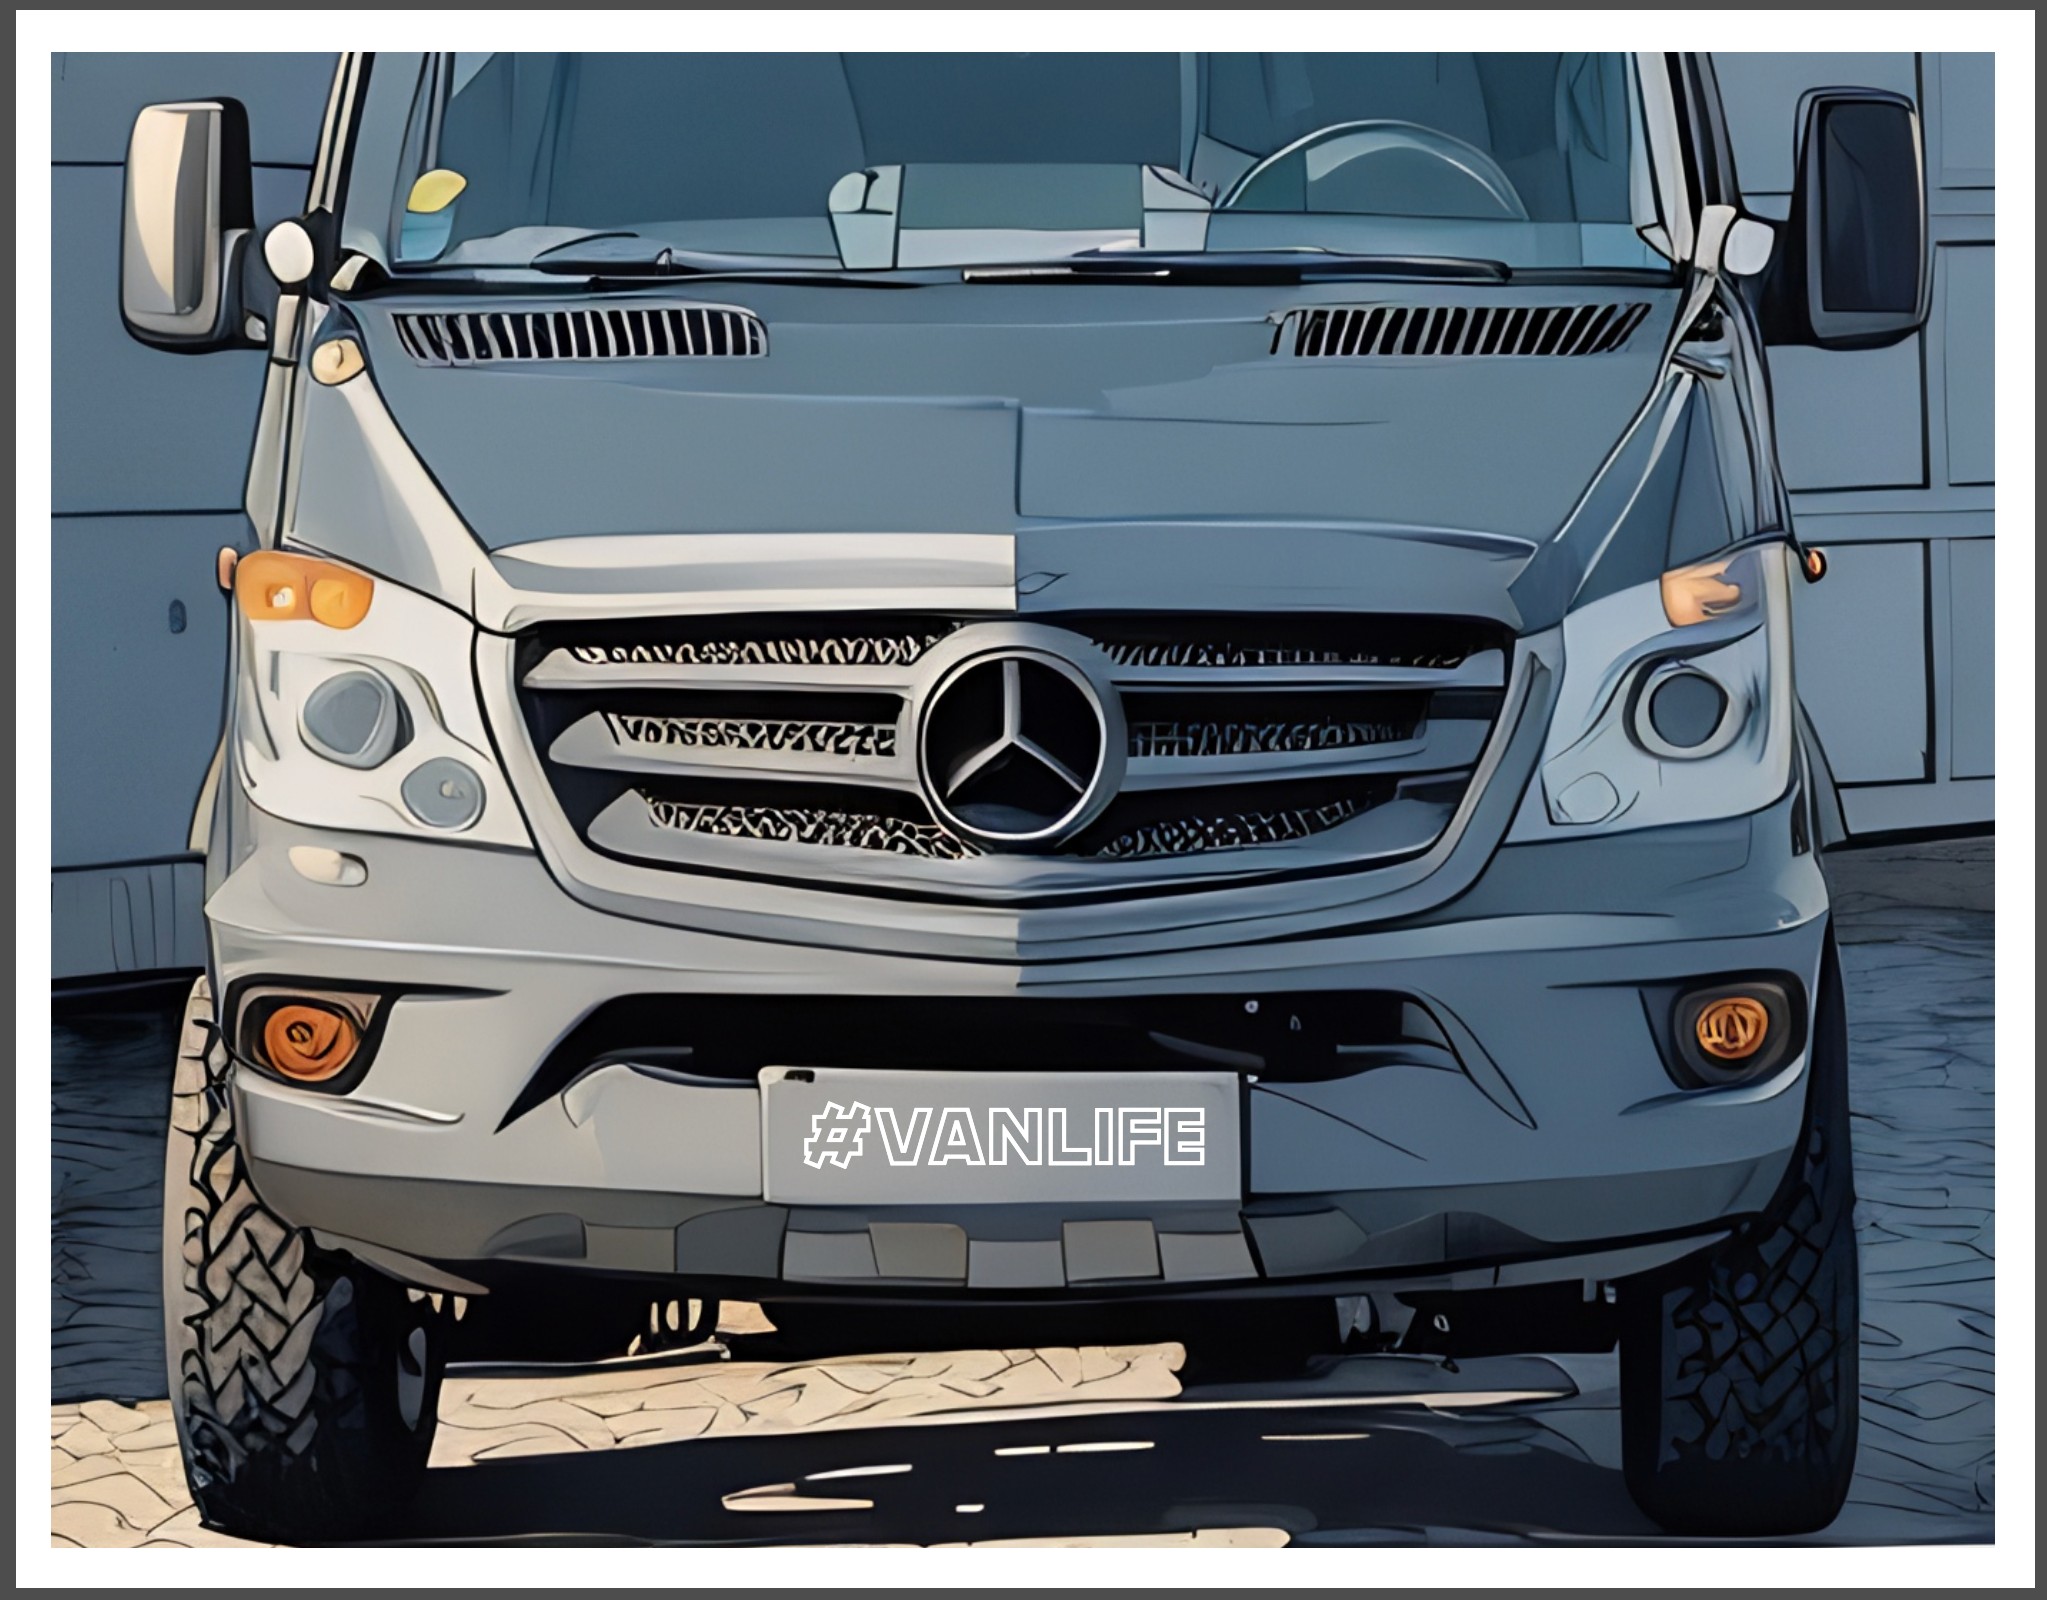
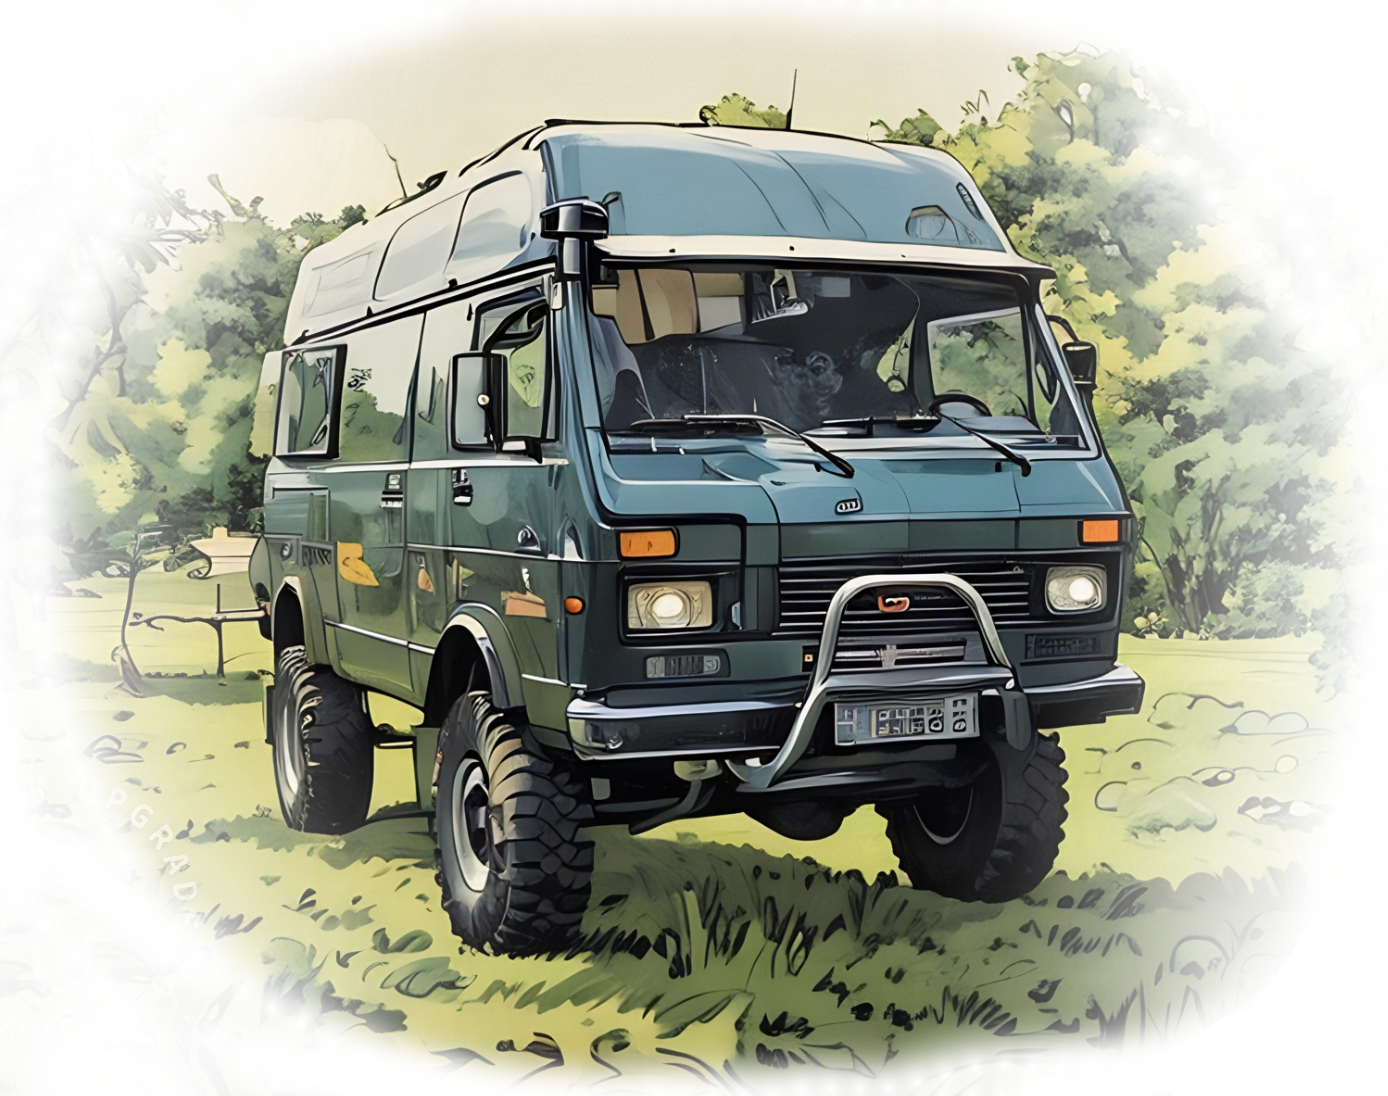
The it was time for the big reveal! Walt goes grey!

-
- So excited coming in on this morning!
-
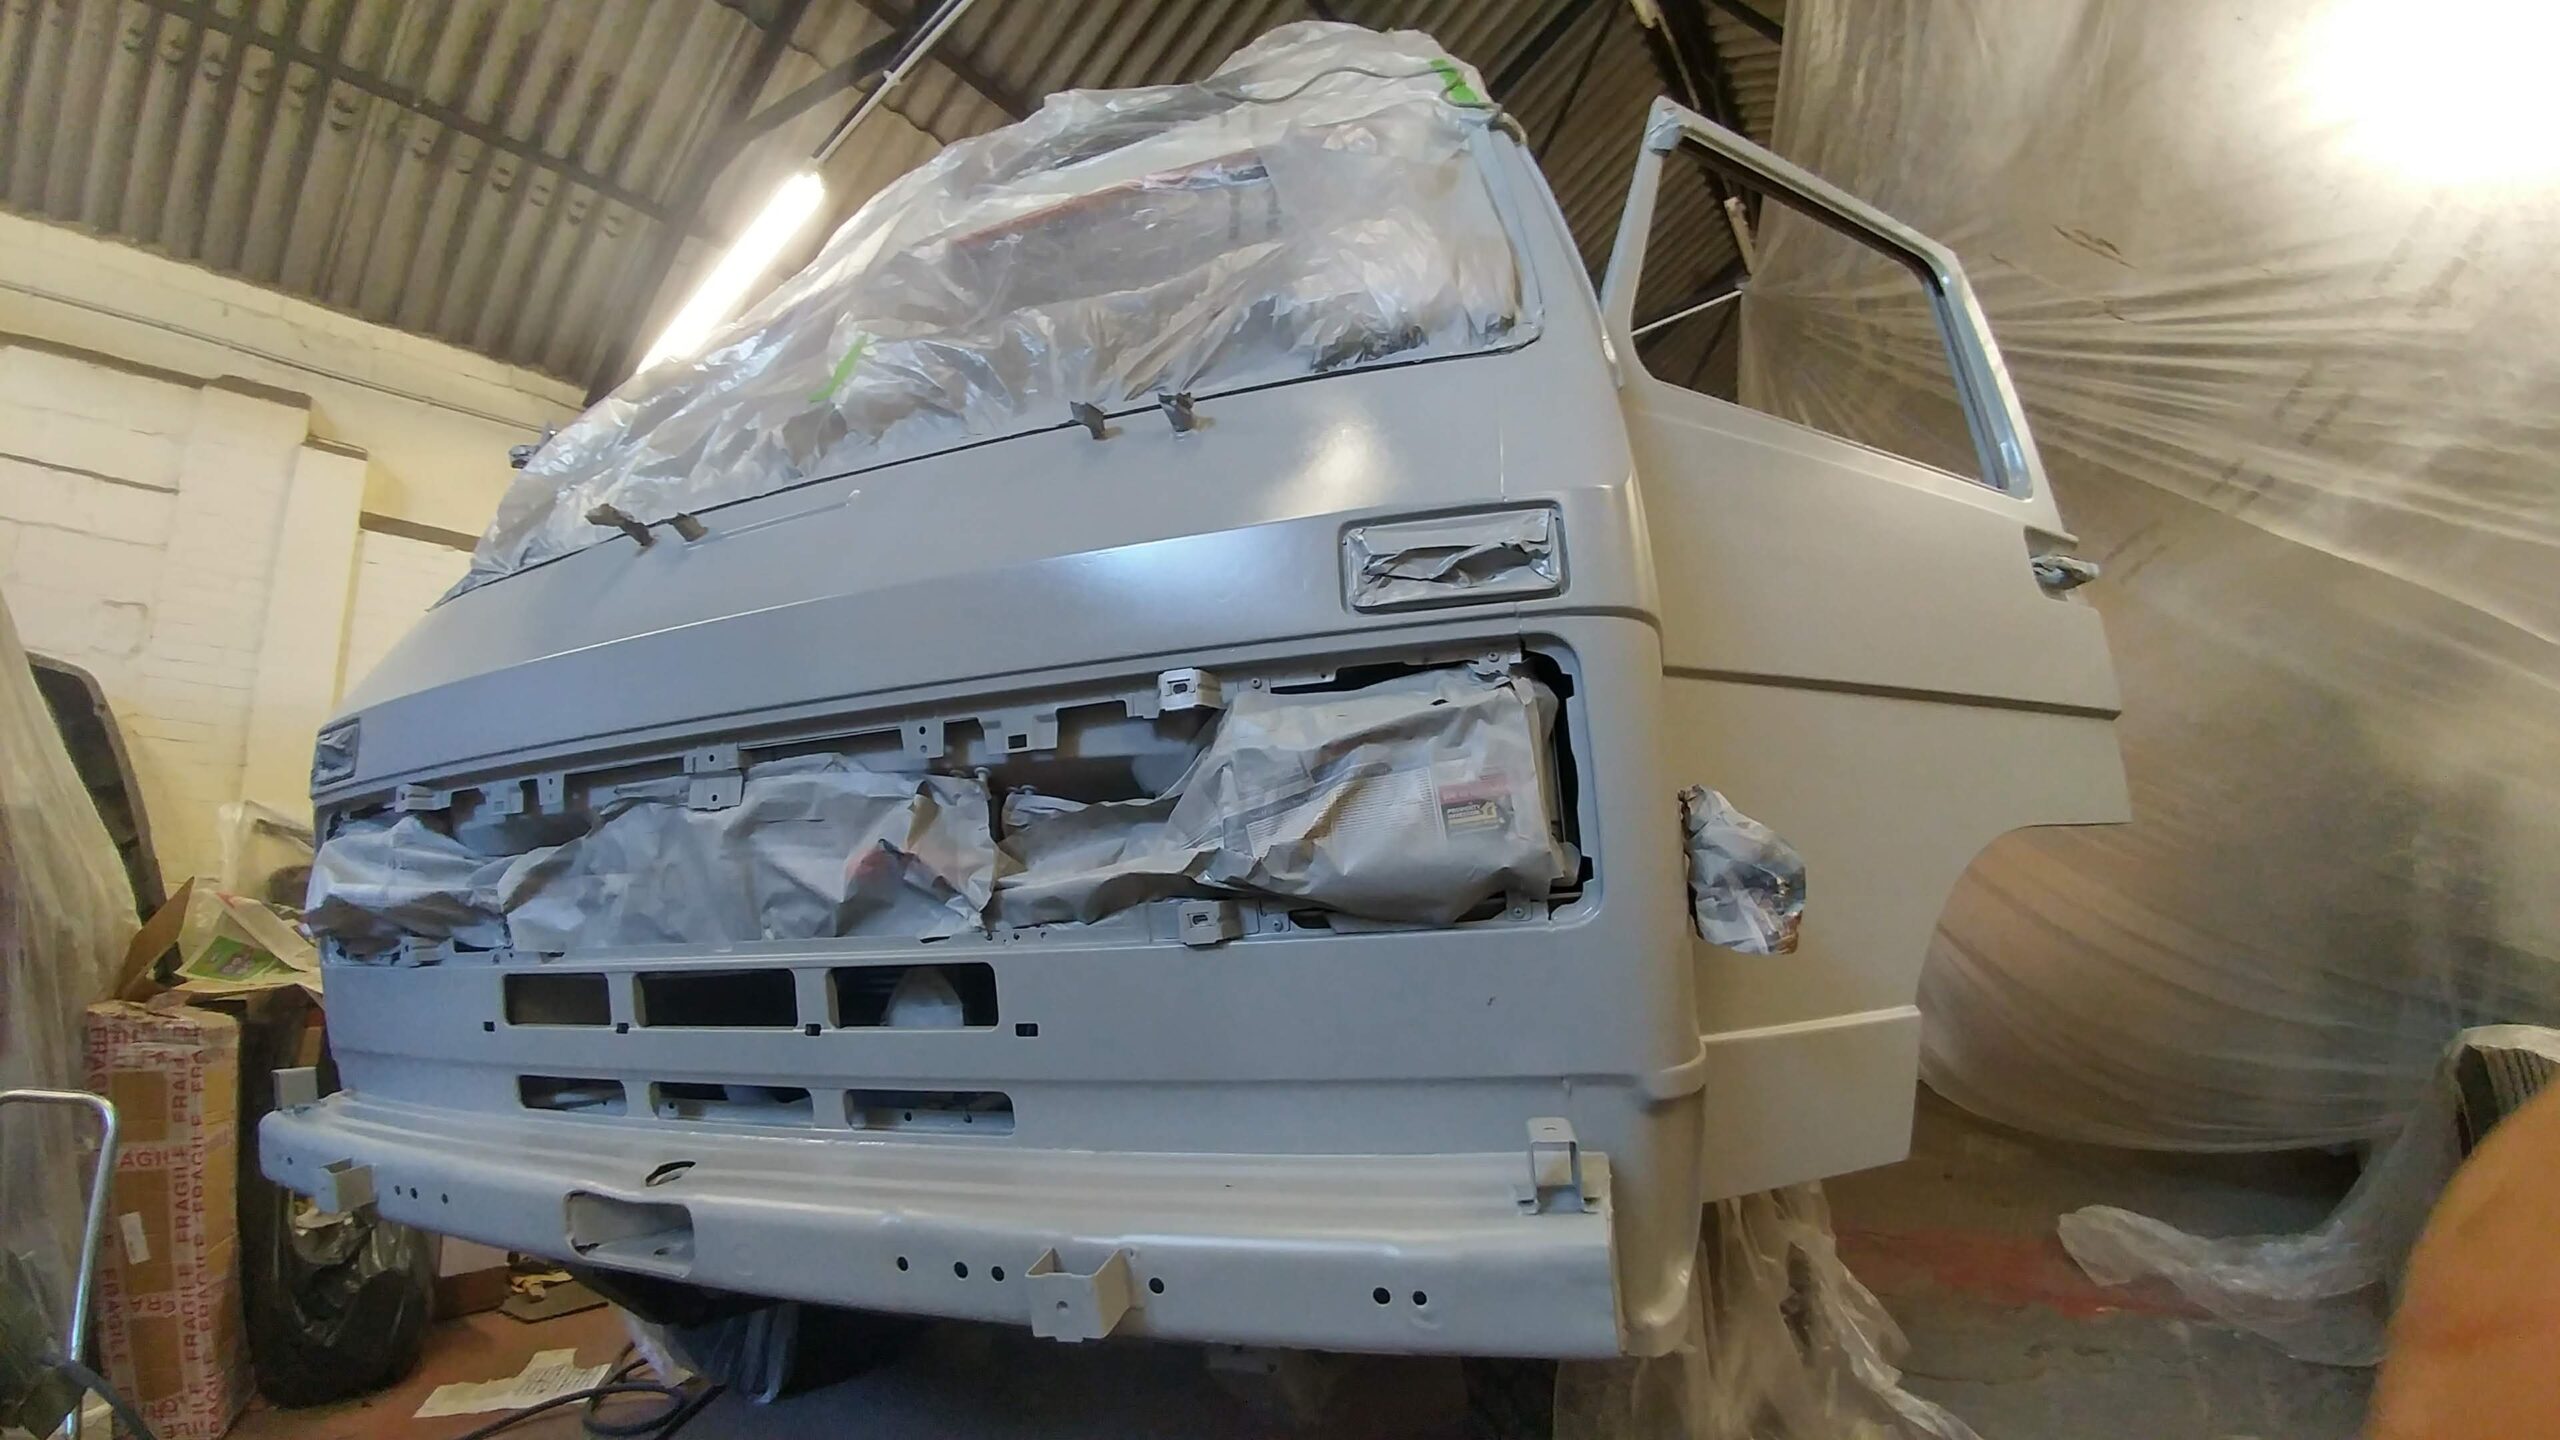
- The first signs of grey were very encouraging
-
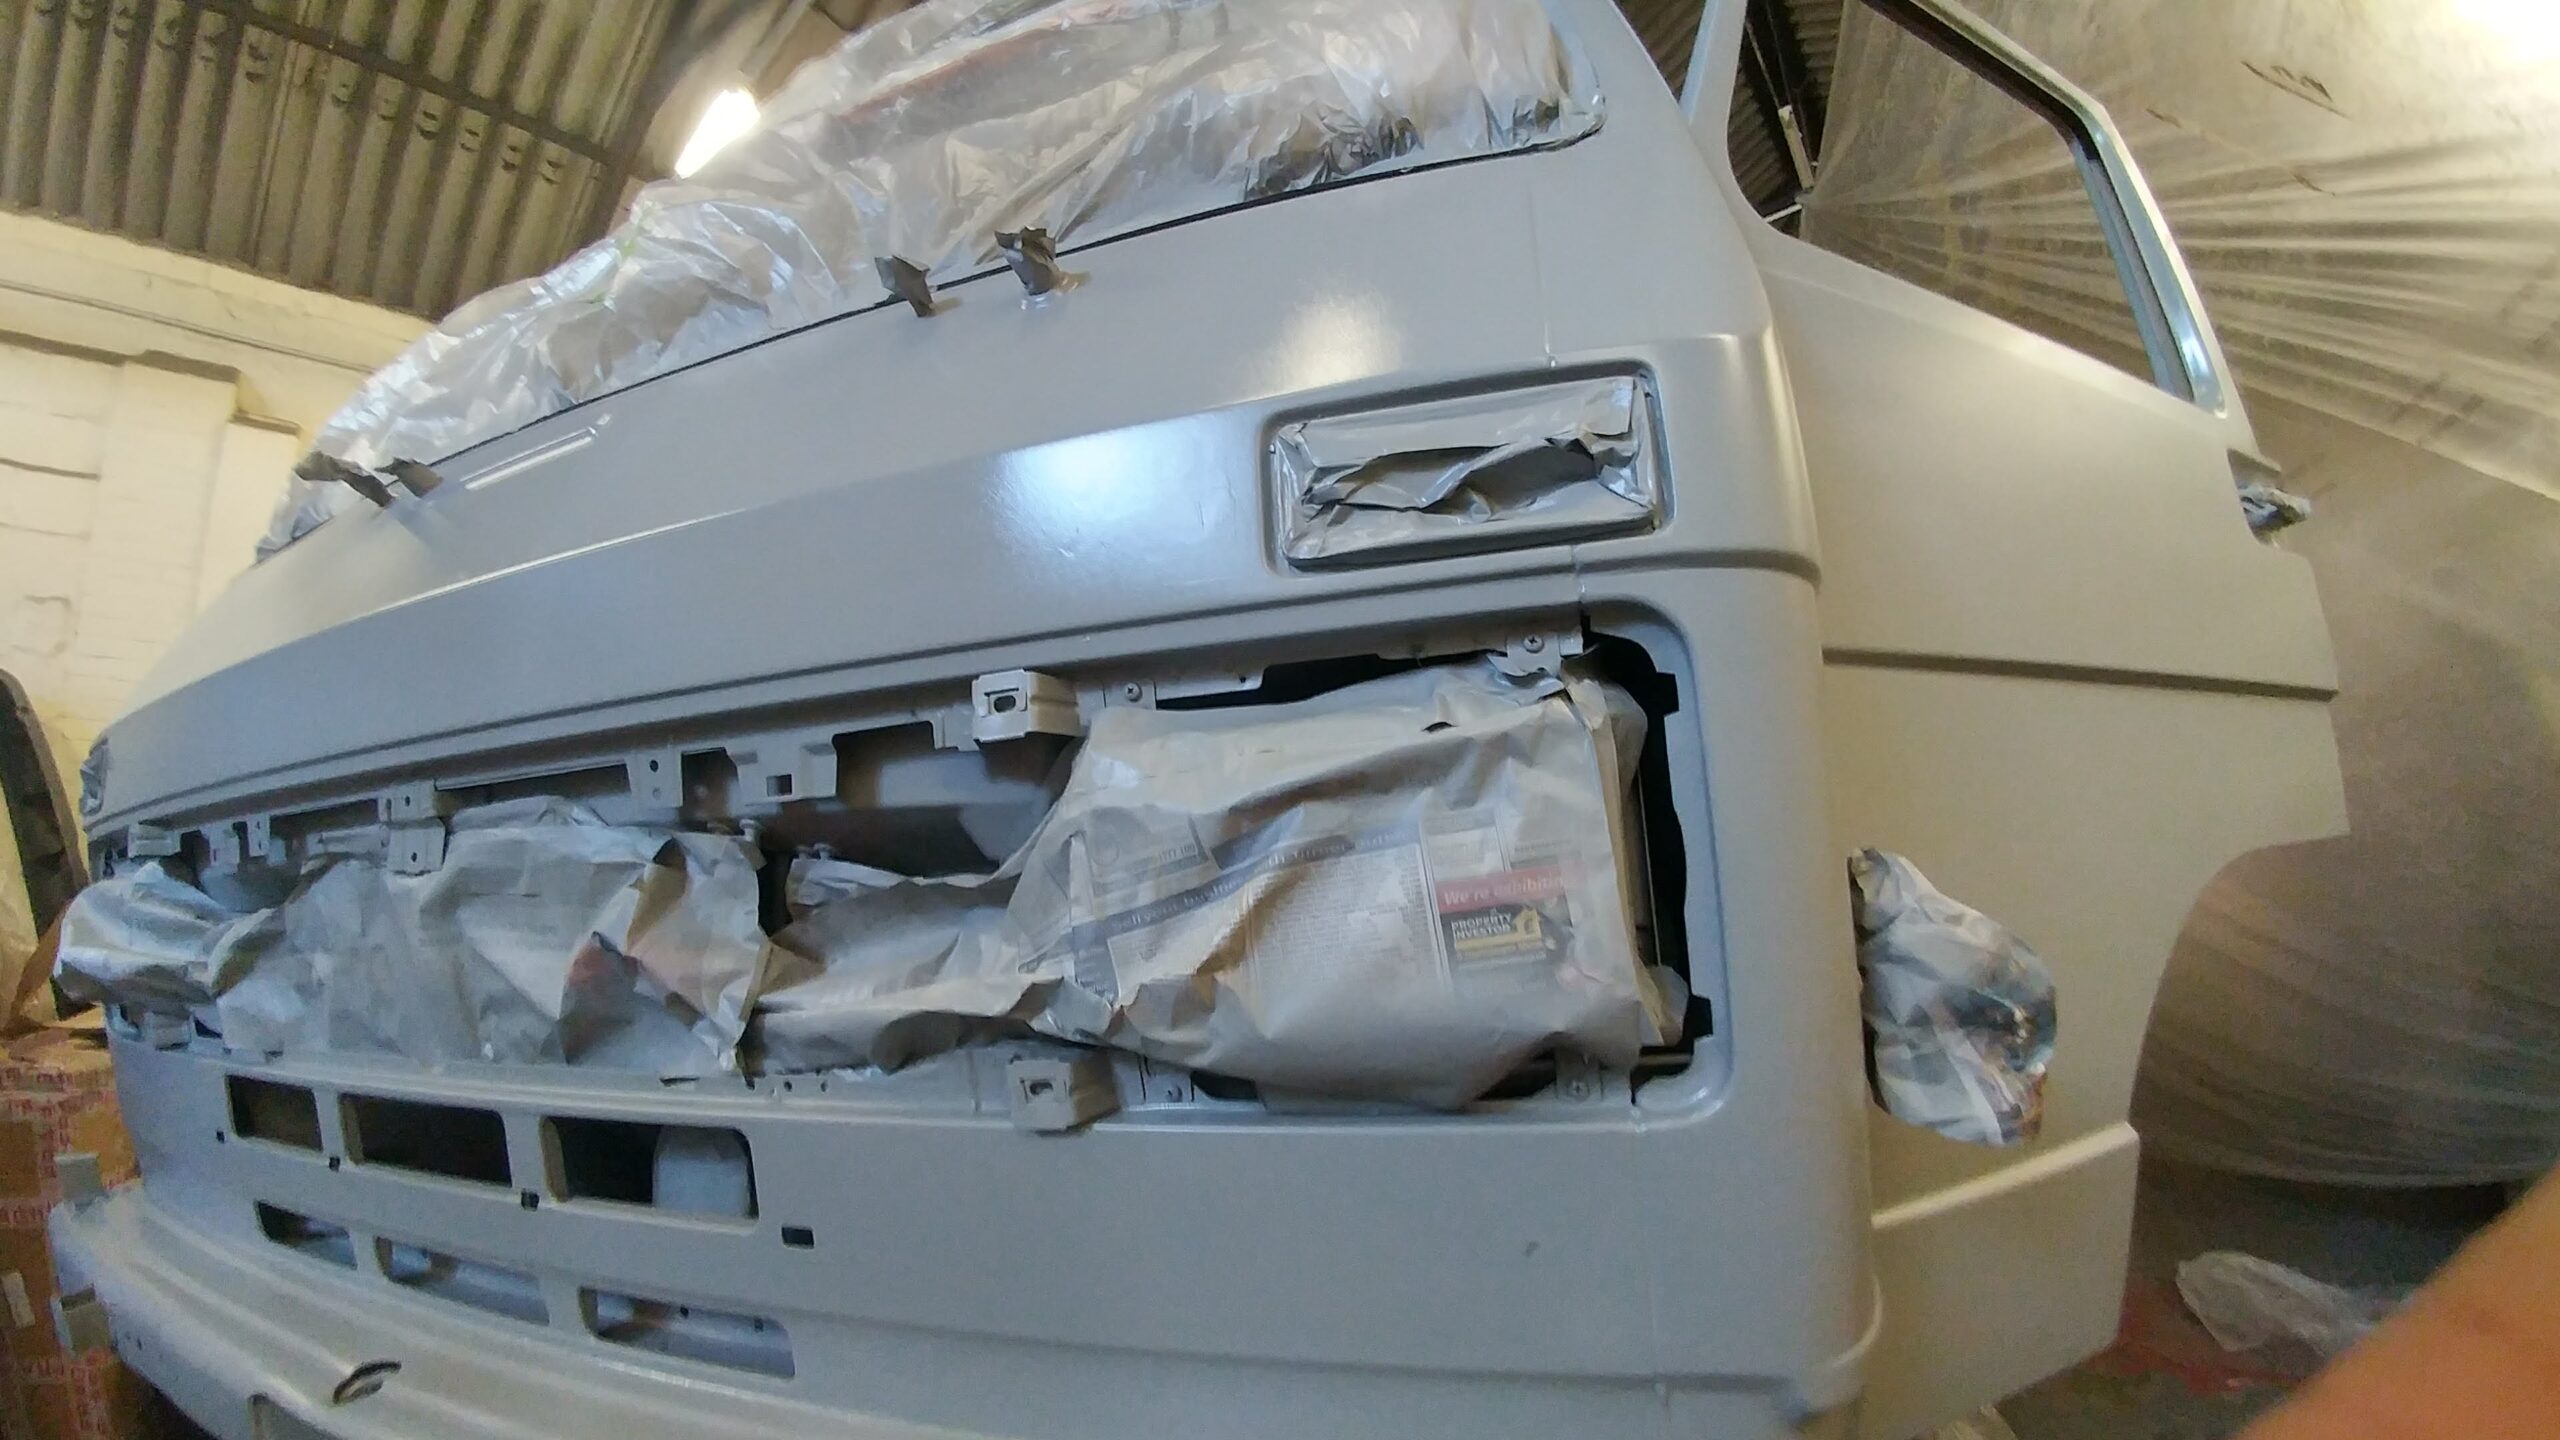
- The satin finish is definitely what I was after
-
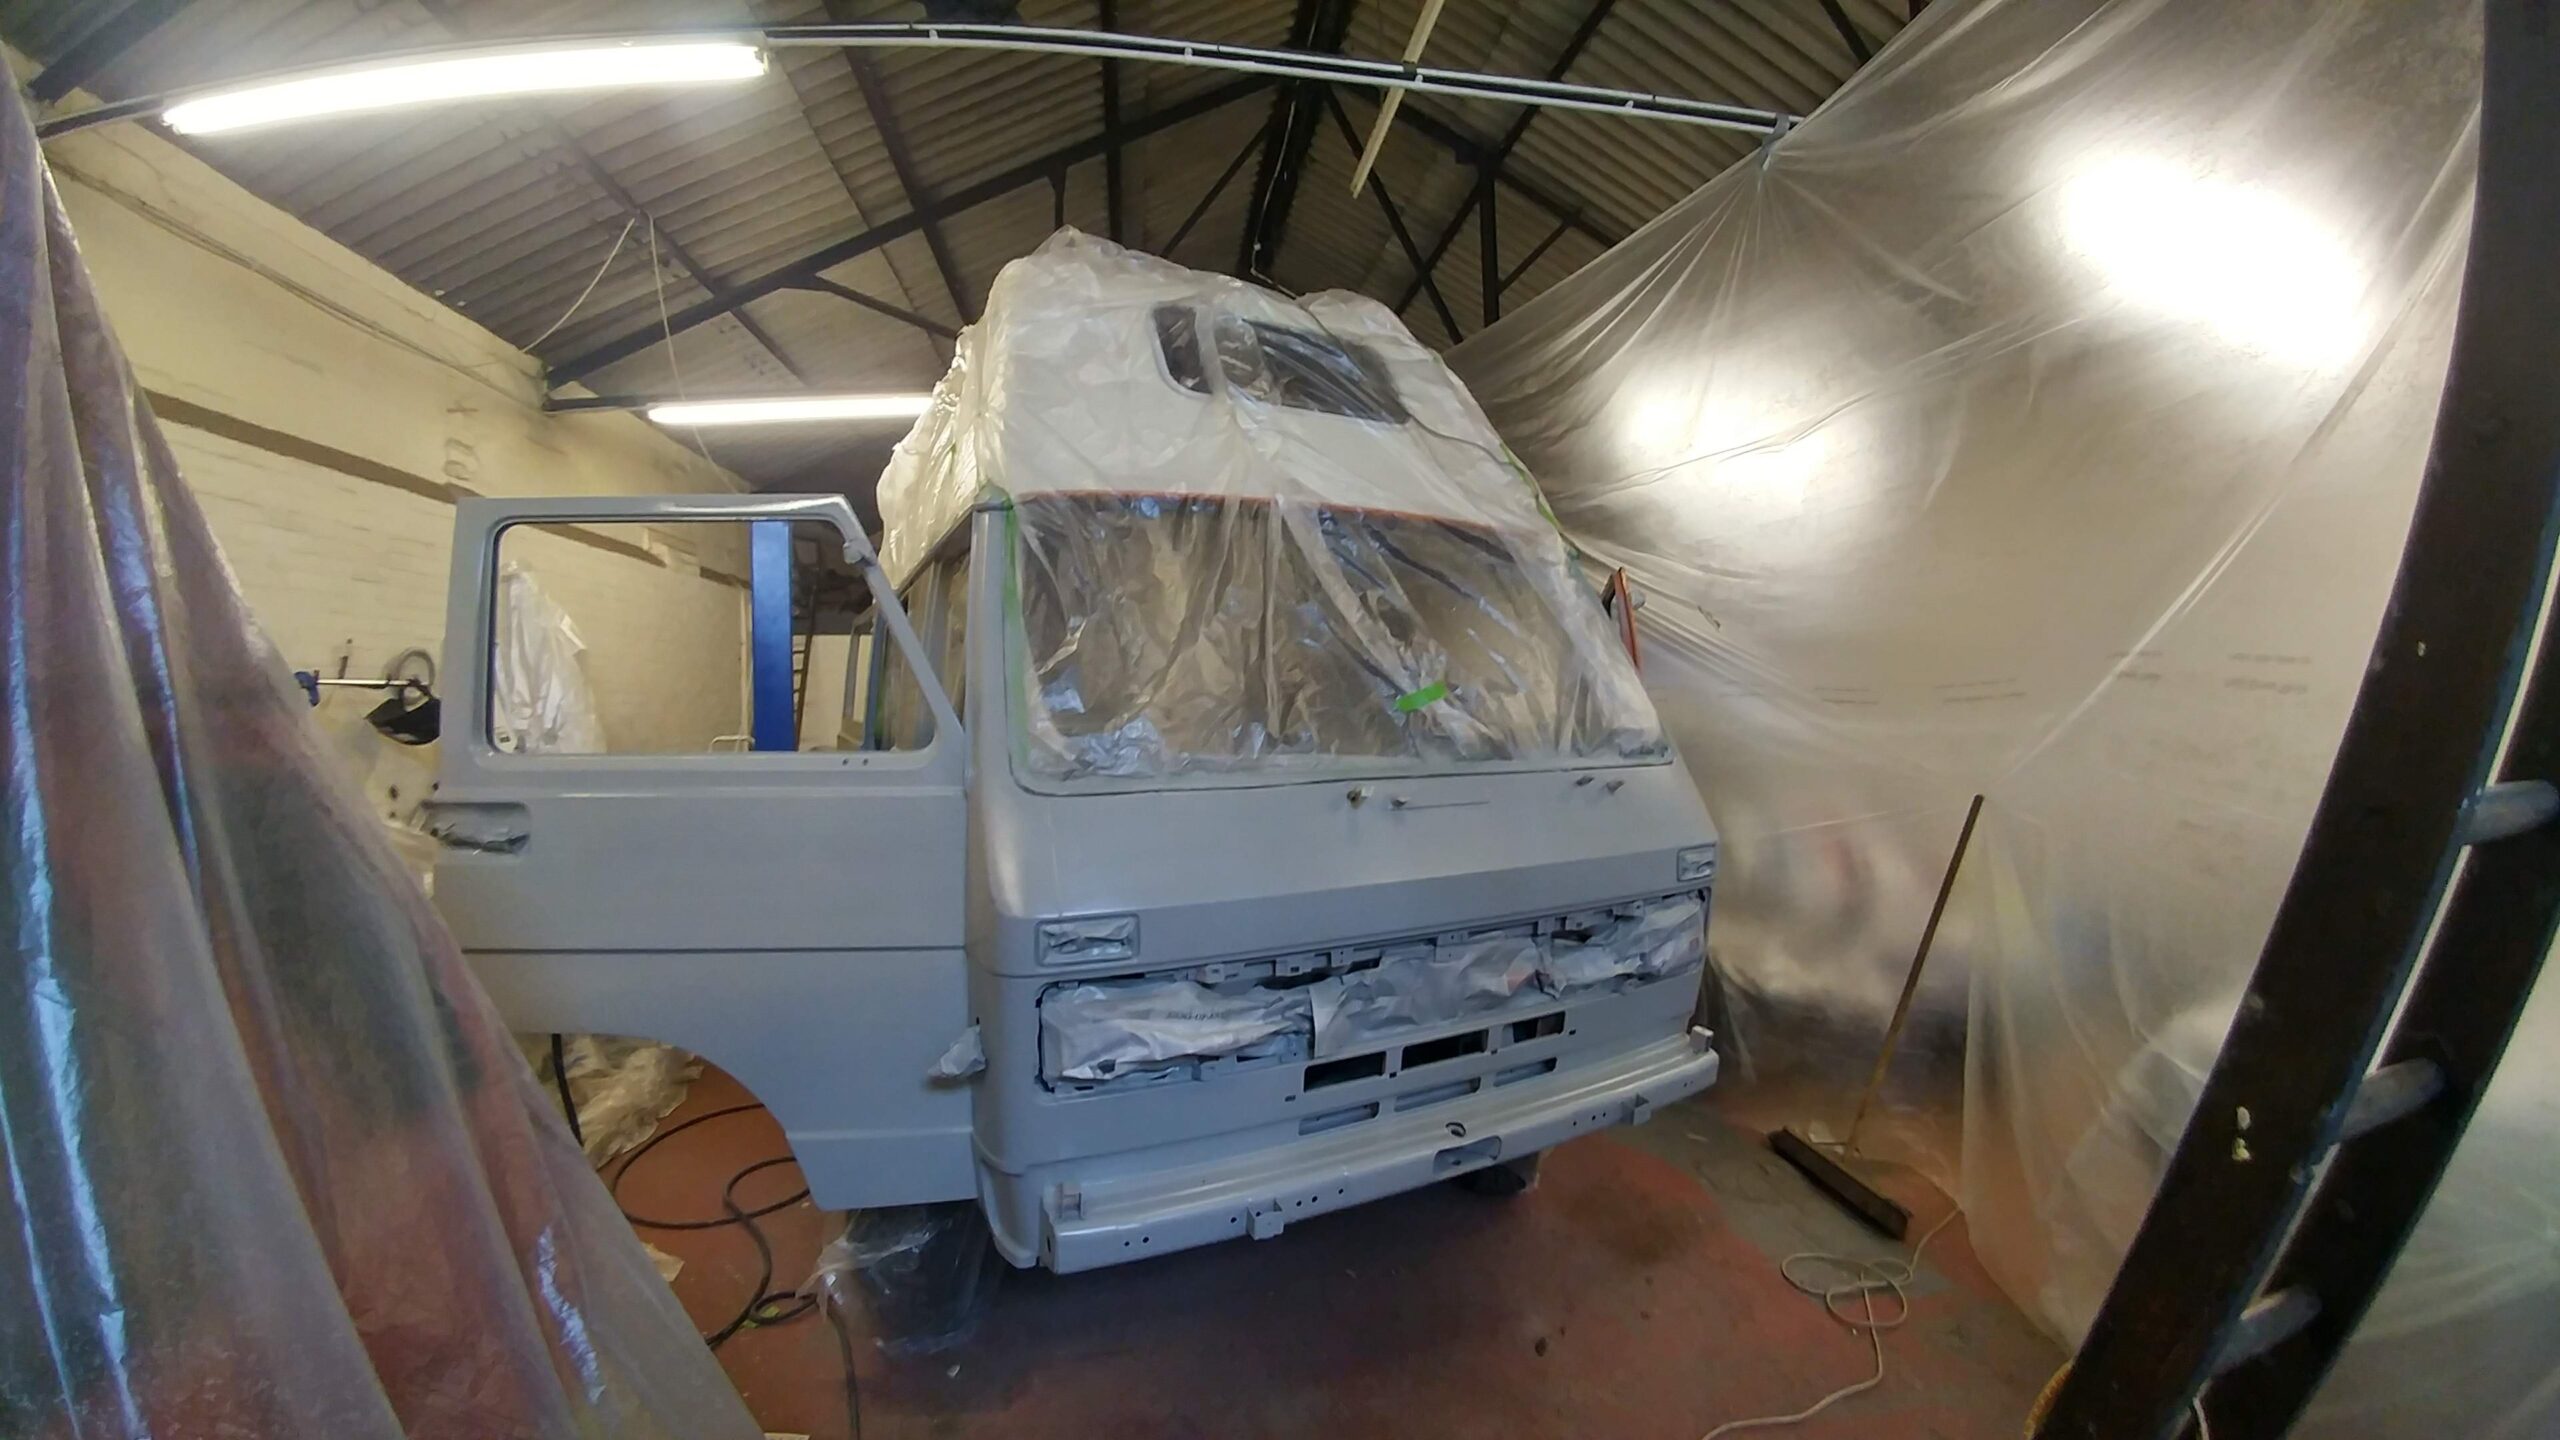
- Majestic!
-

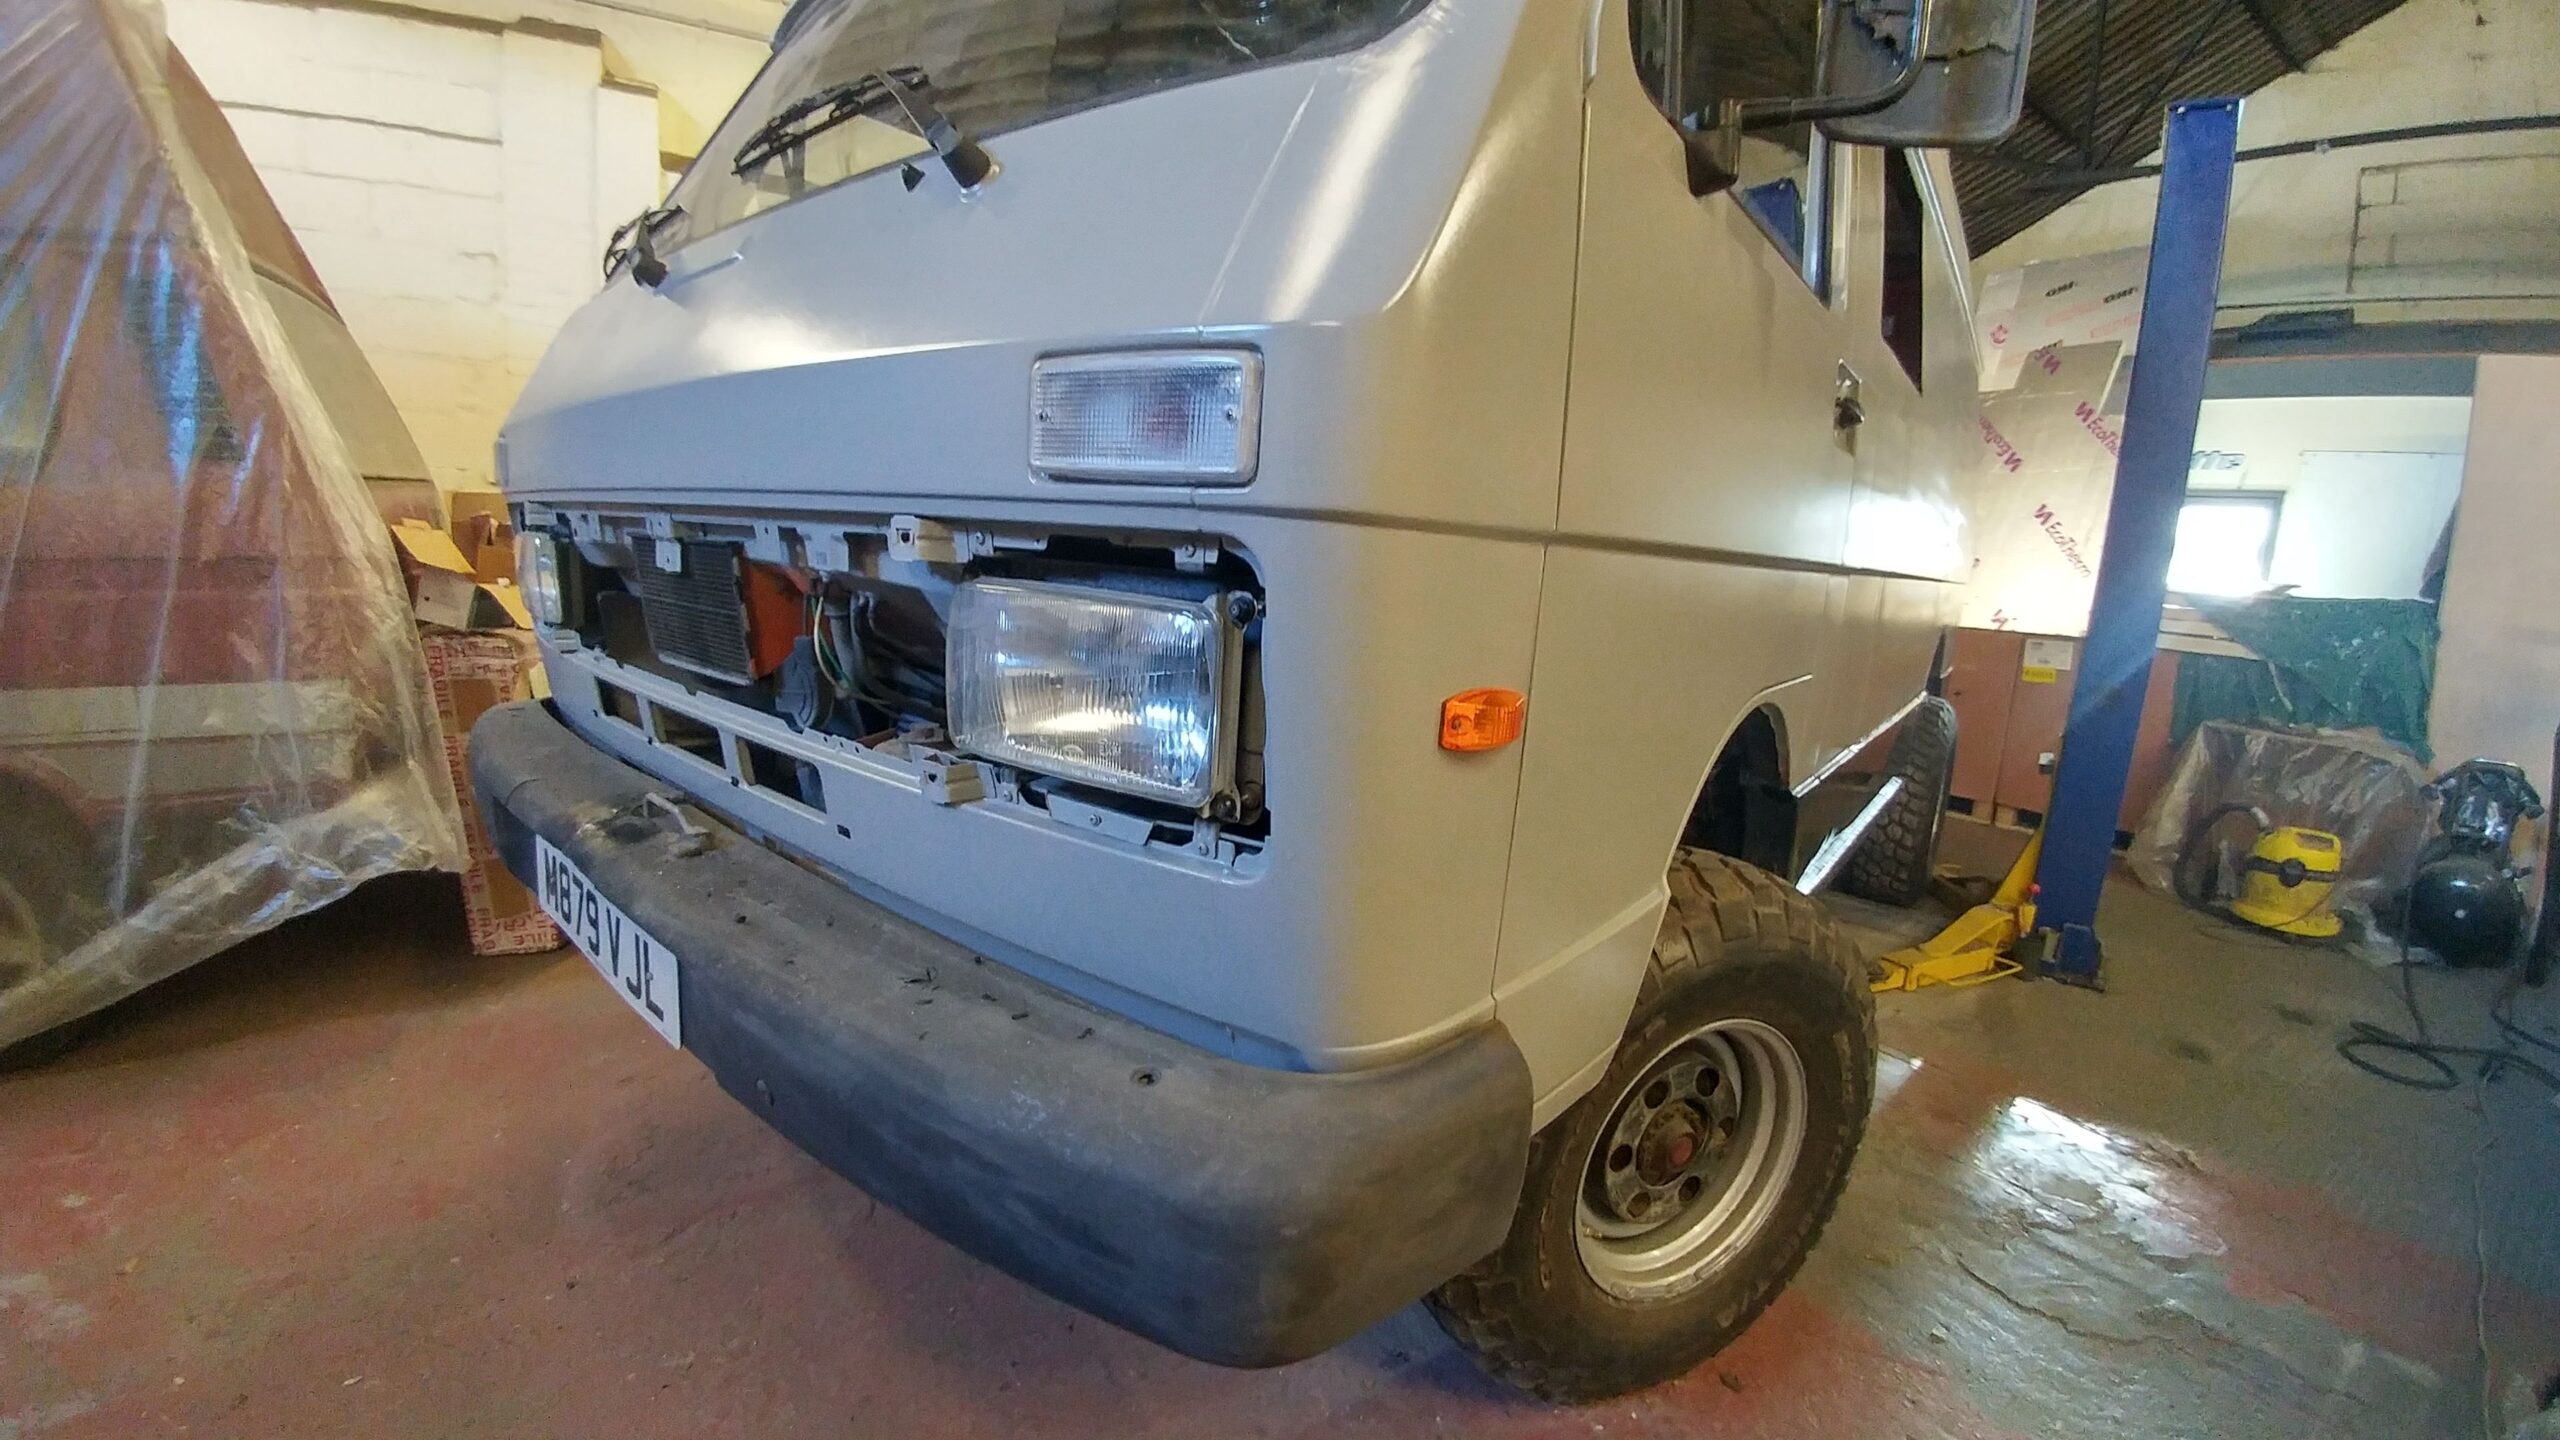
- Test fitting the grill back on…
I had to strip off (Walt not me!) and start bolting, gluing & fitting everything back on asap!
[fve]https://www.youtube.com/watch?v=83QqyPFK2K0[/fve]
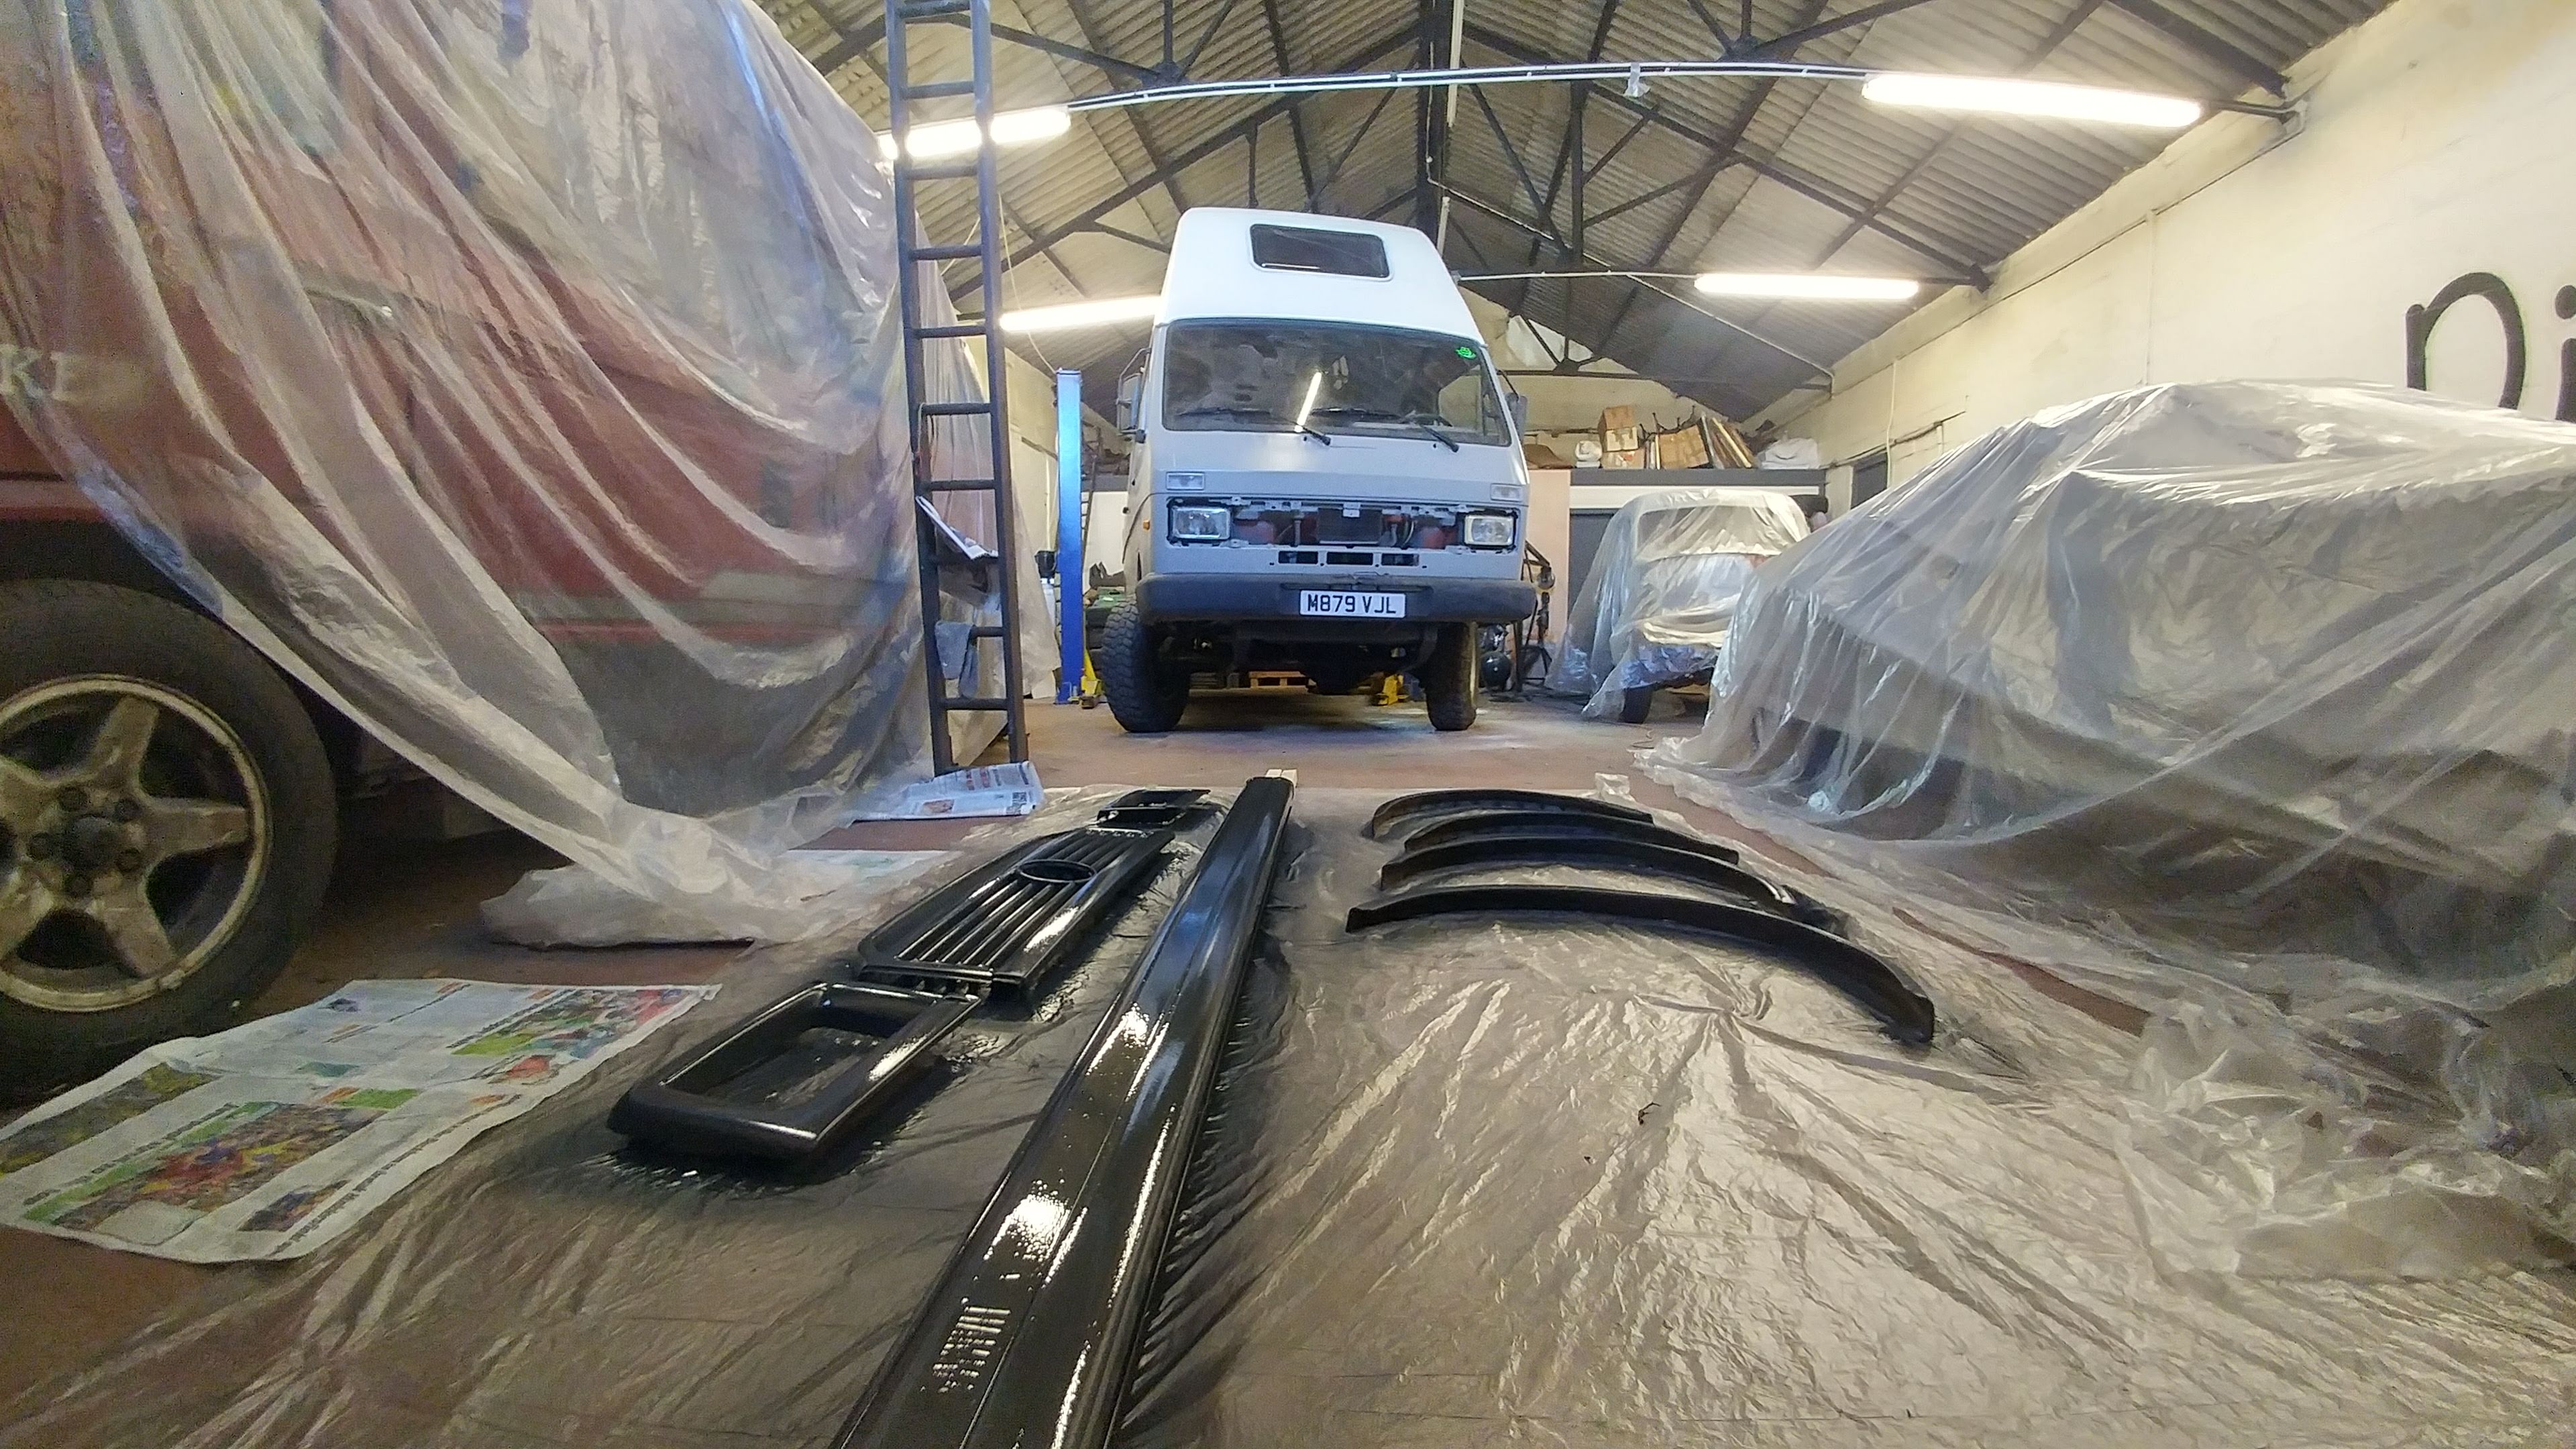
Now it’s time to colour code the grill & awning
 Before leaving I had to peel off the tape to take a look at the paint. It’s still glossy at this stage but will dry satin…
-
- Starting to look like a new van again
-
- This side is actually looking better than the other
-
- Tasty flank!
-
- My spray technique has definitely improved, and it’s much easier doing small areas
-
- Cheers Walt!
-
- Bumper back on. Will eventually be replaced by something custom
-
- Shiny!
-
- The gloss look will fade overnight
-
- Like new!
-
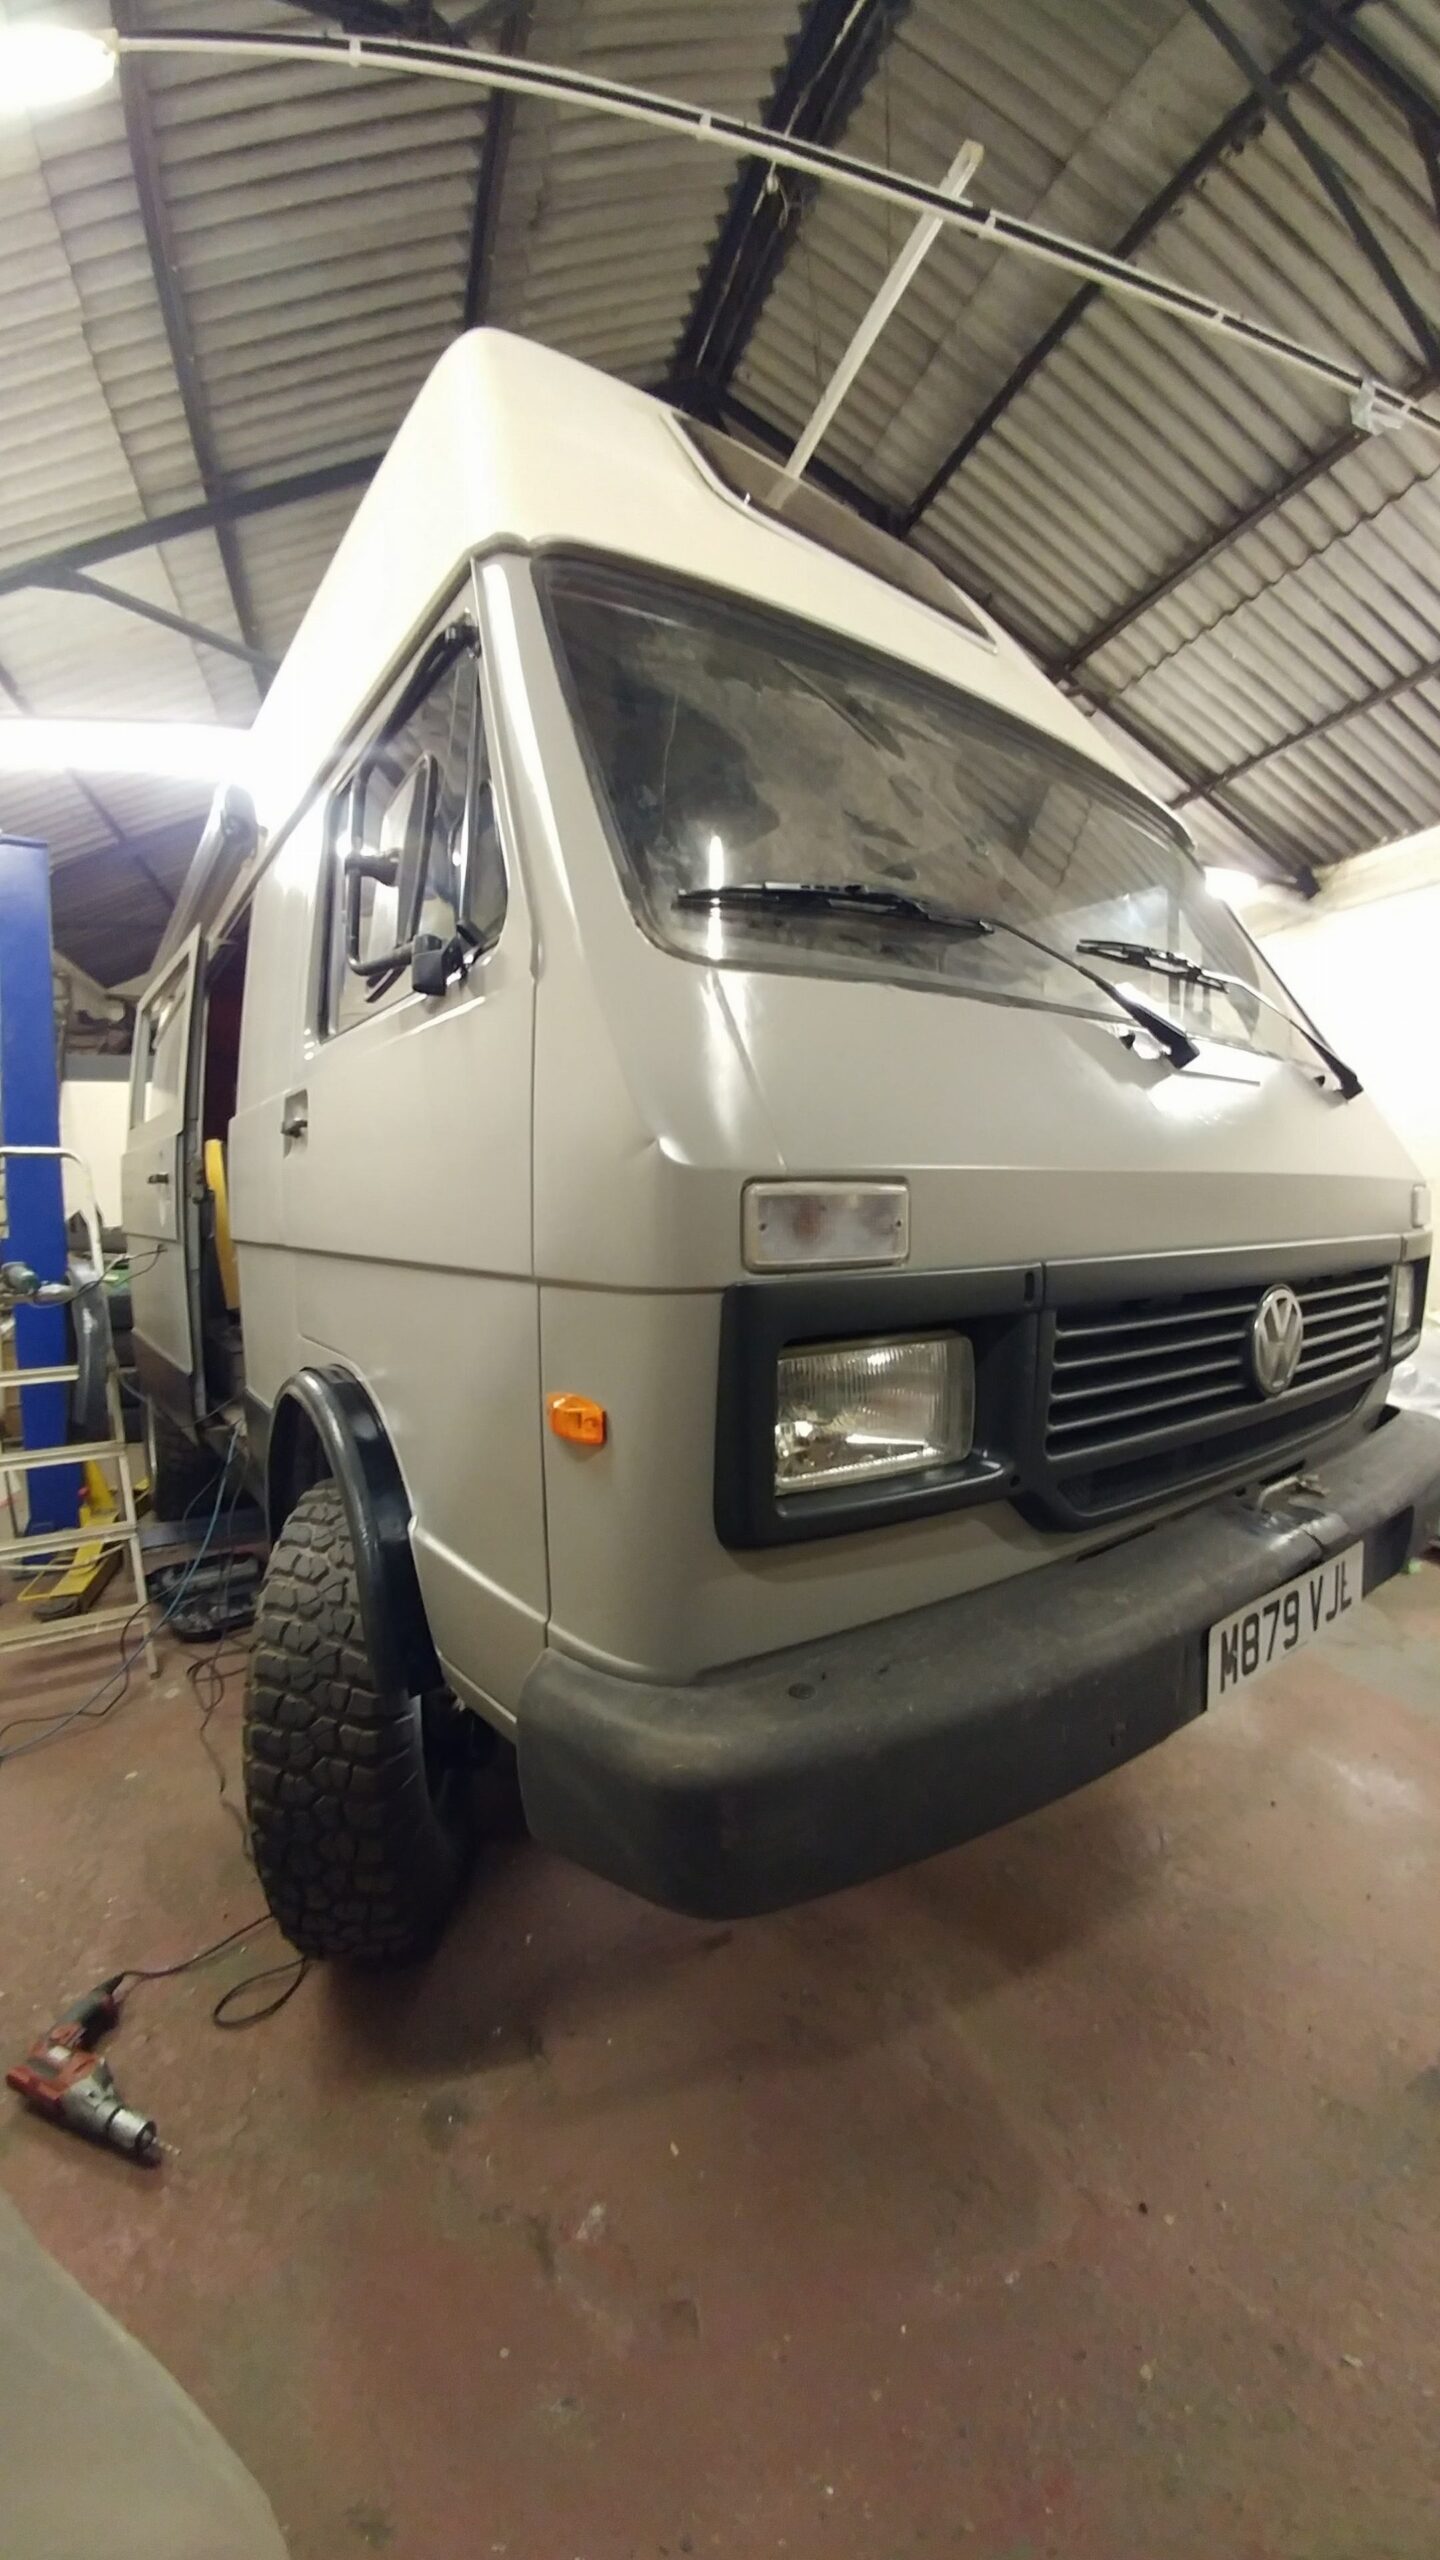
- My favourite angle!
-
- Looking sharp!
 There was no doubt that I had to pop back over to the barn the following day to check it out and fit it all up to check the final result! Very pleased.
-
- I think that looks great!
-
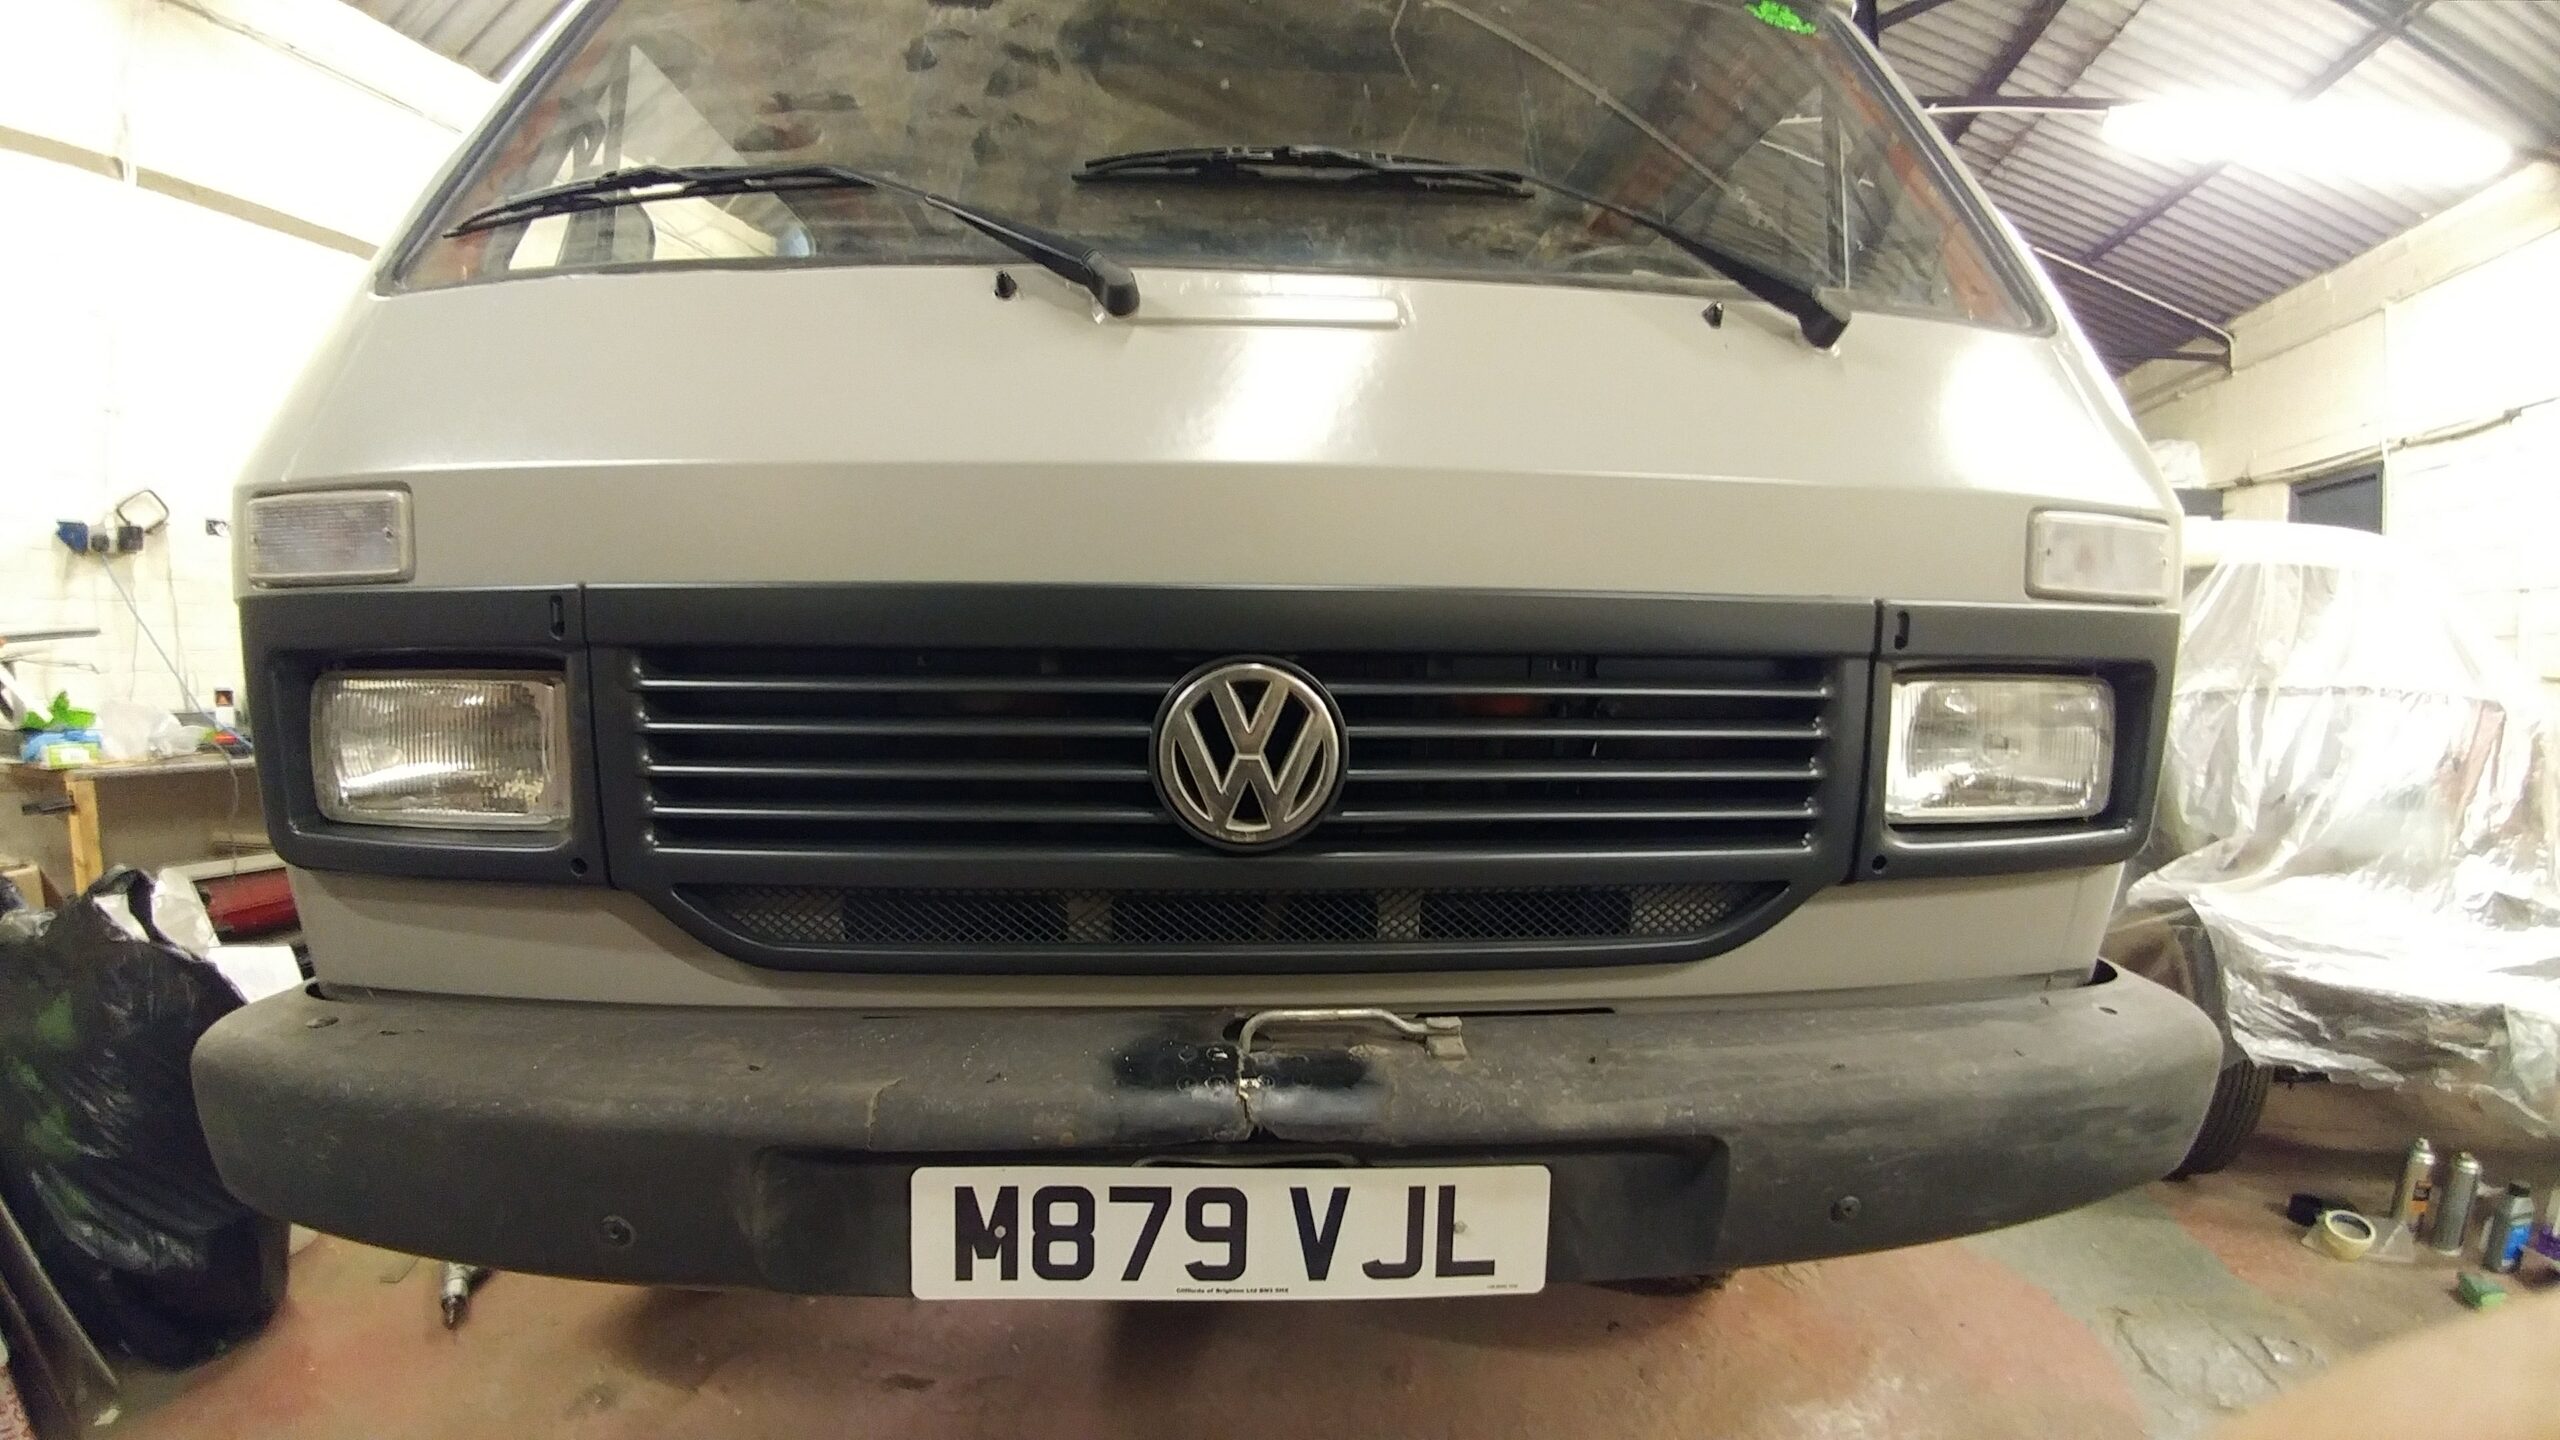
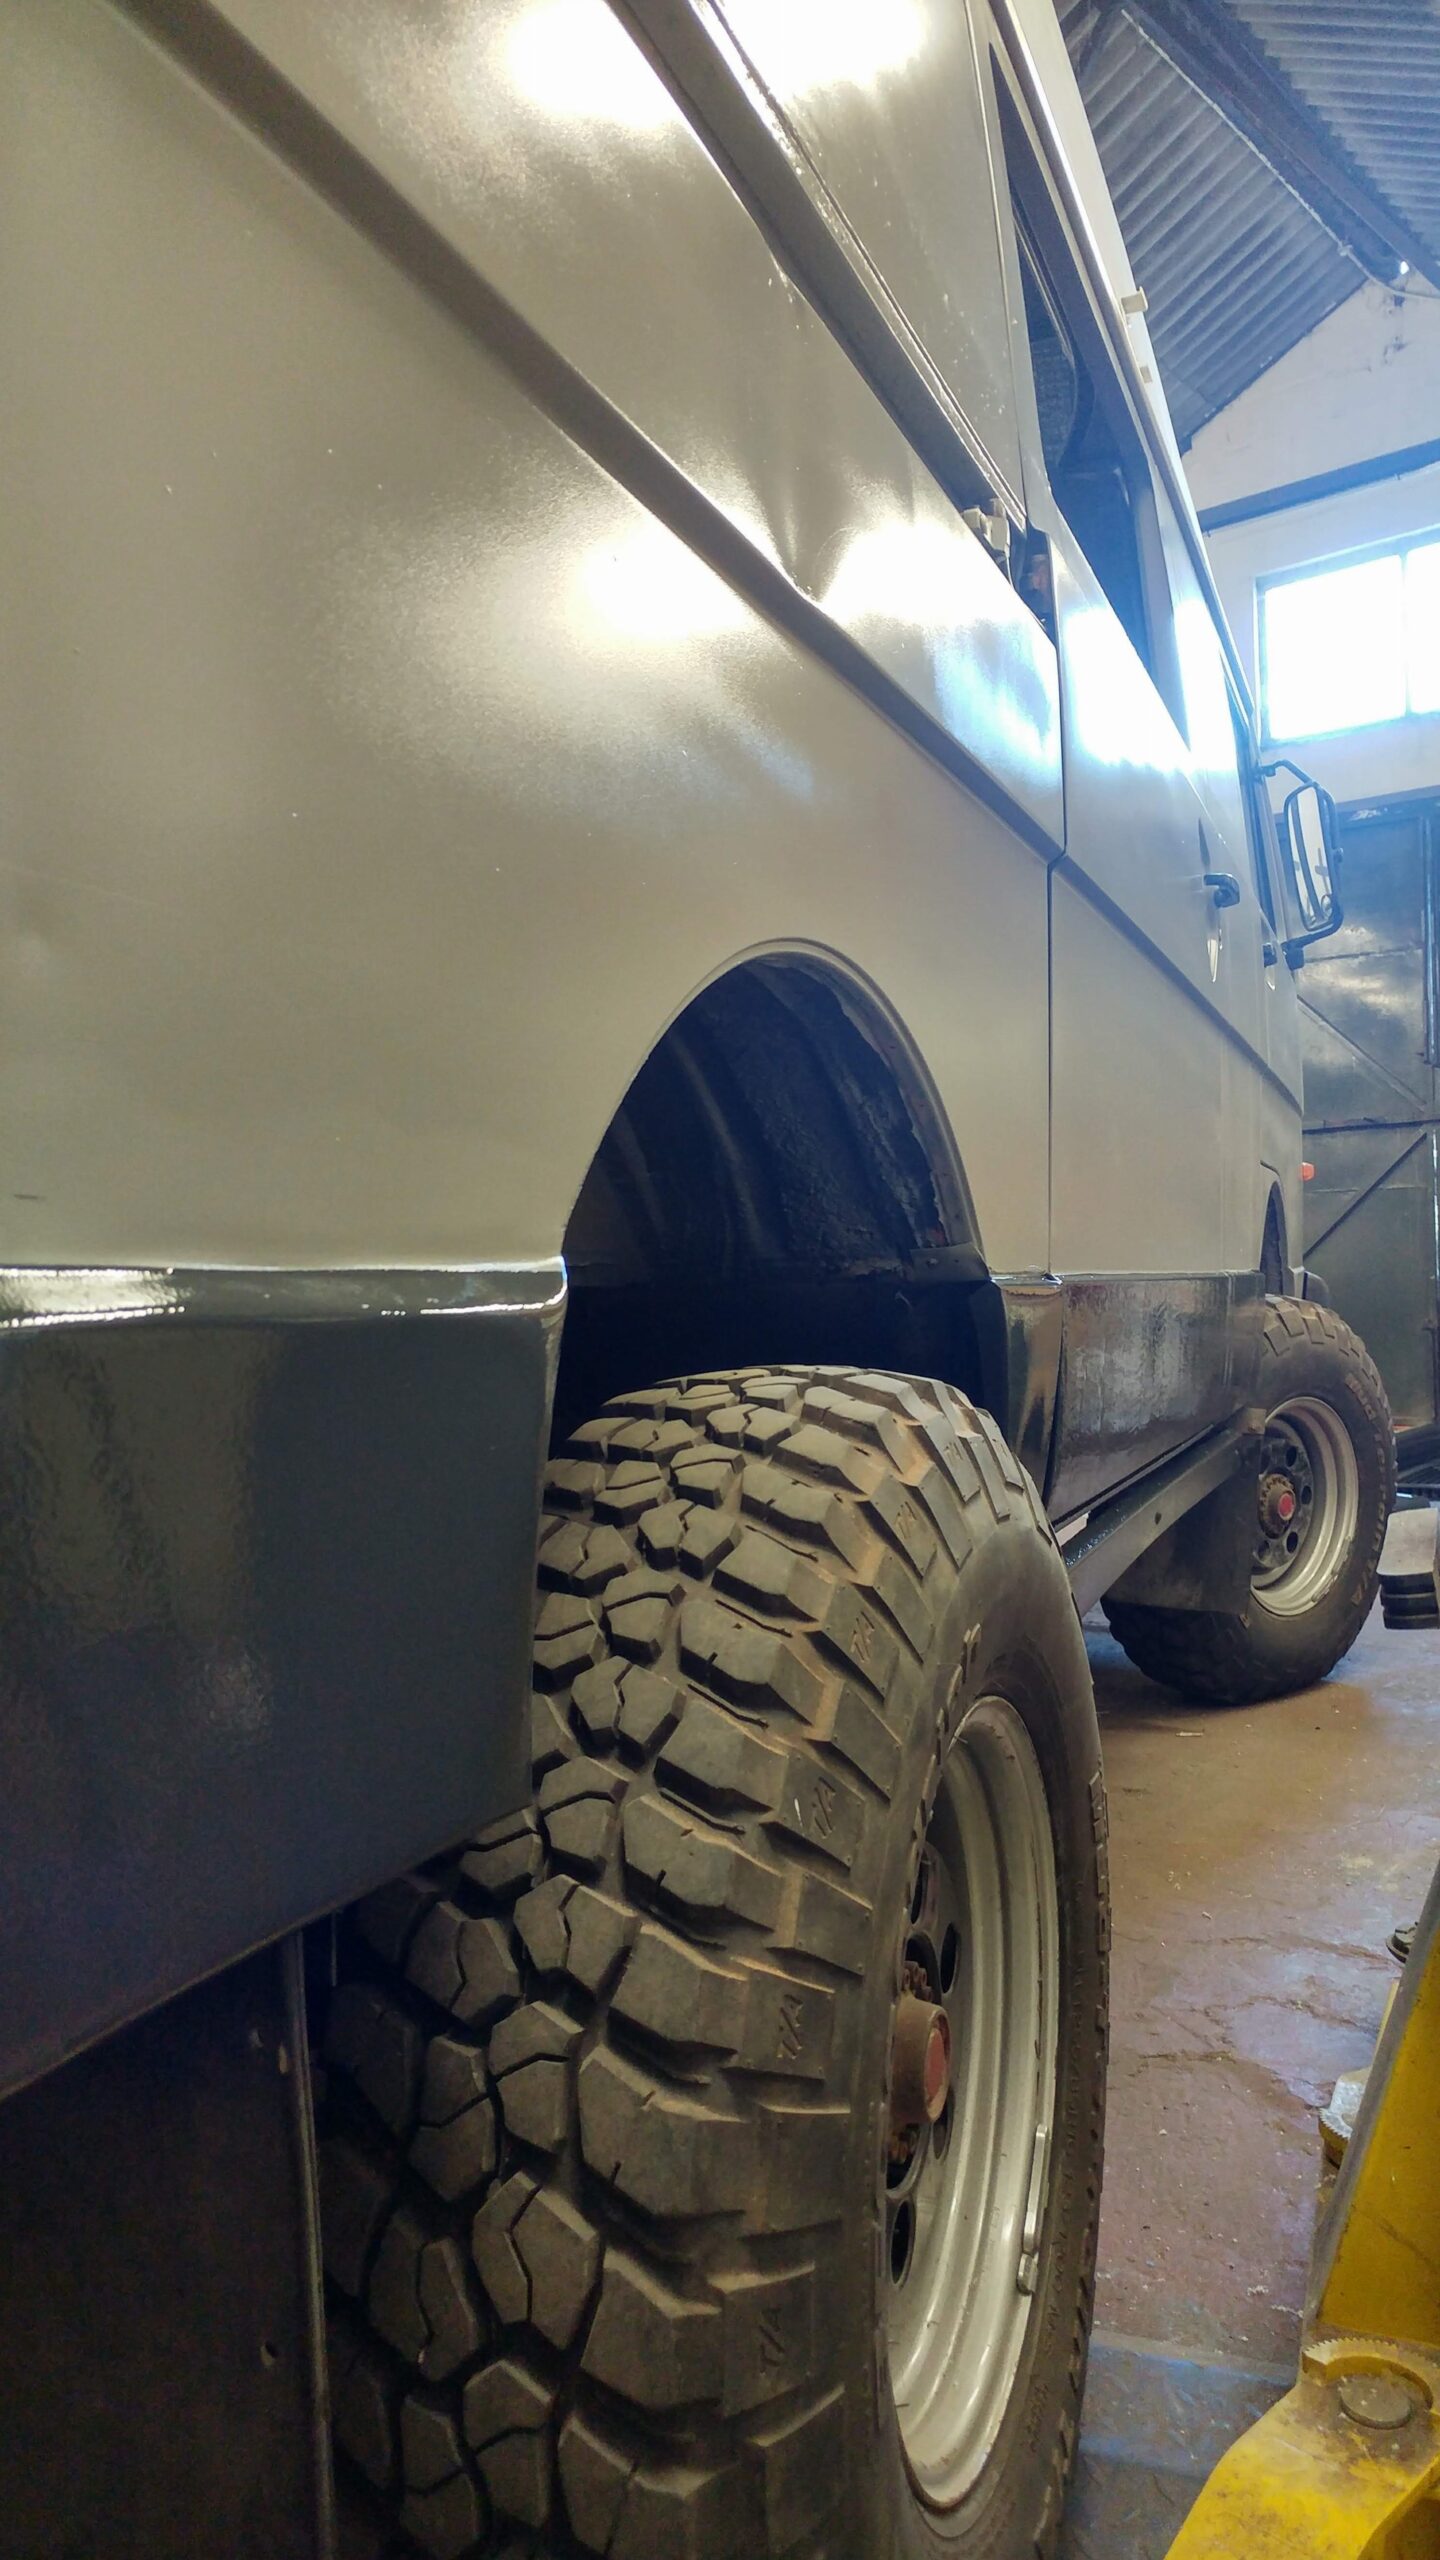
- The Grey Black Rustoleum sits very nicely with the Stone Grey now both finishes look satin
-
- Shame about the bumper!
-
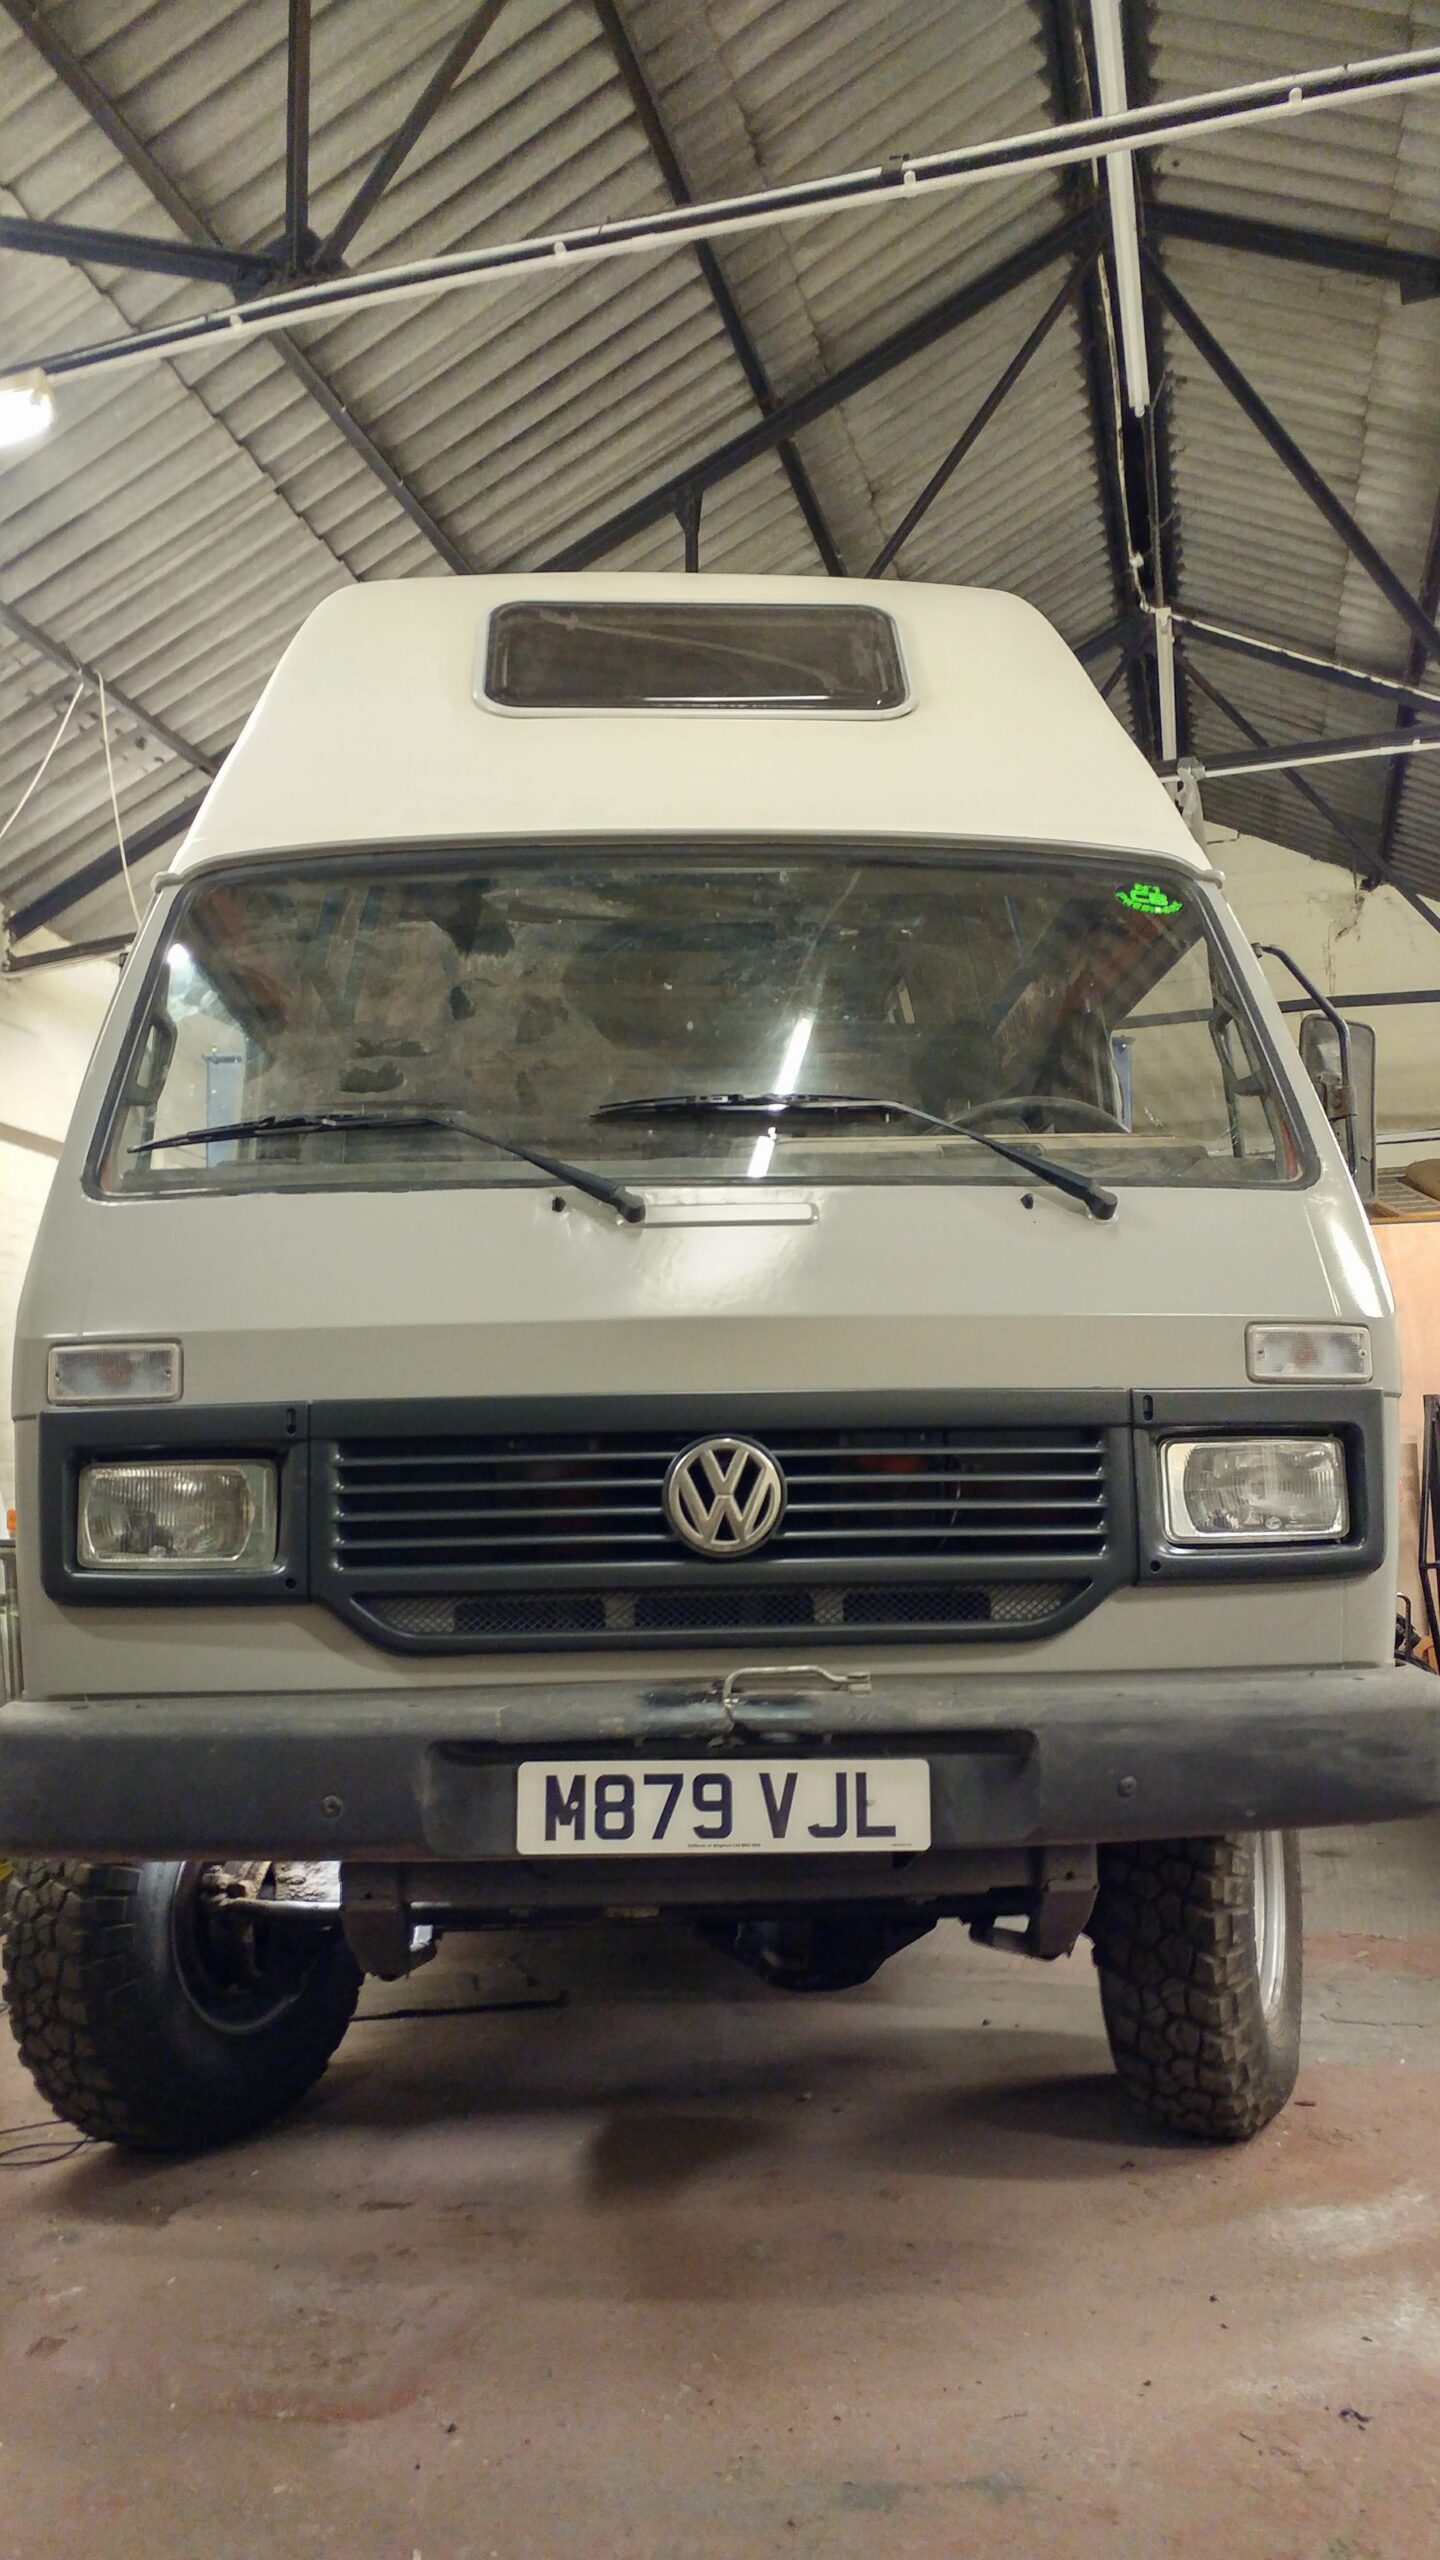
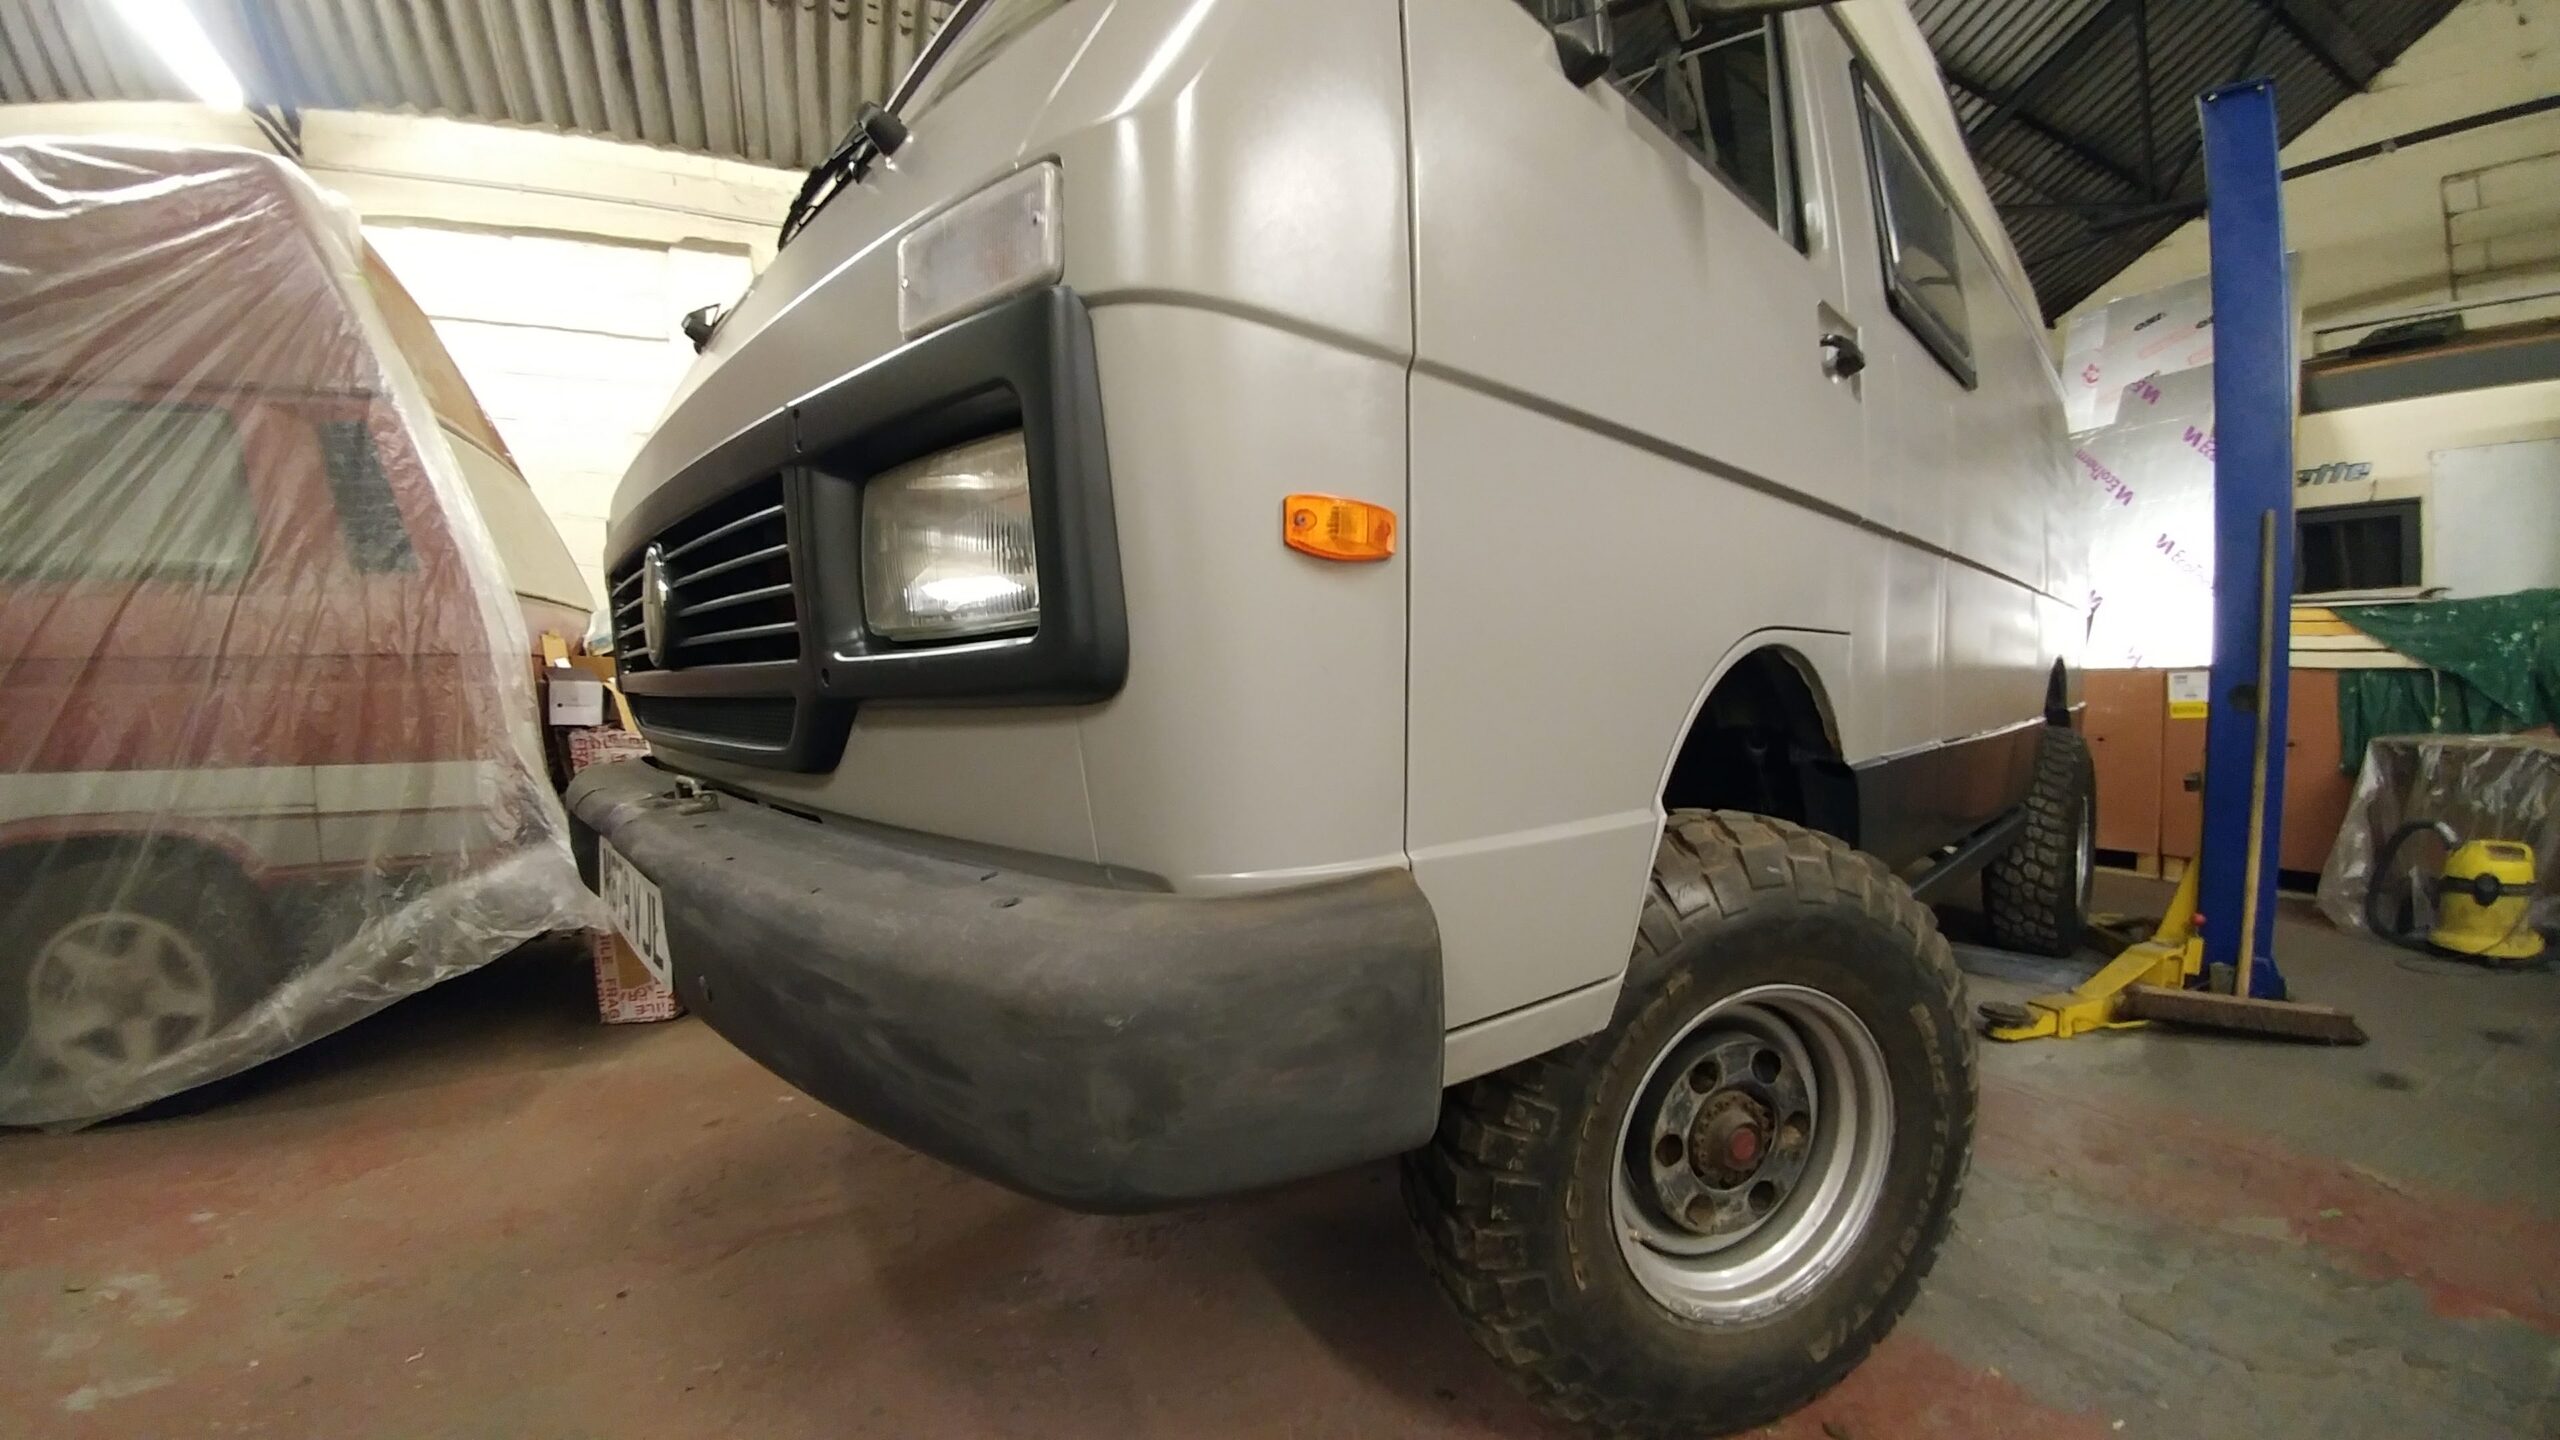
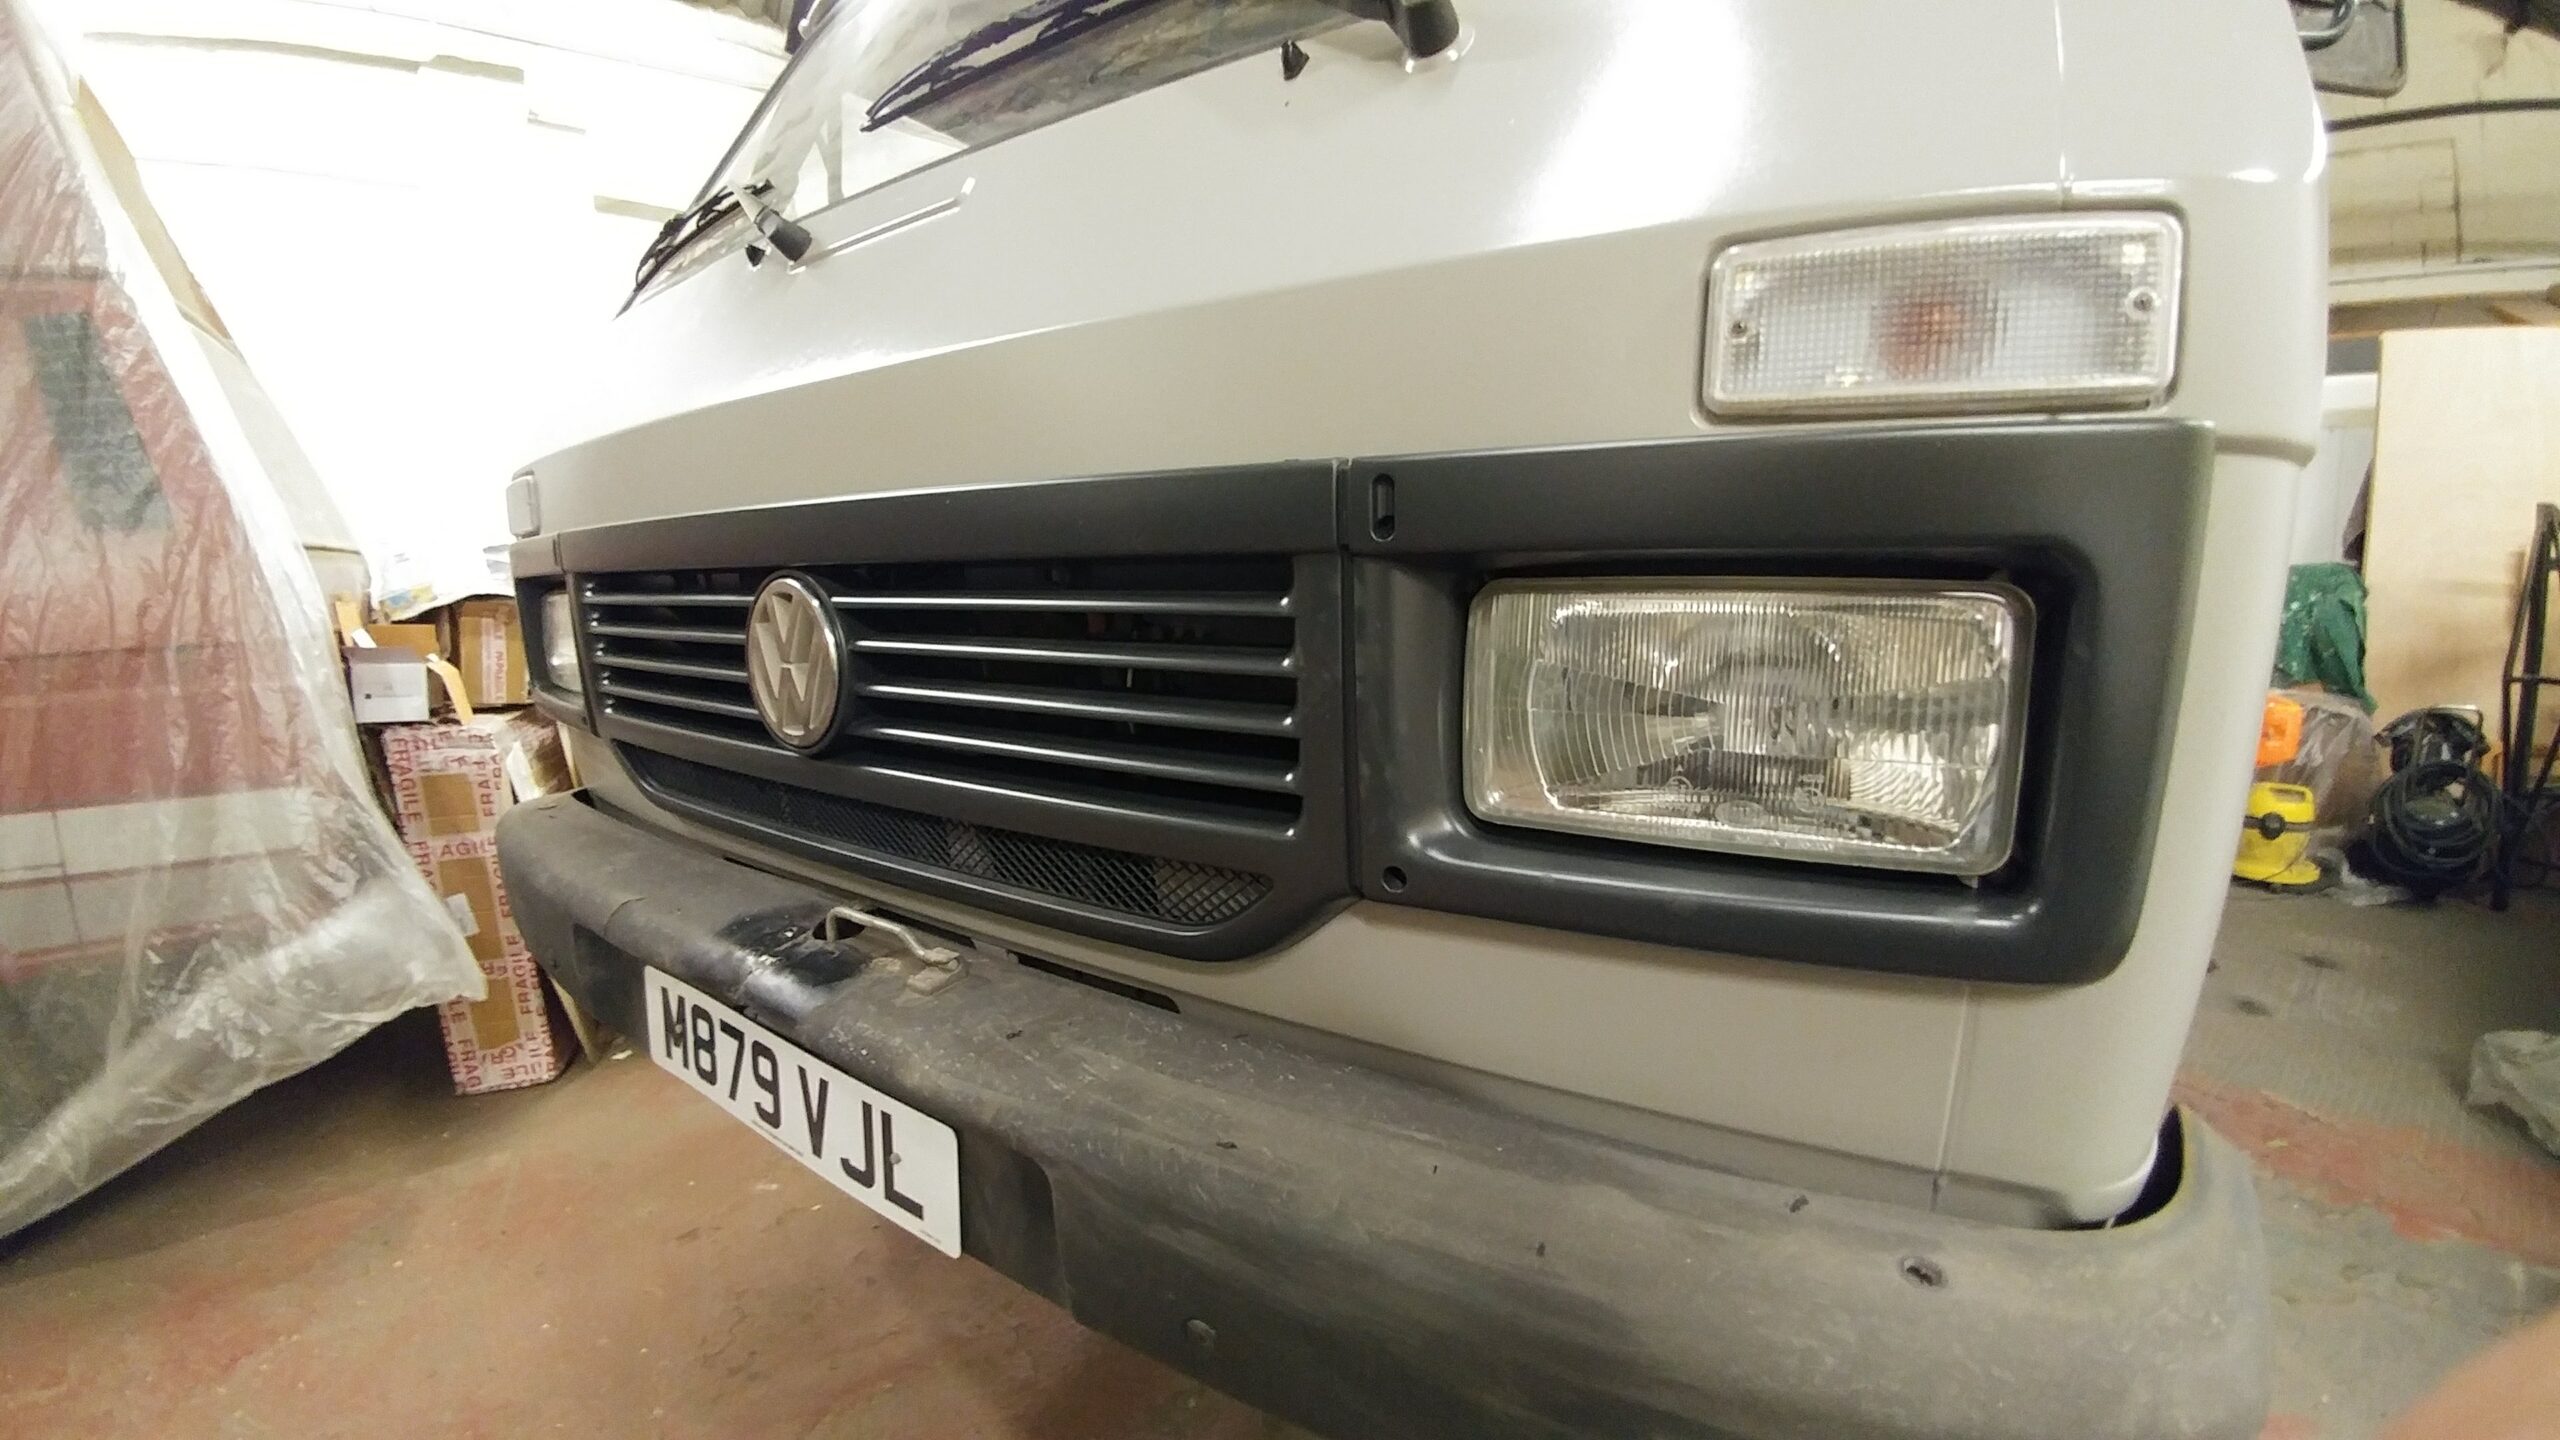
- Nice looking front end Walt!
-
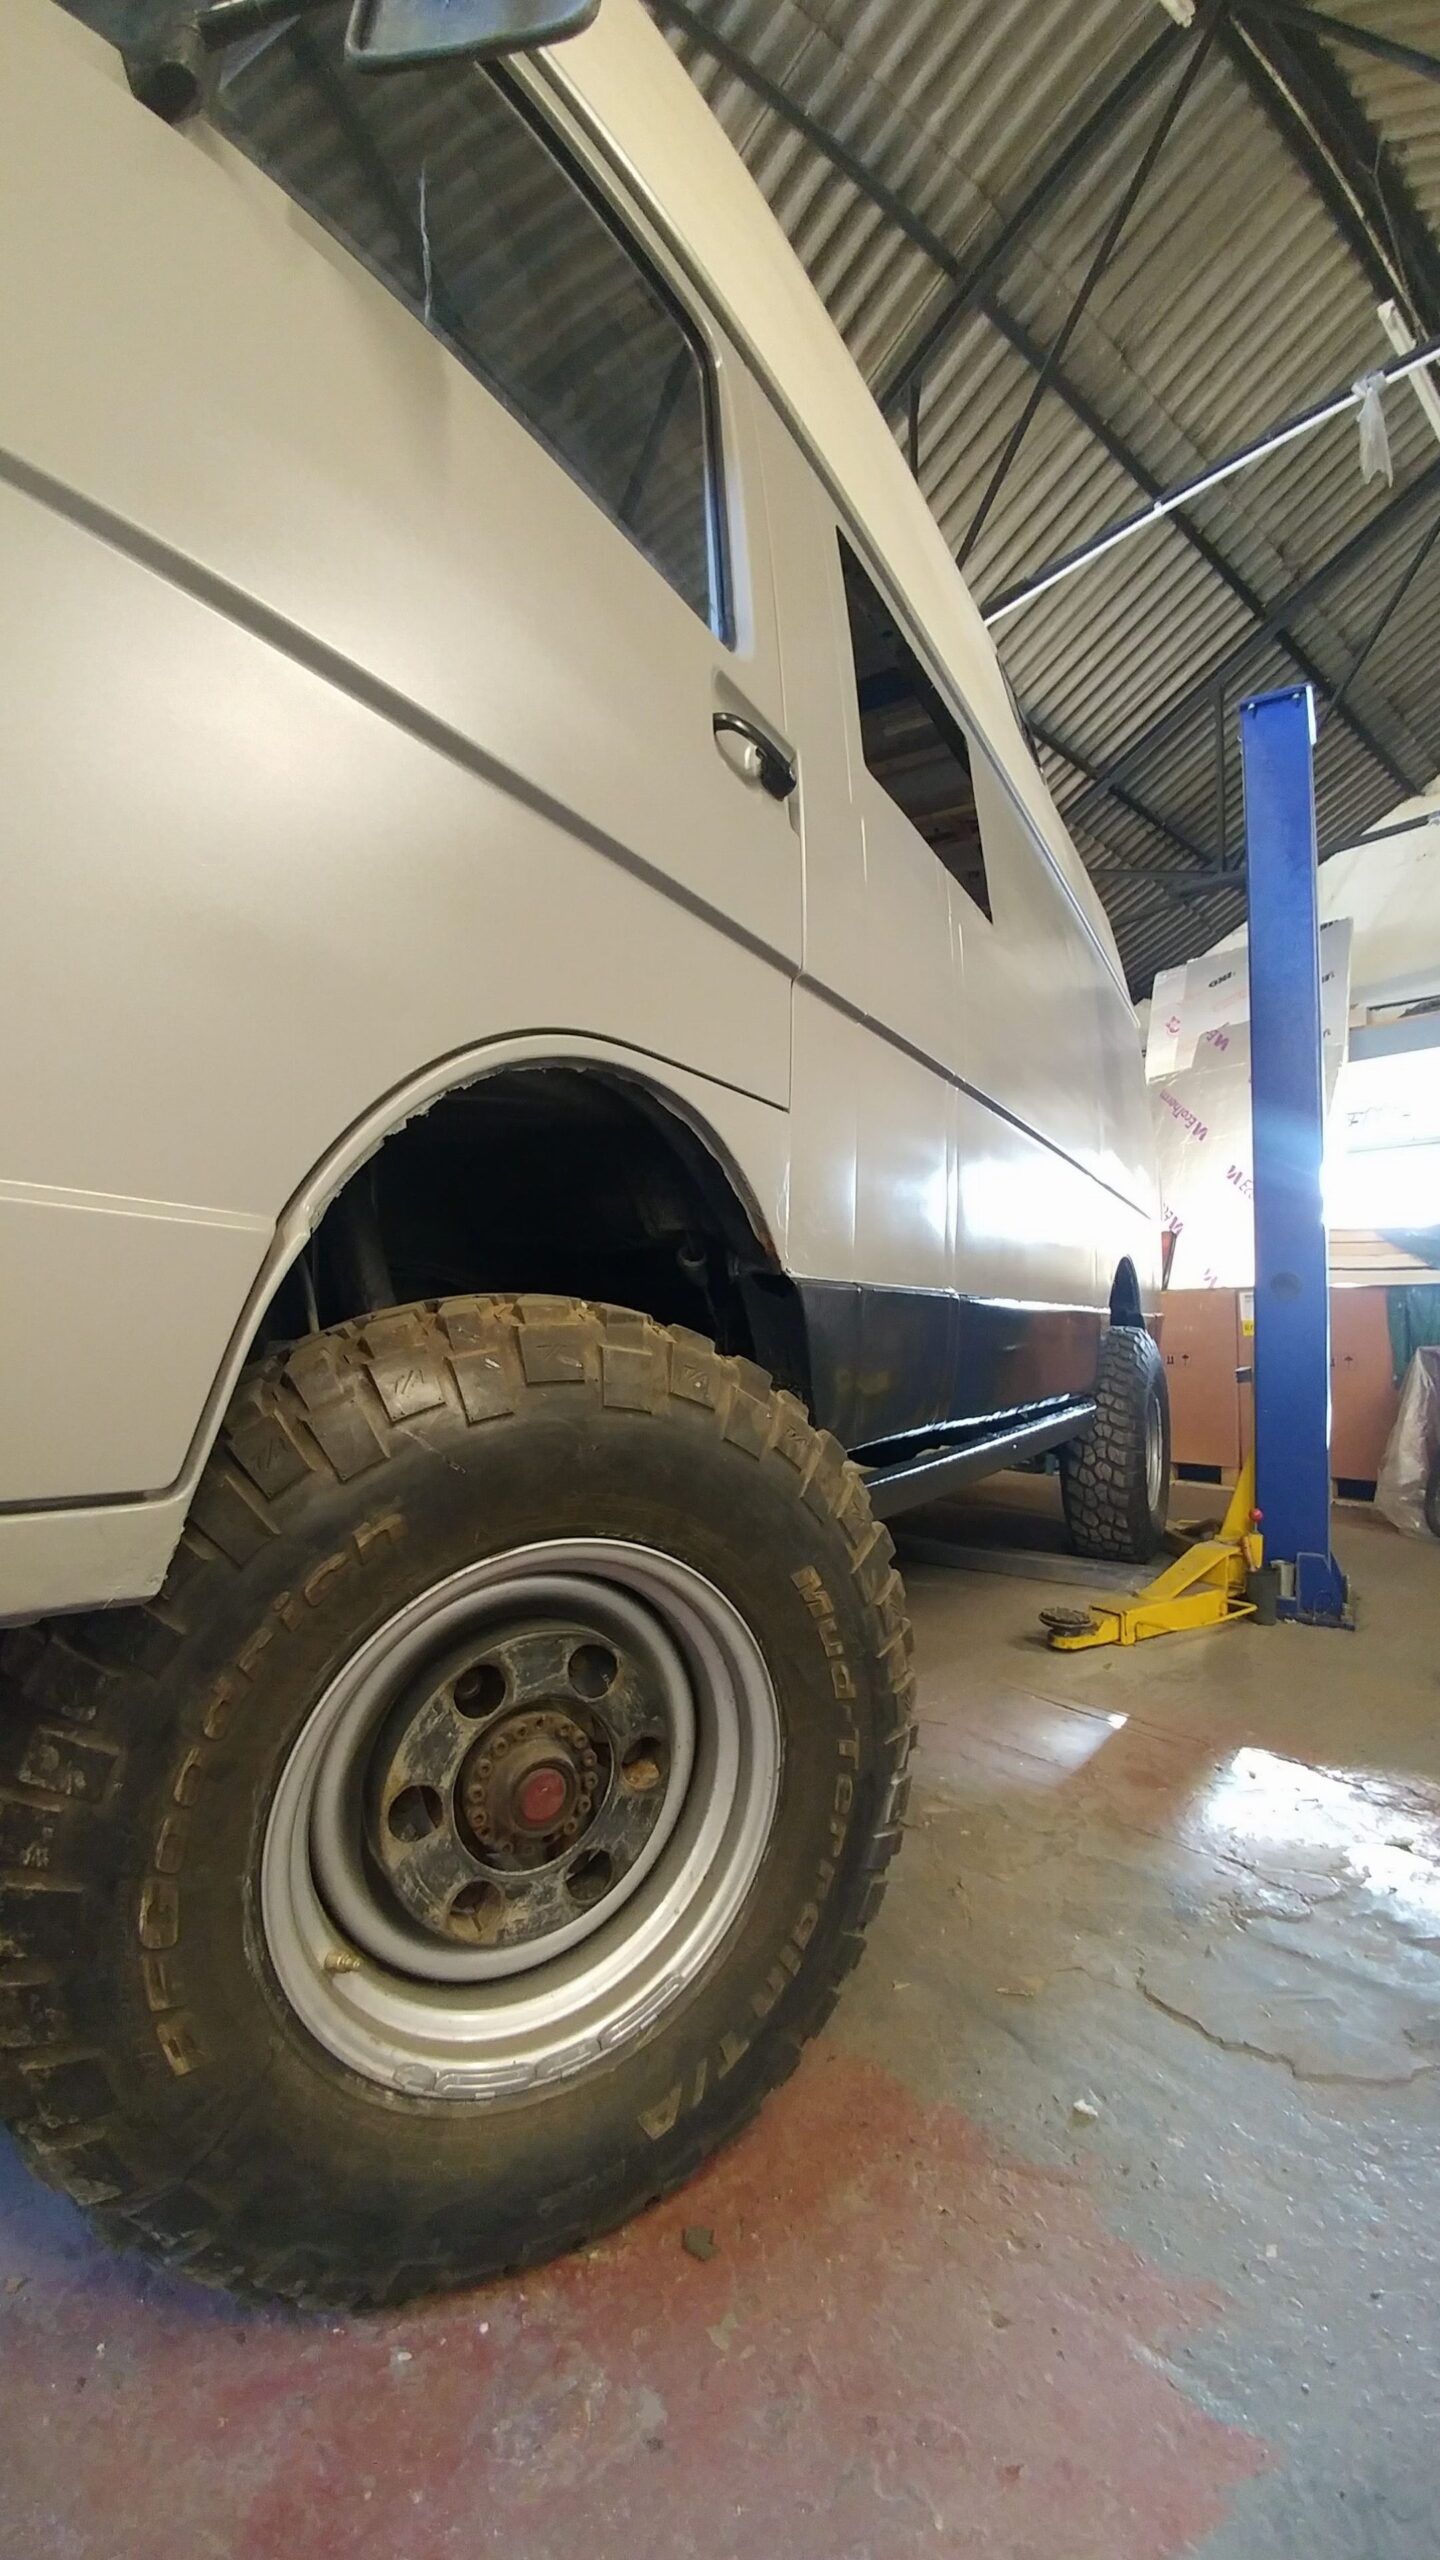
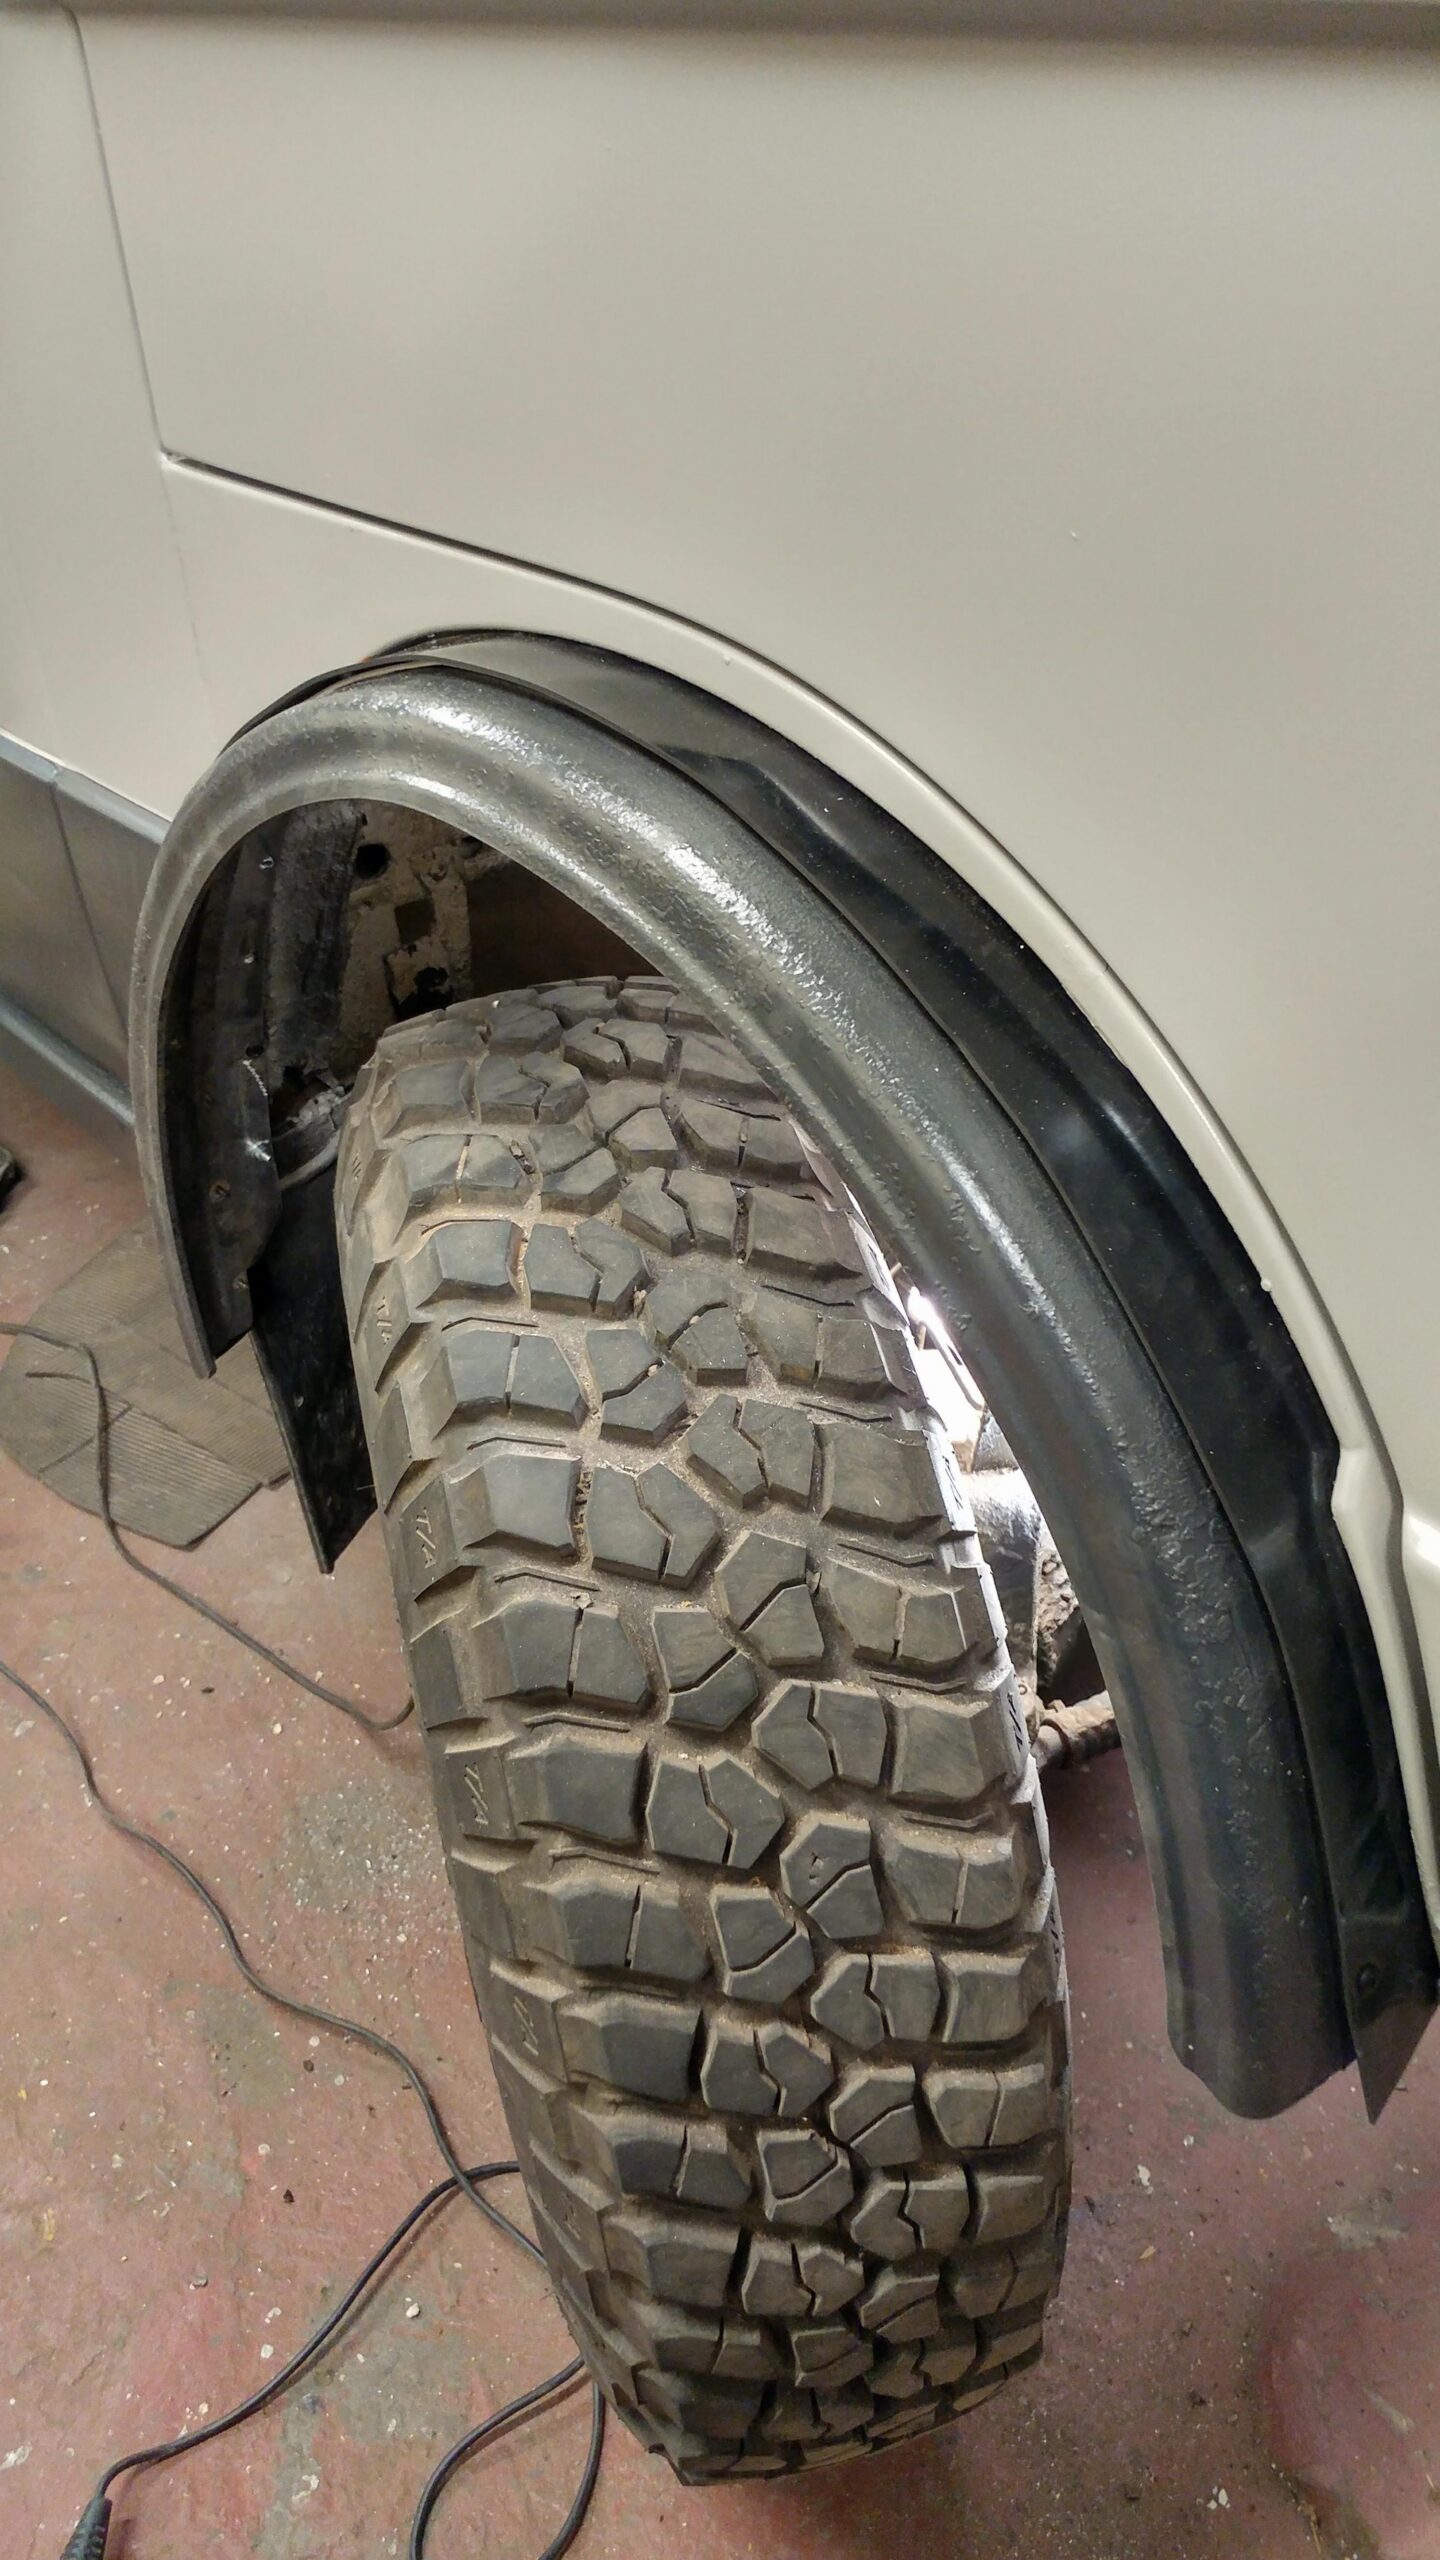
- Mounted the first wheel arch extension
-

- Standing tall and proud
-
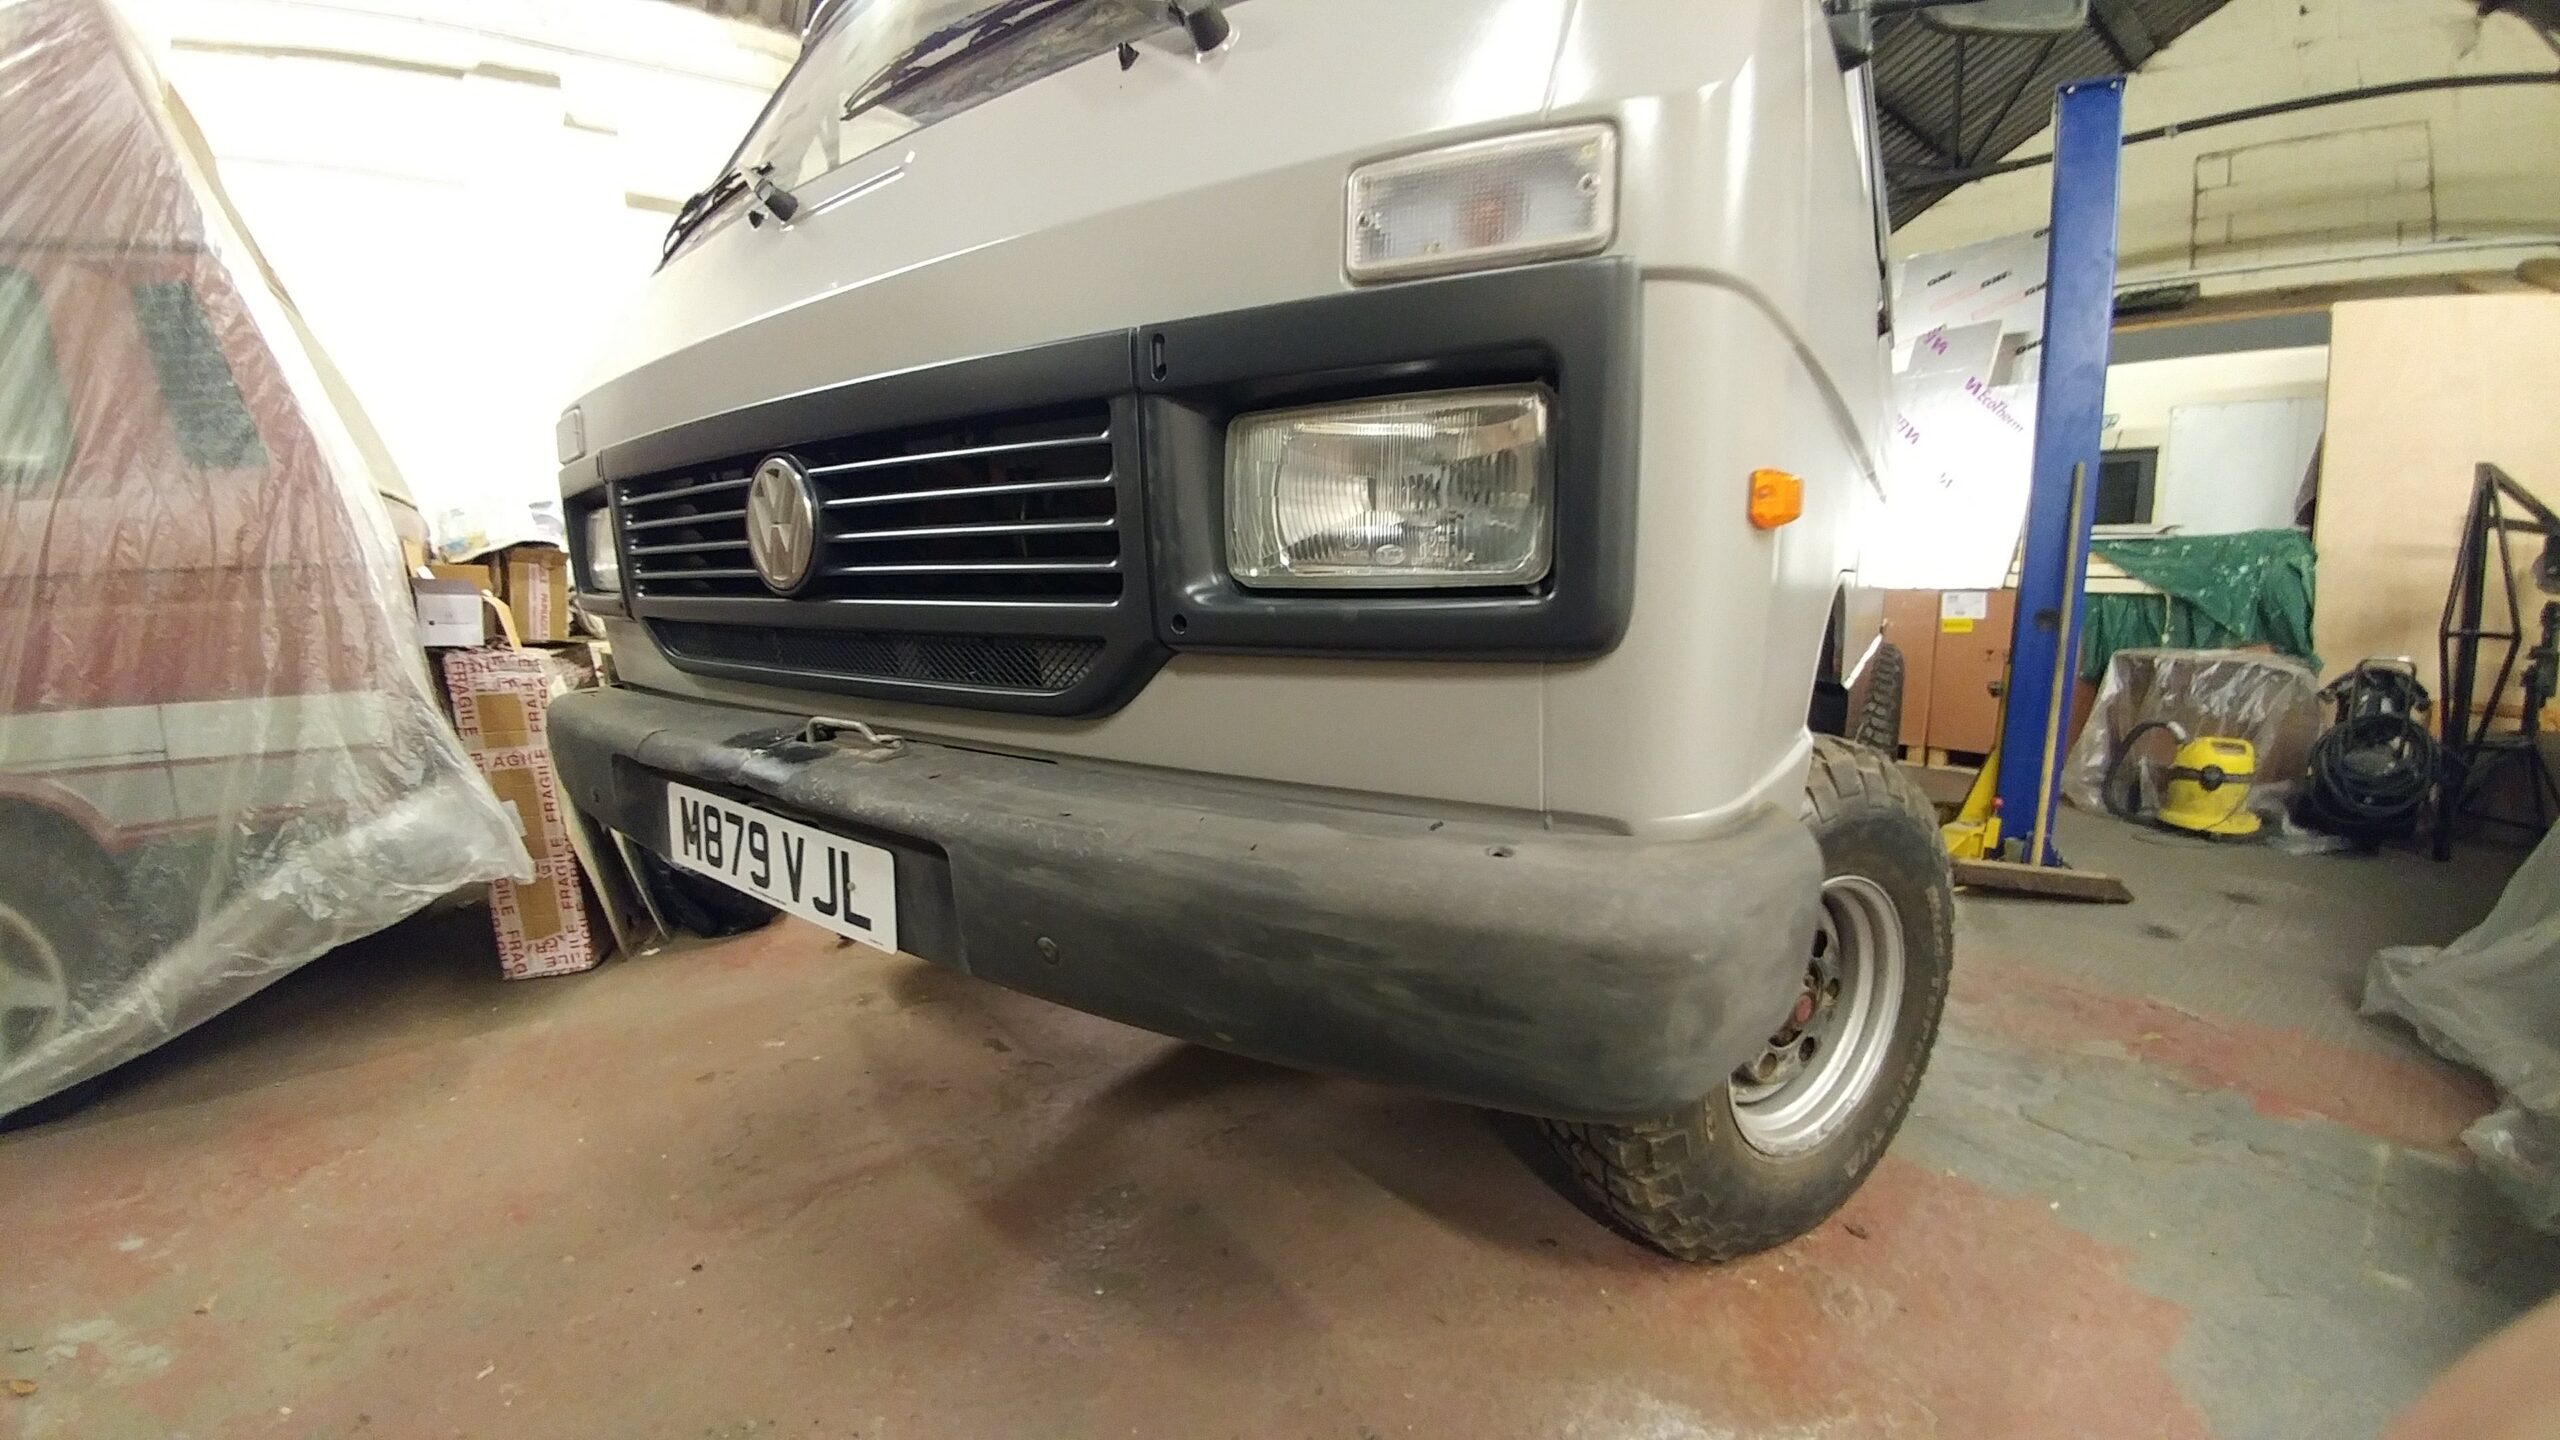
- The clear lenses go well
-
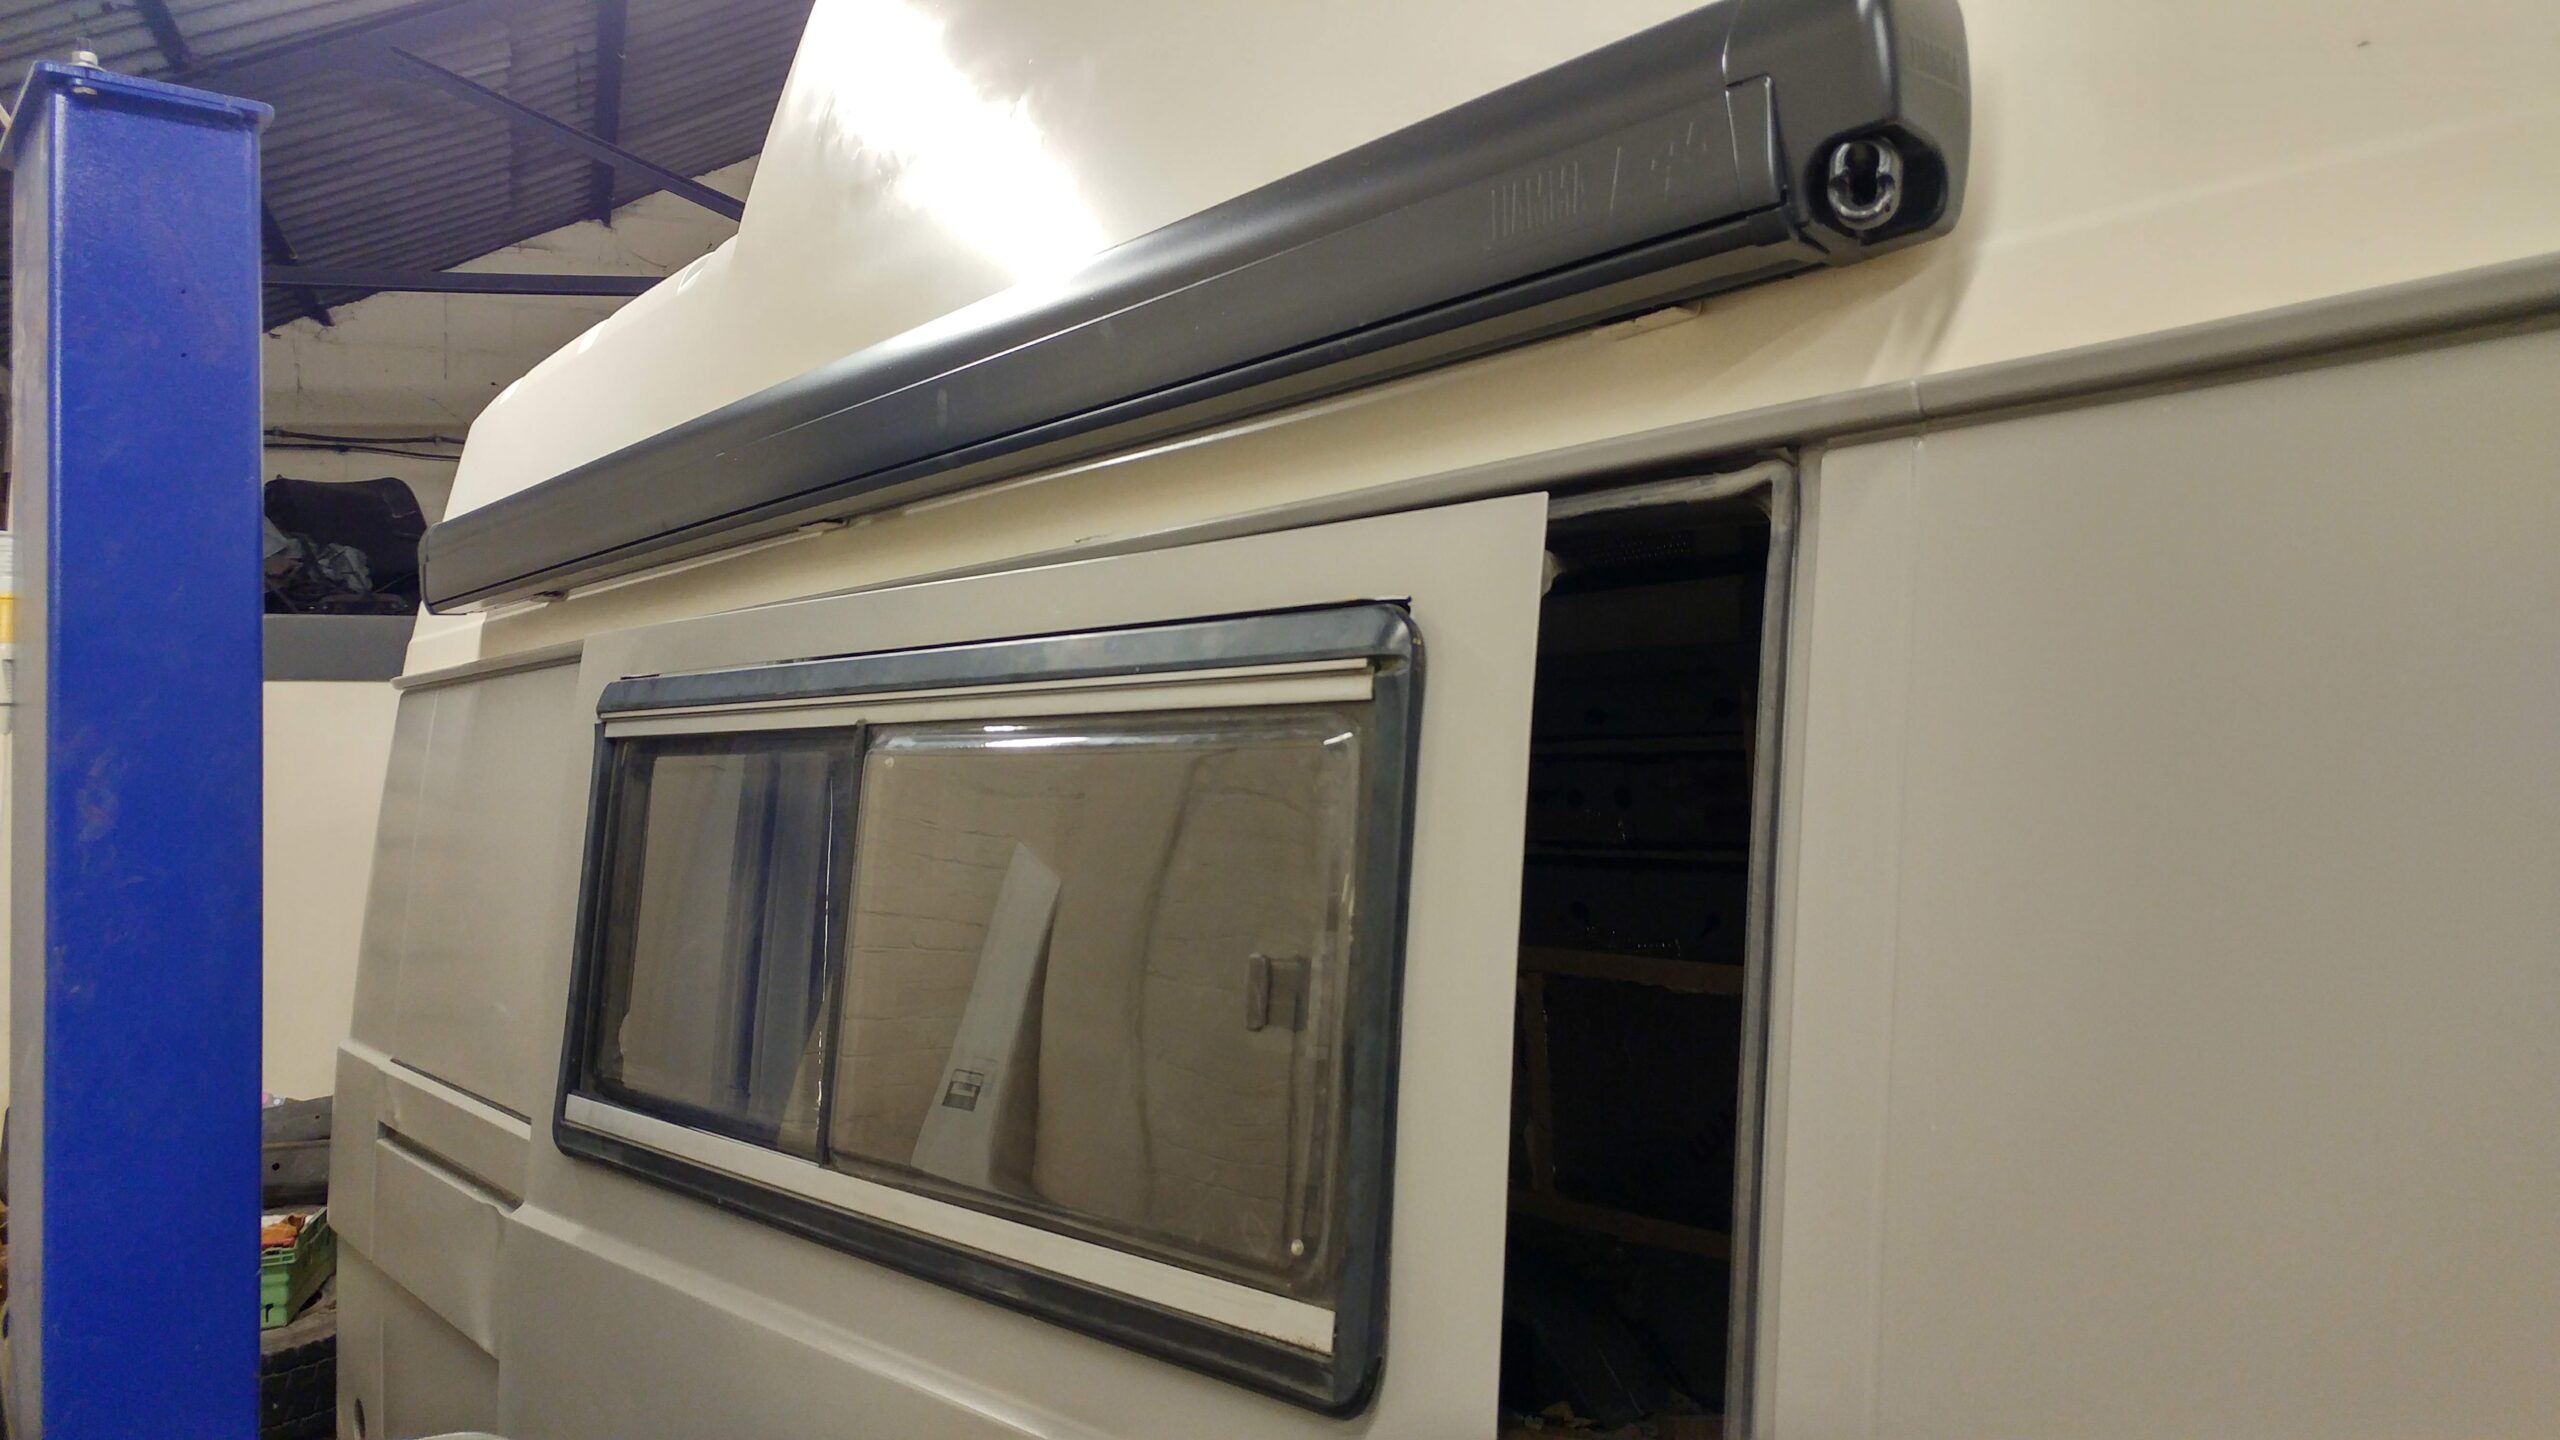
- Awning & sliding door window test-mounted
-
- Starting to come together
-
- Very tasty
-
- These will grow on me I guess
-
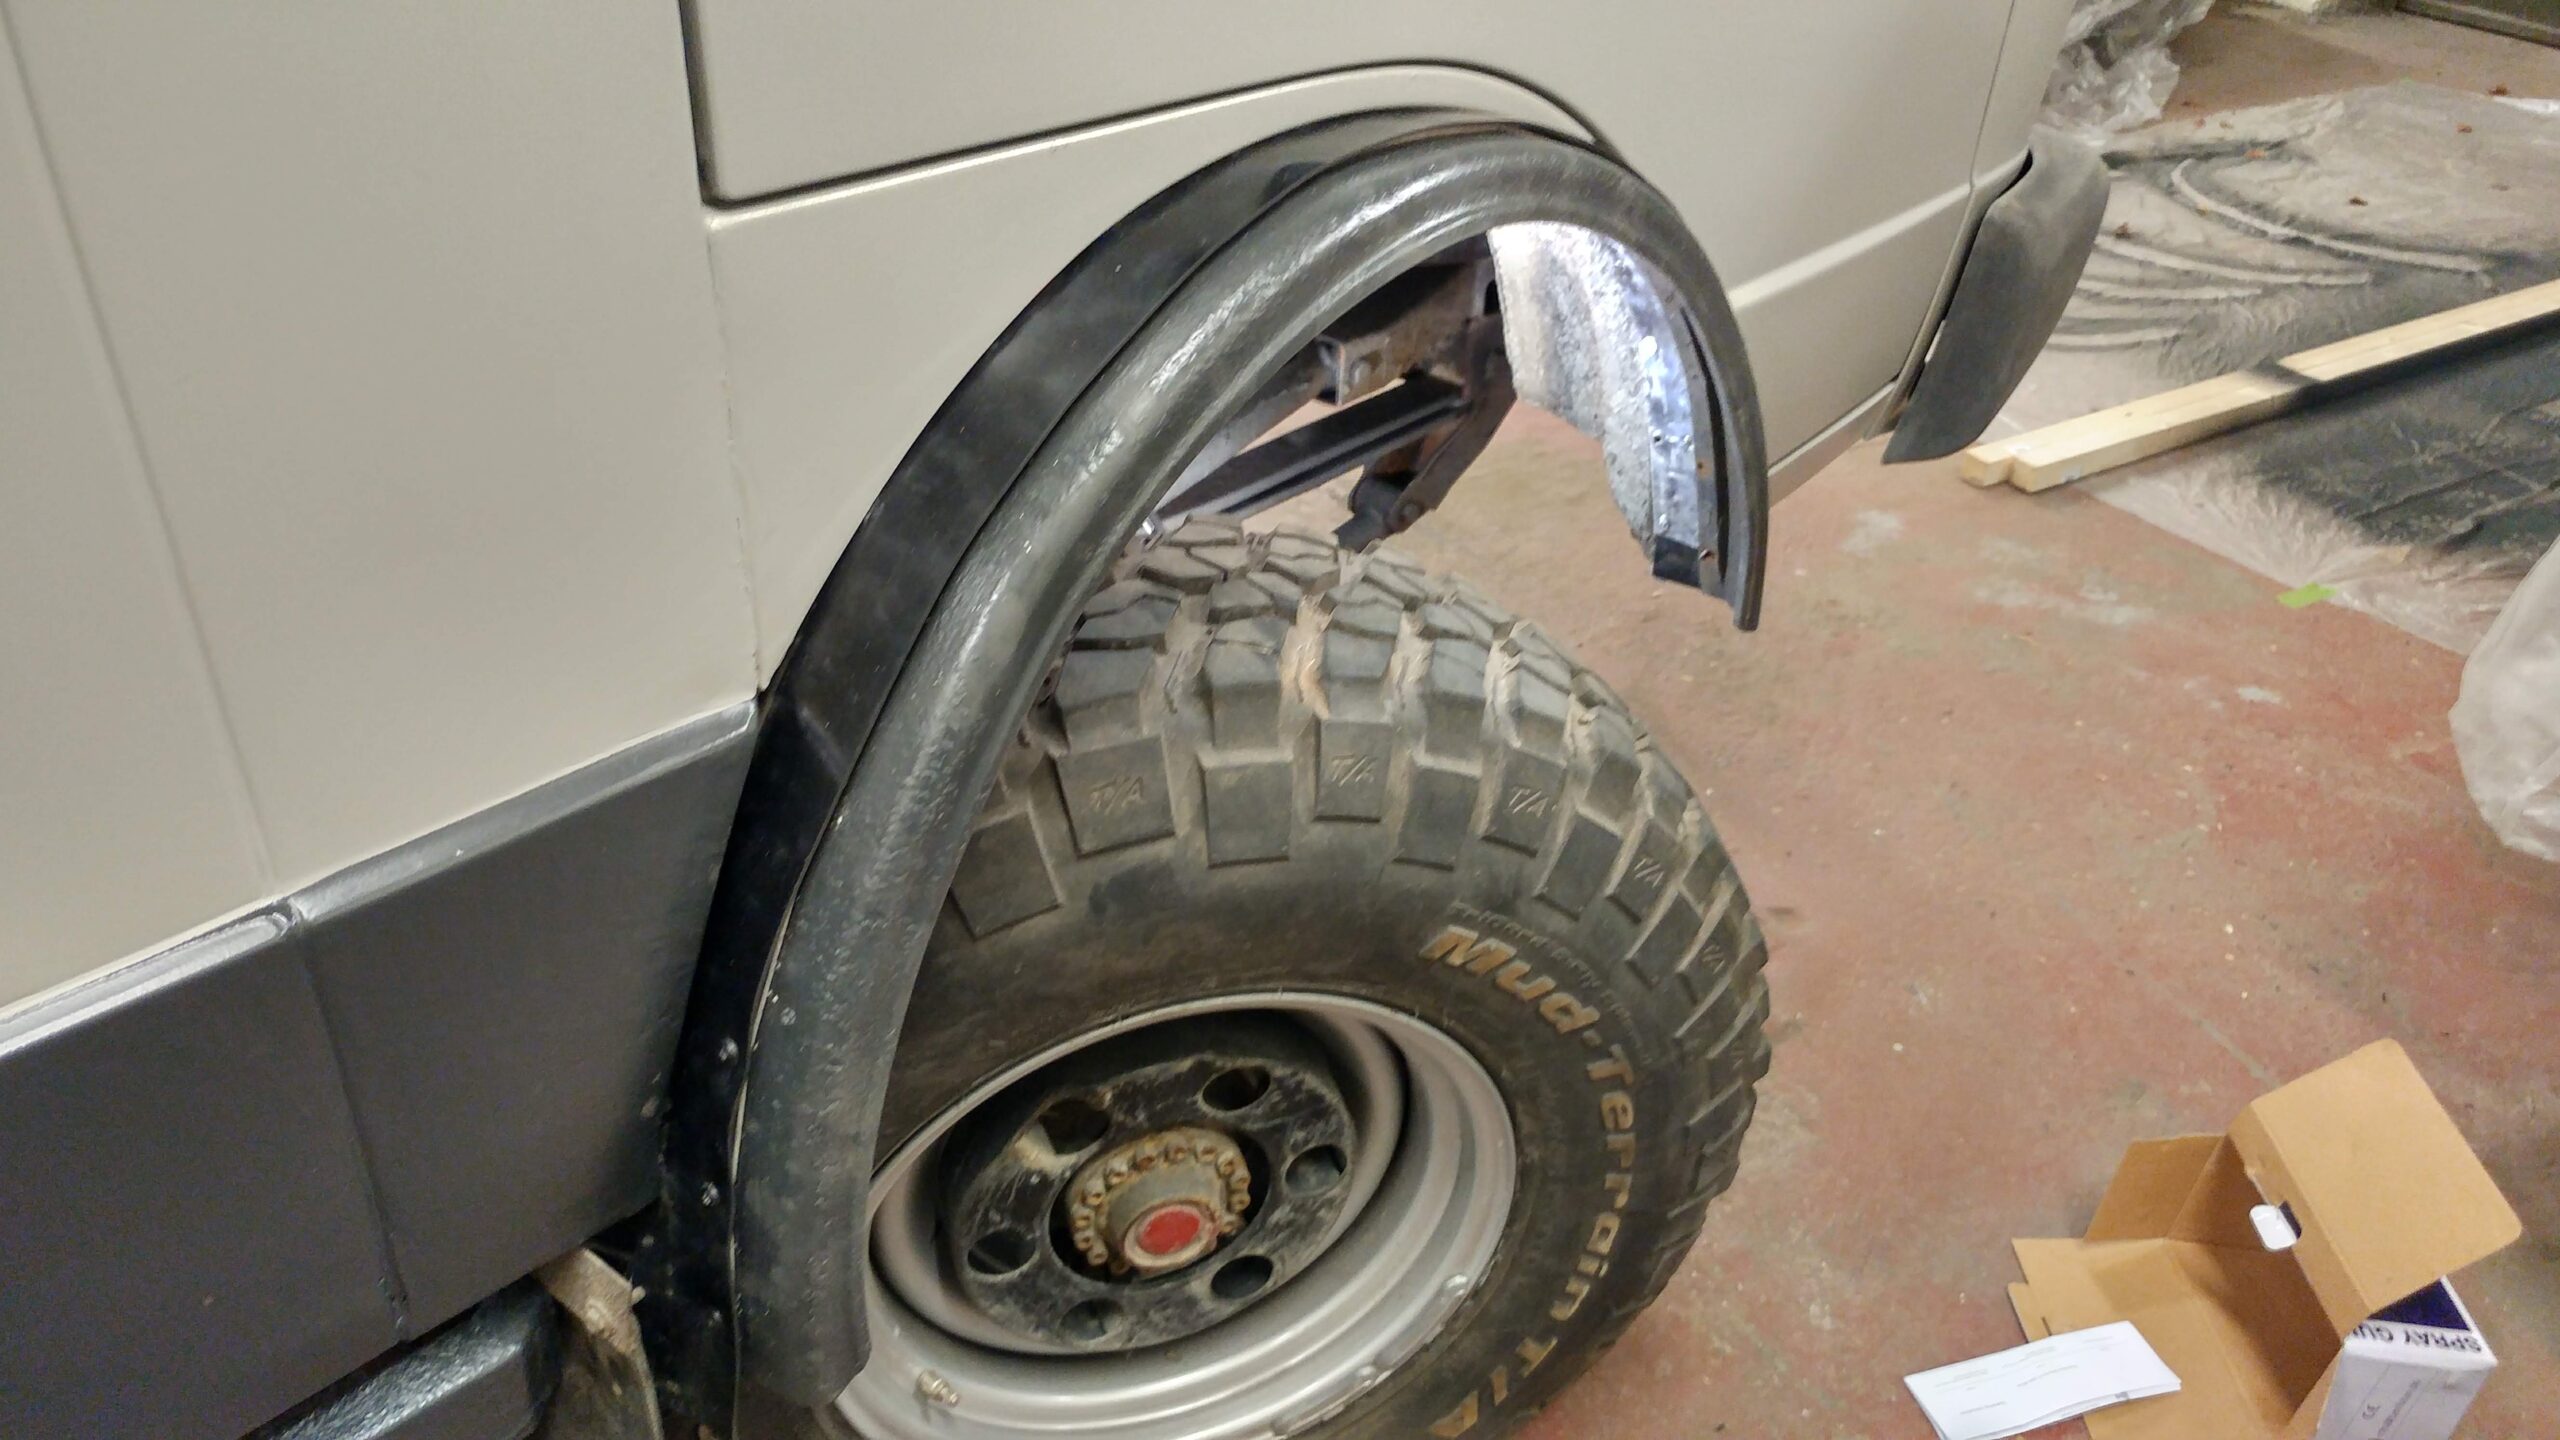
- Pretty fiddly half hours work but worth it


Recent Comments