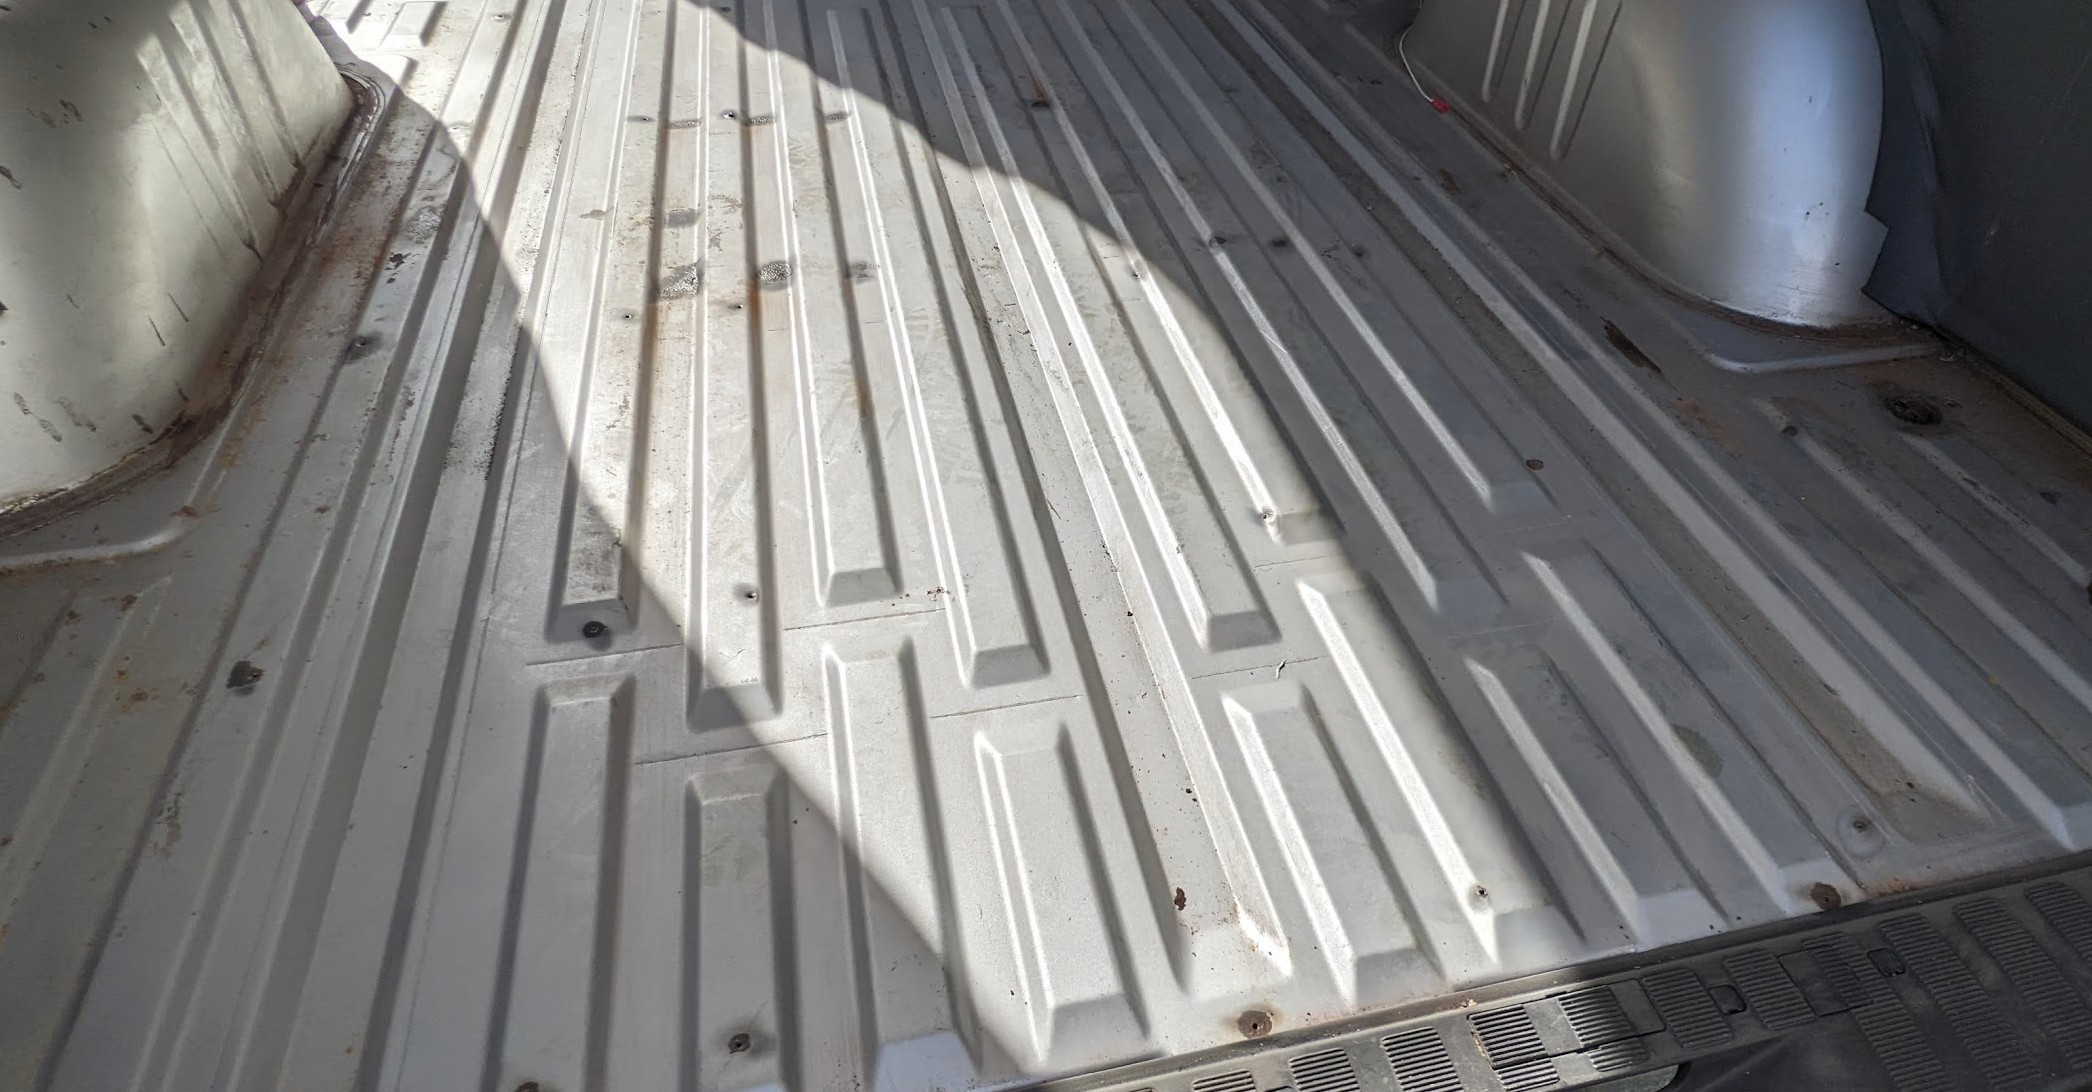
Batten work involves building a wooden frame inside your van, which you can then use to attach insulation, paneling, and other materials to create a comfortable living space. Here are some best practices to keep in mind when using batten work for your DIY camper van conversion:
- Plan your design carefully. Before you start building your batten work frame, take measurements of your van and decide on the layout of your living space. Make sure to leave enough room for a bed, kitchen area, storage, etc.
- Use high-quality materials. Your batten work frame needs to be sturdy and durable, and ideally using lightweight ply for the walls, so be sure to use high-quality wood and decent zinc galvanised self tapping screws to build it.
- Consider insulation. Insulation is key to keeping your camper van comfortable in all weather conditions. At the top end of the scale you can consider using spray foam insulation, which can conform to the shape of your batten work frame and provide excellent insulation, or at the other end you could fish off-cuts of insulation board out of skips on your route home!
- Leave space for wiring and plumbing. If you plan on adding electrical wiring or plumbing to your camper van, make sure to leave space in your batten work frame for these systems.
- Take your time. Building a batten work frame can be time-consuming, but it’s important to take your time to get it right. Rushing the process could lead to mistakes that could compromise the stability of your frame. Indeed thinking ahead (as well as looking back afterwards) are key parts of the joy of camper van building.
With these best practices in mind, you should be well on your way to creating a comfortable and functional living space in your DIY camper van.
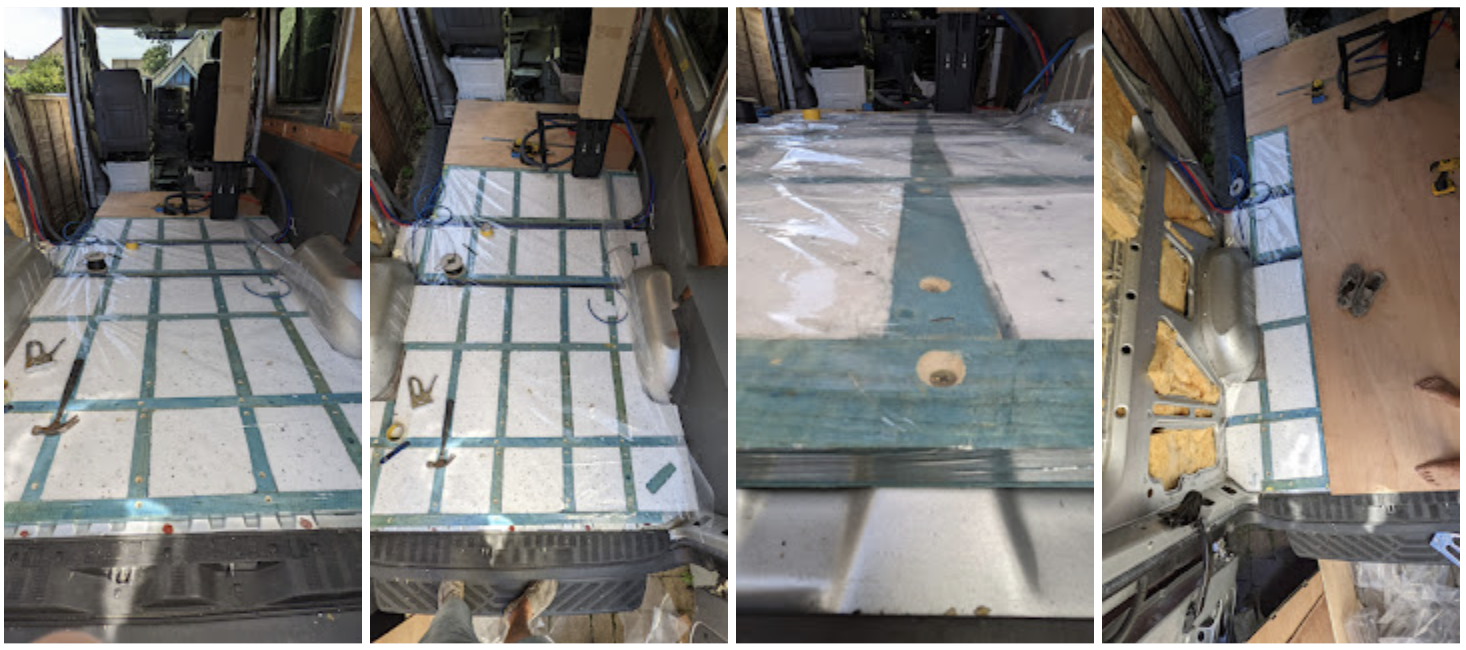
How do you attach battens to a van floor?
Some people believe that a good all weather sealant is enough and glue is all you need to attach battens to your interior van floor. However as the actual mount points are few and far between and the fact that access will be impossible after the conversion, and so, to avoid the potential for squeaks or even movement down the line it’s always a good idea to also use self tapping screws on your batten work. You’re going to have to make sure your floor is sound already so you can also then take precautions to makes sure any screws that do poke out the underside are treated with something to a) make them water tight, but also b) make sure that they don’t rust.
It is also the case that many people (including the vendors themselves) believe that you don’t need to use batten work when fitting insulation under a ply van floor. I’m afraid that, once again, this kind of shortcut can only leave you with issues further down the line and it is always better to plan for where your heaviest items will be and where your most common thoroughfares will be and ensure extra support is provided as required.
What size battens for campervan?
This will very much depend on what your personal preferences are for the level of insulation that you believe you will require. Height is obviously of a premium in a camper van (in the same way weight is) so any additional cms or even mms can become an issue further on down in your conversion so don’t go crazy. It’s also very hard to make a vehicle floor warmer with additional depth of insulation. If this is an issue for you (as it is with me) consider some other form of additional heating such as an underfloor coil or heating element.
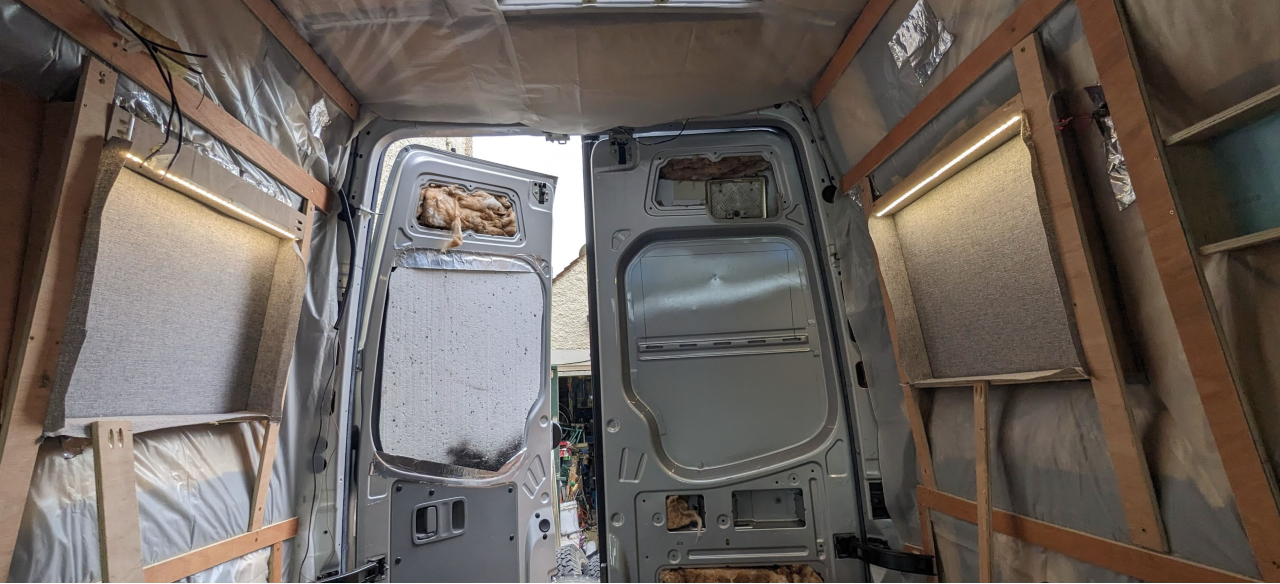
How to batten out your camper van walls
With a keen eye on the weight you are adding the key thing for wall batten work is providing sturdy and regular mounting points for your van wall lining material. And in some instances you may also be attaching furniture through your lining material directly into the wooden joists. It’s important to do this rather than screwing into van metal as it avoids cold bridging issues which can cause moisture build up inside the camper interior.
As with the floor the battens need to be lightweight and not too deep as to loose you too much more interior space. They need to allow a thin space between the insulation and/or vapour barrier and the van wall lining material itself. This air gap is a key part of effective insulation in a camper van.
The battens obviously need to be secured well with self tapping screws directly into the van joists. The screw heads need to be recessed into the wood.
The batten width is important as is ensuring you measure accurately from a point that you know will be accessible after lining as this will allow you to know how and where you can mount both the van lining material but also any furniture (such as overhead lockers) that could be additionally mounted through into more solid support into the batten work.
Here‘s how I battened out Walt, and this video shows how I battened out the Sprinter (both videos embedded below).










Recent Comments