What exterior accessories are essential vs nice to have for a campervan?
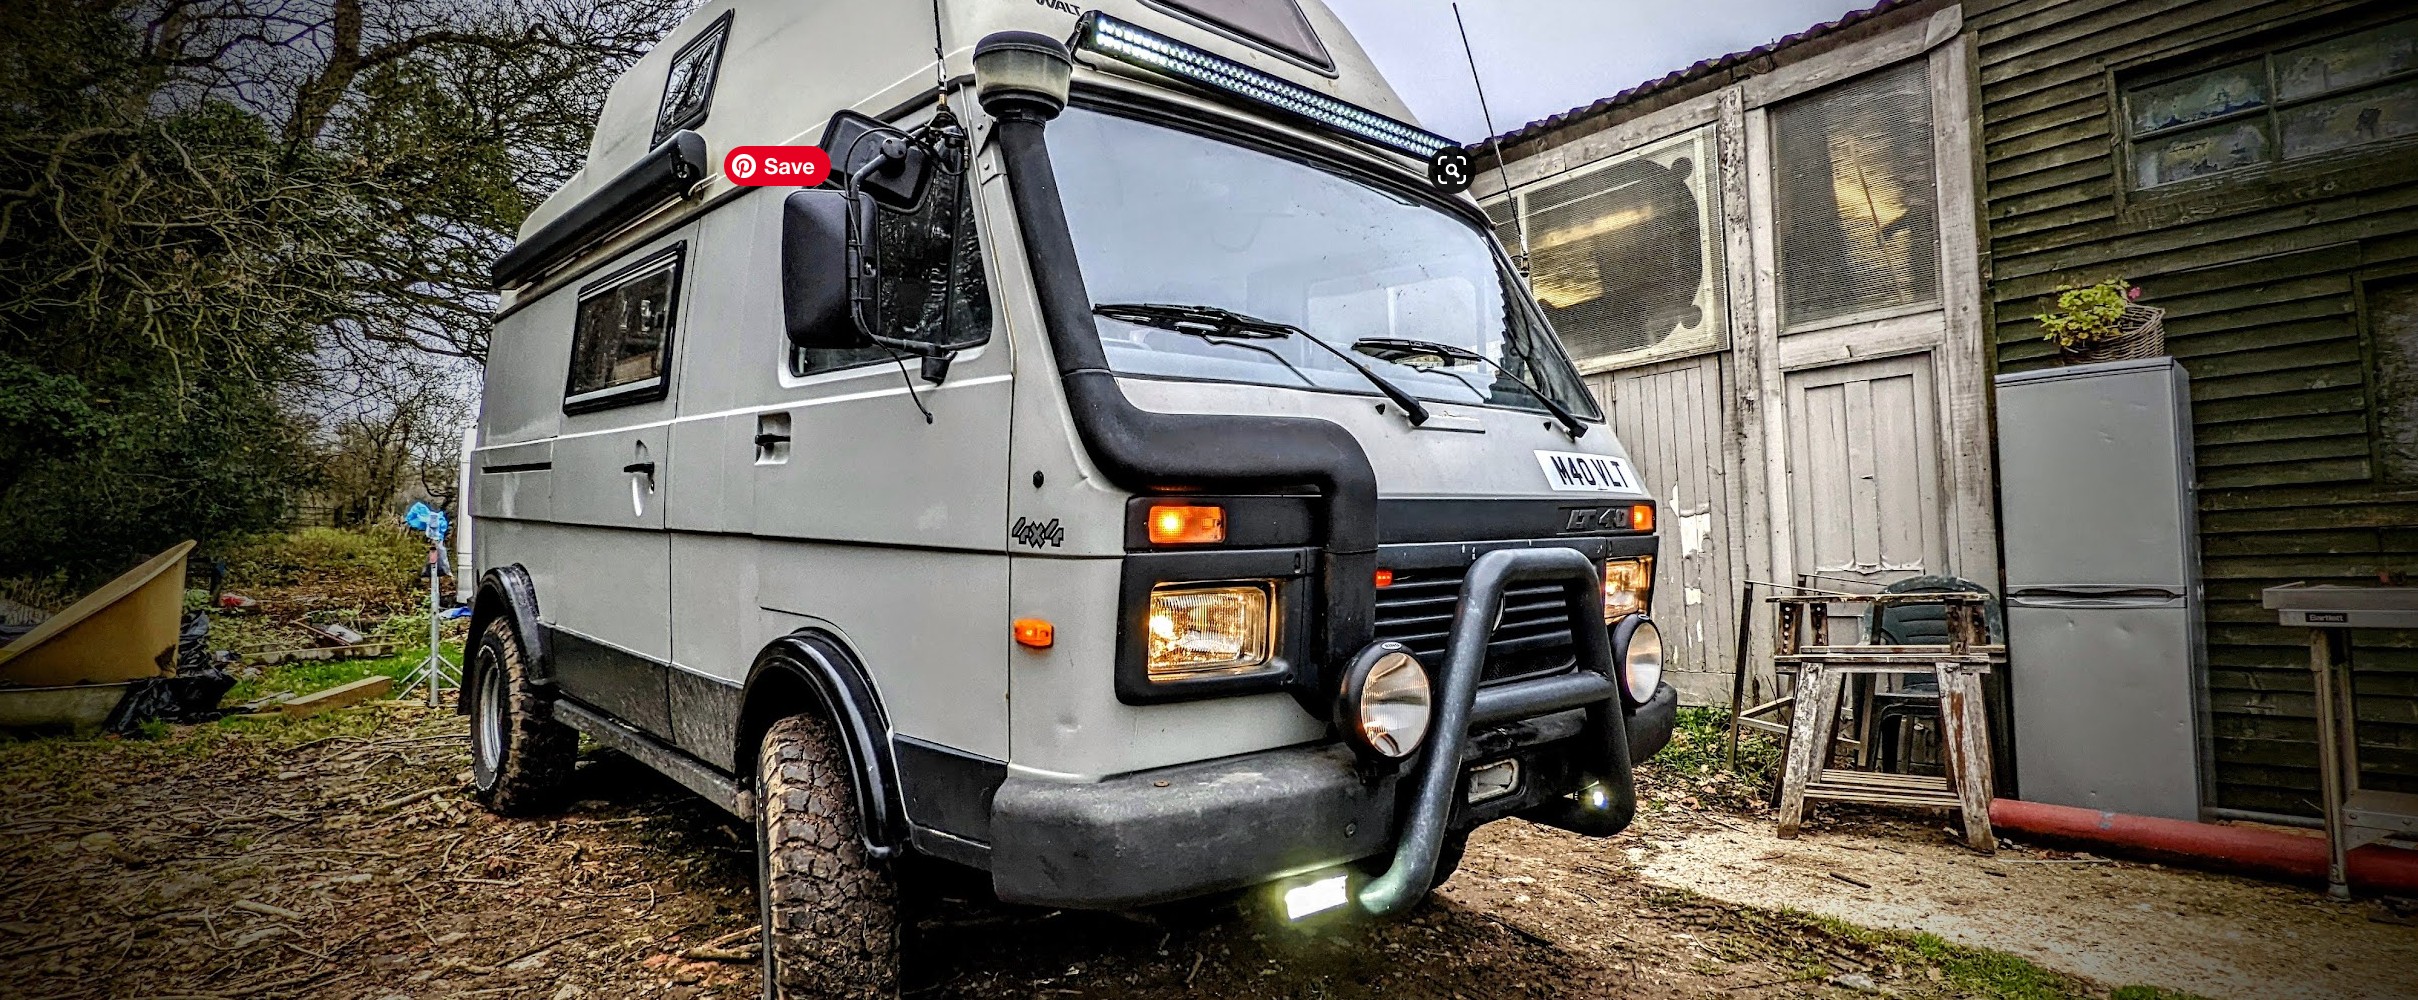
Essential exterior accessories for a campervan include:
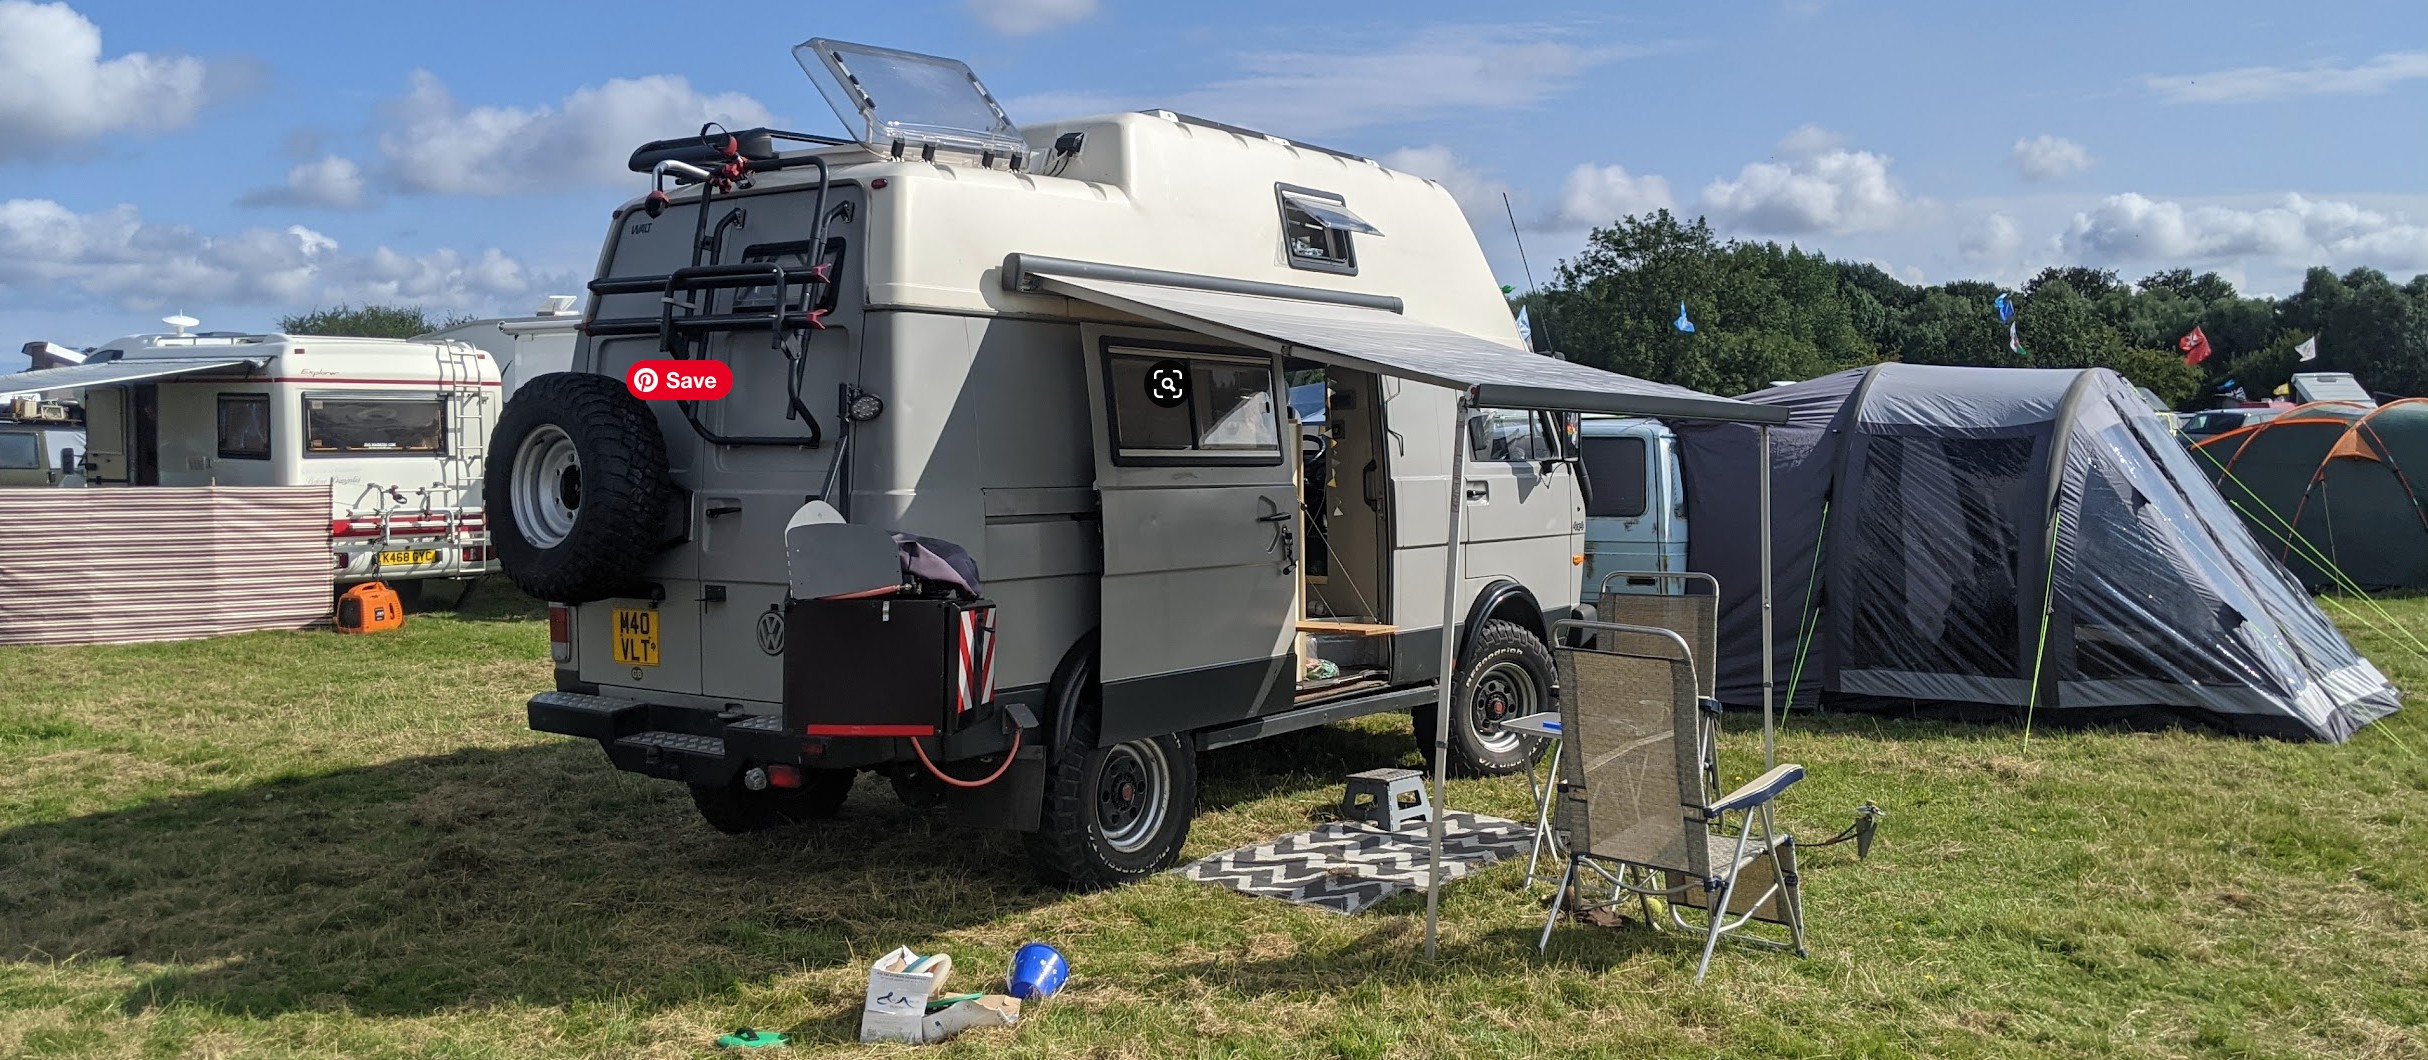
- Bike rack: If you plan to bring bicycles on your trip, a bike rack is an essential accessory that can save space inside the campervan.
- Roof rack: A roof rack provides additional storage space for larger items and is essential if you plan to bring kayaks or surfboards.
- Awning: An awning provides shade and shelter from the elements outside the campervan and is essential for outdoor living.
- Solar panels: Solar panels provide a sustainable source of power for your campervan and are essential if you plan to spend time off-grid.
Nice-to-have exterior accessories for a campervan include:
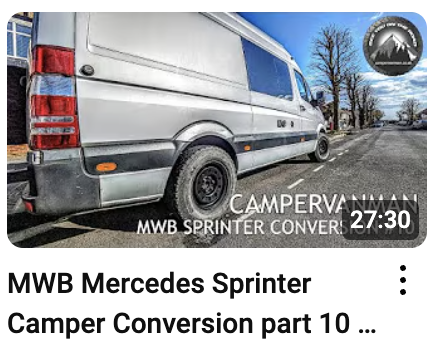
- Alloy wheels: some say essential for aesthetics but at a cost for sure. They certainly can create a more aggressive stance.
- All terrain tyres: again a potentially expensive nice-to-have, but one that also seems to be permanently in vogue. Go mud terrain if you really don’t care about your mpg/kml.
- A rear racking system/boxes: there’s no doubting their usefulness but can you survive without them until you can at least afford them! Super desirable.
- External lighting: External lighting is nice to have for camping in remote areas or for added safety when arriving at your campsite after dark.
Ultimately, the essential exterior accessories for a campervan are those that are necessary for your specific trip and lifestyle, while nice-to-have accessories are those that can enhance your overall experience.
What considerations are there around the number of windows in a campervan vs it’s insulation properties?
When considering the option of fitting additional windows in a campervan, there are a few important considerations to keep in mind regarding insulation:
- Insulation type: The type of insulation used in your campervan can greatly affect its ability to maintain a comfortable temperature. If you plan to have many windows, you may need to invest in higher quality insulation to compensate for the increased heat loss. Certainly consider cassette windows if you can as their heat loss properties are vastly reduced.
- Climate: The climate you’ll be travelling in is an important factor to consider when deciding how many windows to include in your campervan. If you’ll be travelling in colder climates, you may want to minimise the number of windows to reduce heat loss. If you’ll be traveling in warmer climates, more windows can provide better ventilation and natural light.
- Personal preferences: The number of windows you choose ultimately depends on your personal preferences and interior layout. Some people prefer a more open and airy feel with lots of windows, while others prefer a more cozy and insulated, stealthy space with fewer windows.
In general, the more windows you have in your campervan, the harder it can be to maintain consistent temperatures. However, with proper insulation and attention to climate control, you can still enjoy a comfortable and inviting space with plenty of natural light.
What considerations are there around security in a campervan?
- Locks: Install high-quality locks on all doors and windows. Deadbolt locks can provide added security.
- Alarm system: Consider installing an alarm system that includes motion sensors, door and window sensors, and a loud siren.
- Safe: Install a small safe to store valuables such as cash, passports, and electronics.
- Security cameras: Install security cameras both inside and outside your campervan to monitor activity.
- Parking location: Be mindful of where you park your campervan. Choose well-lit, secure areas with surveillance cameras if possible.
- Window coverings: Use window coverings to prevent outsiders from seeing inside your campervan.
- Insurance: Make sure you have adequate insurance coverage for your campervan and its contents in case of theft or damage.
Ultimately, the level of security you need for your campervan depends on your individual circumstances and travel plans. Consider your personal safety concerns and take necessary precautions to protect yourself and your belongings while on the road.
When issues are there regarding looks vs cost vs practicalities?
When considering the outward look of your campervan conversion there are several issues to consider
- Cost: The cost of a campervan conversion can vary greatly depending on the materials and design you choose. More intricate or unique designs may be more expensive than simpler ones. You will almost always spend more than you budget if you are considering doing it yourself.
- Practicality: In reality the dream of #vanlife may well be easily outweighed by the burden a self build conversion can have on your life. Unless you consider the build as part of the journey itself you should try and factor in disillusionment as a phase in the build (maybe more than once!). However, as with all projects, there are easier and harder parts to the journey and one can feel a great sense of purpose and achievement to be working towards such a wonderful and escapist goal.
- Aesthetics: The aesthetics of your campervan conversion are important, as they contribute to your overall enjoyment of the vehicle. However, it’s important to balance aesthetics with practicality and cost. For example, you may love the look of a certain type of paint or decal, but it may be more expensive or difficult to maintain. A top tip is to lay out everything you want in a spreadsheet and cost up the whole job item by item in advance. Then as you proceed you can continue to research items, try and find deals, and always look for compromises that still give you the look and feel you desire. For example an expensive window cassette blind can easily be replaced by an IKEA blind!
Ultimately, the exterior design of your campervan should reflect your personal style and preferences, while also being cost-effective, practical, and functional. Consider working with a professional campervan conversion company to ensure that your design meets all of your needs and requirements.

Considerations around access to the inside of the van walls before, during & after the conversion
- Before the conversion: Before you begin the conversion, you will need to access the inside of the van walls (and floor) to install insulation, run first fix electrics wiring and plumbing, and consider other components such as control panels and sensors. Consider leaving access points or removable panels in strategic locations to make this process future-proof as it’s very hard to consider everything at this stage, even for an advance builder. Always try and run your full length pipe and cable runs this way to keep things simple for later on. Always protect pipe and cable runs using suitable trunking as friction in a moving vehicle can end up causing dangerous problems later on. If you’re fitting a fixed loo don’t forget to plan how you remove waste – is this hatch to be perhaps internal or if external will it fit in relation to wheel arches and exterior profile, etc.
- During the conversion: During the conversion process, you may need to access the inside of the van walls to make modifications, cut additional accessories access points or even make repairs. Consider leaving access points or removable panels in areas where you can anticipate this.
- After the conversion: After the conversion is complete, you may need to access the inside of the van walls for maintenance or repairs. Consider leaving access points or removable panels in areas where you anticipate needing access in the future.
By planning for access to the inside of the van walls throughout the entire conversion process, you can save time and avoid frustration when making modifications or repairs in the future.
Exterior lighting considerations
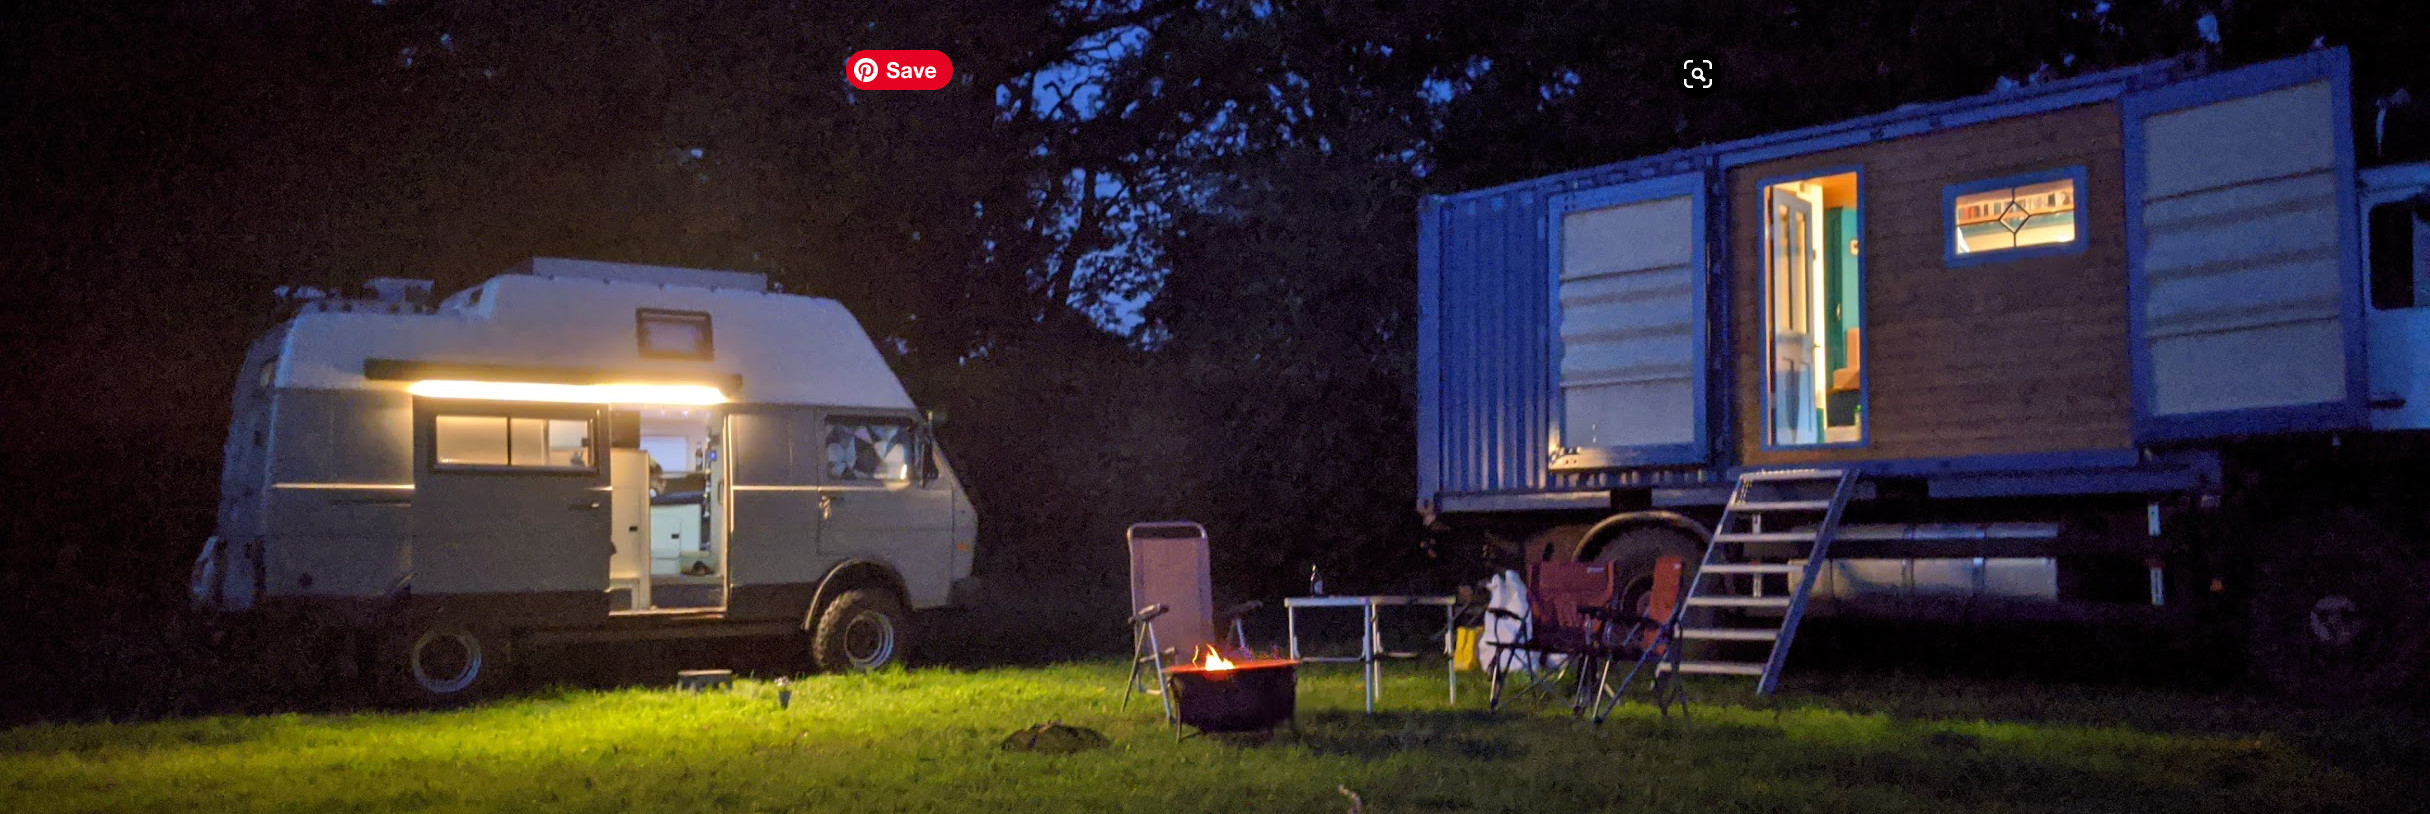
- Safety: Exterior lighting is useful for safety, especially when driving off-road or on a trail, at night, camping in remote areas or simply pitching up late. Consider installing additional driving lights and taillights, scene lights and other exterior lights to improve visibility and avoid accidents.
- Security: Exterior lighting can also improve security by deterring potential thieves or intruders. Consider installing motion-activated lights or floodlights around your vehicle, particularly when parked at home. Passive Infra Red (PIR) sensors can be useful here.
- Convenience: Exterior lighting can make it easier to navigate around your campsite or parking area at night. Consider installing porch lights or other types of exterior lighting to improve visibility and convenience. PIR sensors can be useful here too.
- Power consumption: When planning your exterior lighting, consider the power consumption of each light and how it will impact your overall electrical system. LED lights are a popular choice for their low power consumption and long lifespan.
By considering these factors when planning your exterior accessories and features, you can create a safe, secure, and convenient conversion that meets all of your needs and requirements.









Recent Comments