How to Handle Common Campervan Repairs Yourself
I fully understand that owning a campervan is not just about the adventures; it’s also about handling the unexpected repairs that come along the way. Through my experience, I’ve collected some key strategies and tips to help you manage common campervan repairs on your own. This guide is tailored for campervan owners who prefer to take matters into their hands and ensure their van is always road-ready.
Key Takeaways
| Topic | Key Points |
|---|---|
| DIY Campervan Repairs | Planning and having the right tools are crucial. |
| Exterior Repairs | Address superficial and structural issues promptly. |
| Interior Maintenance | Keep the living space functional and comfortable. |
| Internal Services | Understand basic troubleshooting and installation. |
| Emergency Fixes | Always be prepared for road emergencies. |
Introduction
Campervans symbolise freedom and adventure, but they also demand care and maintenance, and whether you holiday in them once a year or live in them full-time they are also a home on wheels, and can have all the facilities of your house. Being able to perform common repairs is a valuable skill for any campervan owner, saving time, money, and ensuring your vehicle remains dependable.
I. Planning Your DIY Campervan Repairs
Before diving into repairs, it’s essential to assess what needs fixing and gather the necessary tools and parts. A bit of planning can prevent minor issues from becoming major problems. If you’re anything like me you’ll have amassed tools over the years but investing in a decent set (or even individual items) is a must.

Essential tools would be as follows:
- Socket Set
- Pliers and Wirecutters
- Combination Spanner Set
- Screwdrivers
- Zip Ties
- Duct tape
- Jump Leads
Link: Planning a DIY Camper Conversion
II. Exterior Campervan Repair Tips
Exterior repairs might include addressing scratches, dents, or even window repairs. Regular inspection can help identify issues early, preventing more serious damage down the line. This is never more important if your camper has a metal body, such as a panel van. An untreated scratch in the panel work can lead to more costly work.
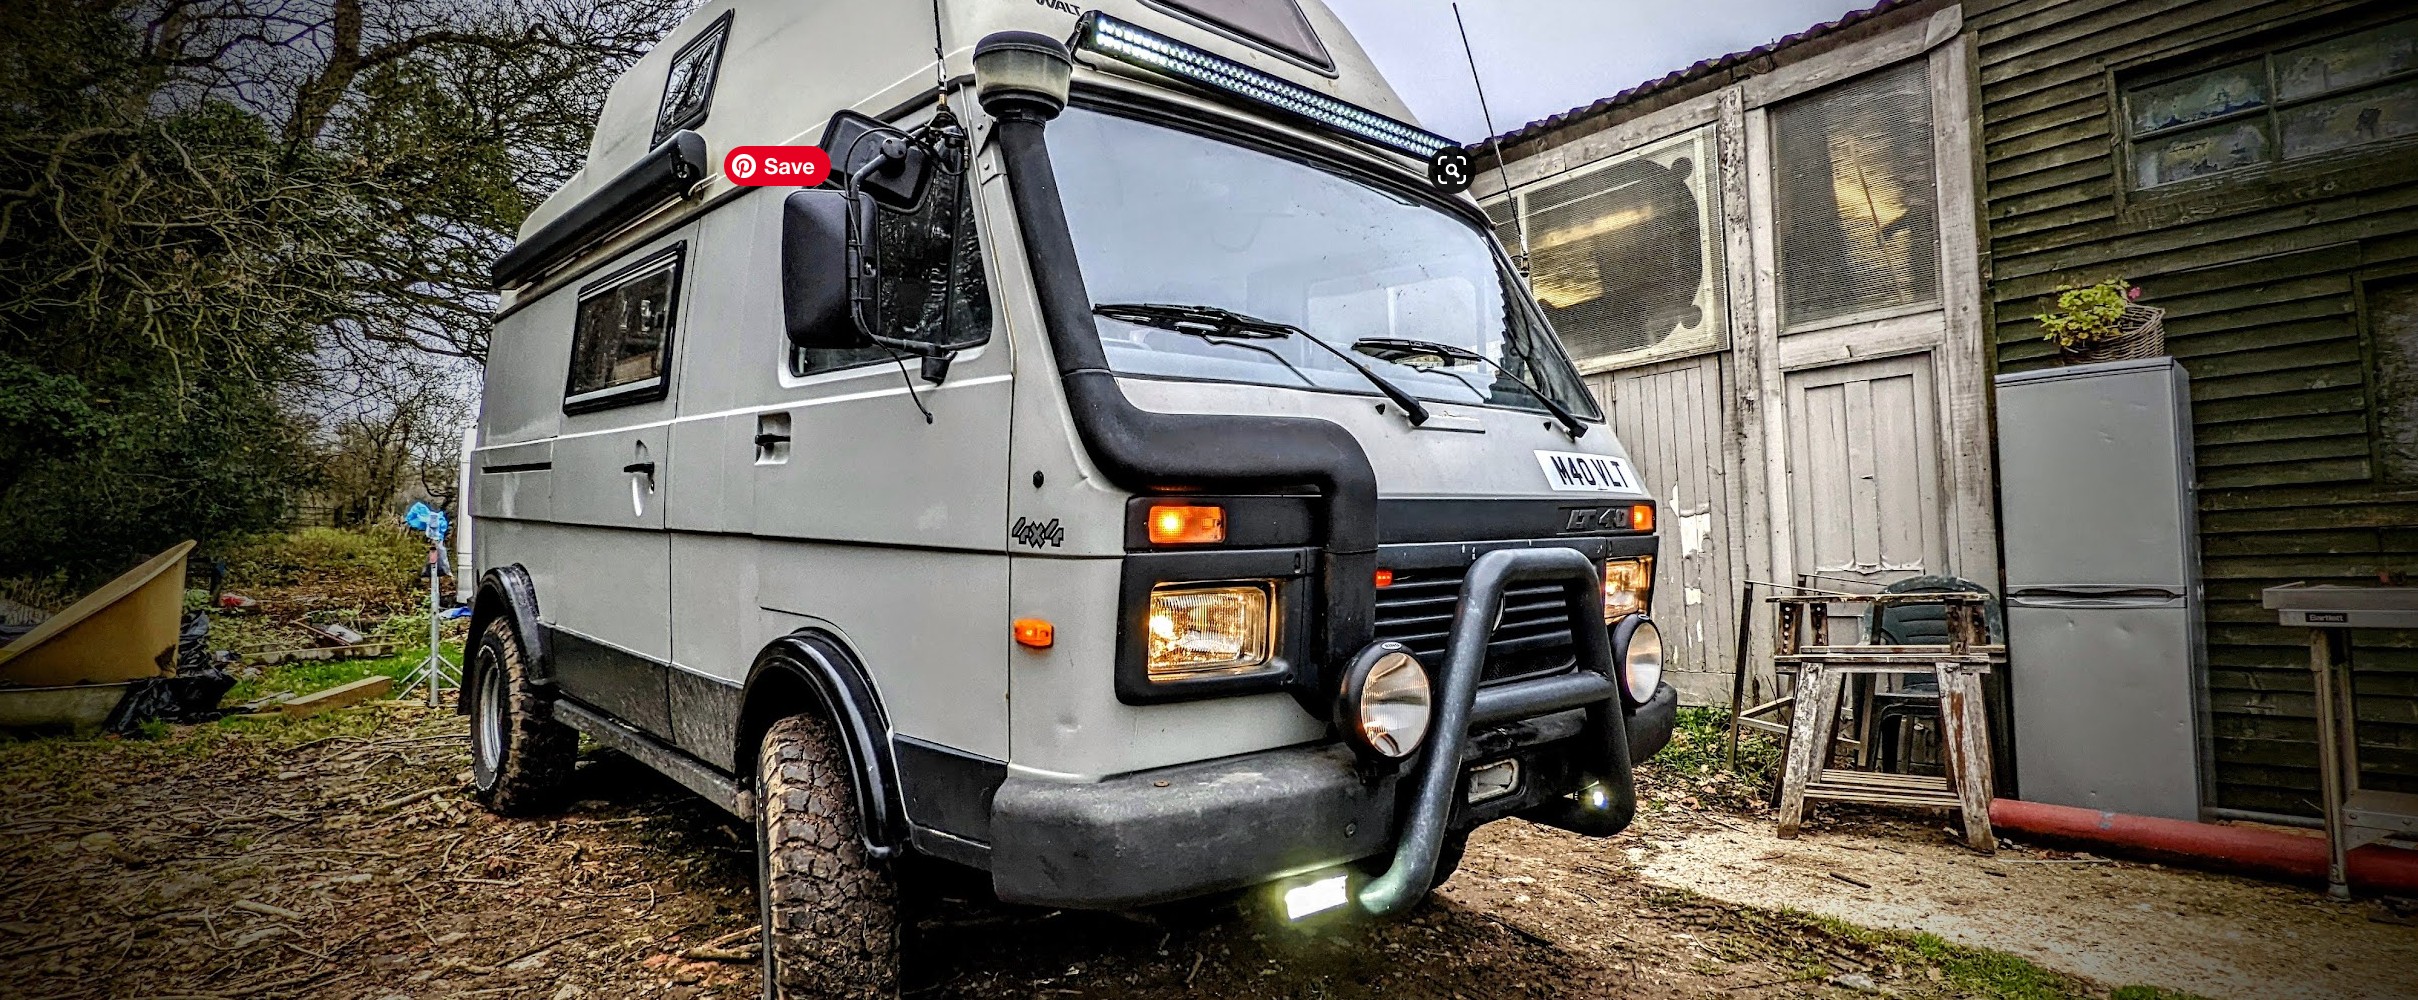
- For bodywork a dremel is a useful tool to grind back small areas to bare metal where you can apply a rust converter like Vactan (if you need one) and then apply primer, paint and lacquer using touch up paints in bottles with little brushes
- For aluminium sandwich bodywork such as coachbuilt motorhomes you have a little more time against the elements thanks to the nature of aluminium but I’d still be following the steps above to keep your rig looking great
- For GRP the same process applies except that you then need to consider the gelcoat or top layer of GRP as this has a specific waterproof layer to it. More research ion this is essential
- For chassis and under-body work – this is just as important if not more so – it’s really mucky work that may involve wire brushes or drill attachments, but you have to get back to bare metal to see what’s really going on. In a worst case scenario a welder may need to be consulted, but hopefully simply a rust converter, specialist chassis spray paint, as well as some sort of wax oil or Dinitrol protection coat will see you clear
- If you do have a hole in metal, aluminium or GRP there are lots of useful guides for how to patch these up using metal gauze, fibre glass and/or filler. You can take a look and see how I got on doing some of this work on Walt here.
Link: Exterior Camper Conversion Considerations
III. Interior Maintenance and Repairs
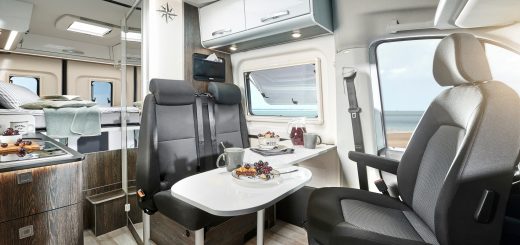
The interior of your campervan is what makes it a home on wheels. Addressing appliance fixes, furniture repairs, or plumbing issues promptly ensures a comfortable and functional living space. This is why paying attention and asking the right questions when you are purchasing your new beauty is essential. Secondhand vehicles are more likely to have more info online to help you research a problem.
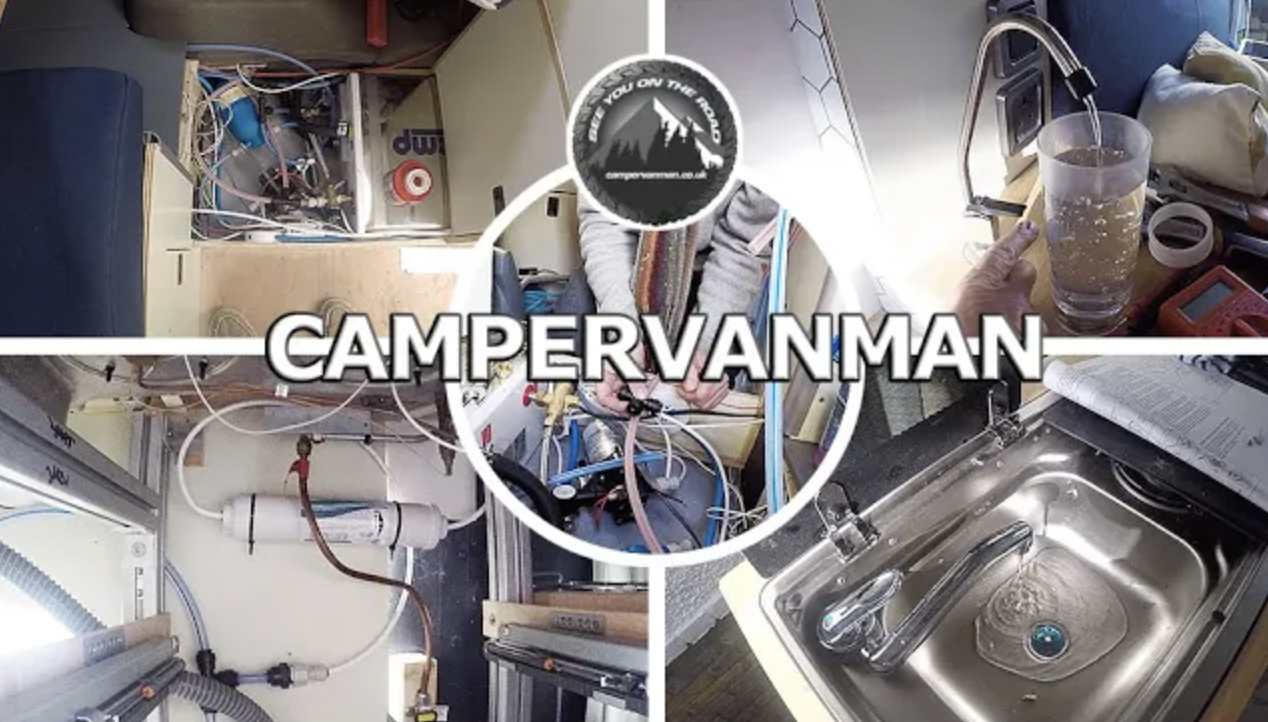
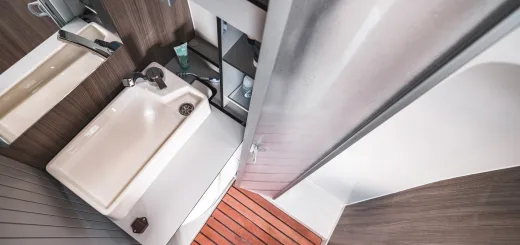
Generally most of the issues with the interior furniture, furnishings, walls and ceilings should all be within the scope of a decent handyman. Depending on the fault at hand you may of course want to seek professional help but most are likely to not be too daunting for you.
Link: How to Convert a Van into a Camper Van
IV. Internal Services
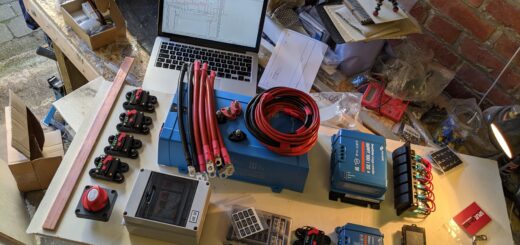
Understanding your campervan’s electrical, water and gas systems can seem daunting, but knowing the basics of troubleshooting and installation can be massively beneficial. This includes handling solar panel installations or simple electrical repairs as well as assessing a potential gas leak, or why your wife’s shower has just gone cold! It has to be said that the real benefit of converting your own comes in to play here as it’s inevitable that you’ll know exactly what’s up and how to fix it if you did a DIY conversion!

Link: A Beginner’s Guide to Campervan Electrics
Link: Second fix gas installation
Link: Second fix water installation
For peace of mind at least familiarise yourself with your master shut of switches and valves for your 240v & 12v electric, your gas and your water.
V. Emergency Repairs and Roadside Fixes
Despite all preparations, emergencies can still arise. Having an emergency repair kit and knowing quick solutions for unexpected issues can make a significant difference. Also always be aware of the requirements of any country you are travelling into. Roadside repairs aren’t always recommended so be sure you also have some sort of breakdown cover to get you safely back on the road.
Conclusion
Being prepared and able to handle common repairs yourself can significantly enhance your campervan experience. It not only saves you time and resources but also brings a sense of achievement and readiness for your travels. Remember, continuous learning and hands-on experience are key to mastering campervan maintenance and repair.
Referencing our shared experiences and resources can empower you to take control of your campervan’s maintenance, ensuring you’re always ready for the next adventure.











1 Response
[…] – How to handle common campervan repairs yourself – Campervan mods (Youtube vid opens in another window) – Plumbing & water 2nd fix […]