Best Practice Camper Van Conversion Build Tips
 |
 |
Despite having converted 2 camper vans in my time[1,2] this time round I’ve been endlessly researching the best methods and examples of self build best practice and thanks to the wonders of social media and particularly Youtube there is a wealth of advice out there. However it’s also the case that anyone can upload anything in their attempt to speak gospel. This starts to get tiring and it’s tiresome work to cut through this noise to find a clear & true signal. So I thought I would at least document and share what I have found as I hope that my experience and depth of interest & constantly growing knowledge will be beneficial to others.
Particularly useful to me through this build have been the following channels:
Greg Virgoe’s Van Conversion, Kenetube, Jaz Morton’s Series 1 TravelsWithJazz Van Build, The Restoration Couple’s Van Build Series, Indie Projects Van Conversion Project
 |
 |
 |
 |
 |
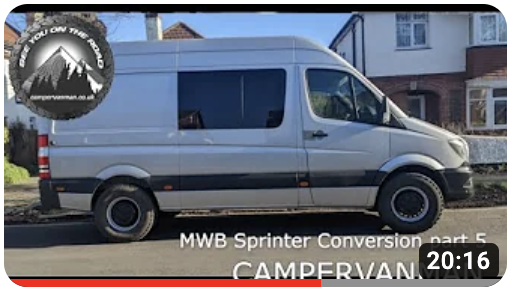
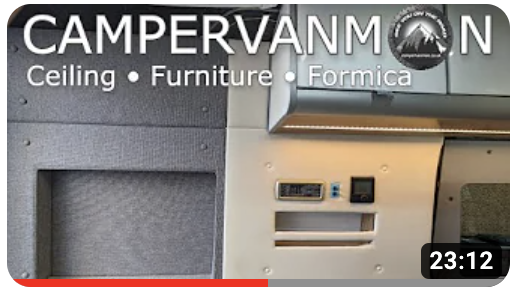
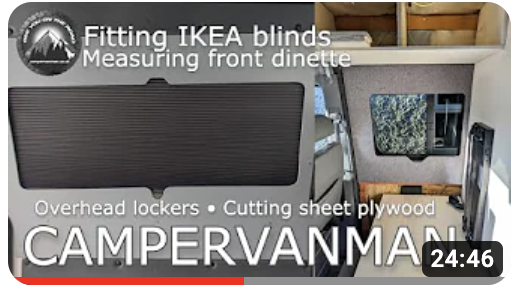
Click on the images below for deep links right into each video.
Sound Deadening
Before you start remember to stick sticky back, bituminous sound deadening to each resonating panel literally anywhere in the van. Try and cover a minimum of 25% of each panel that echoes when you tap it. You won’t regret the extra time and money to do this. It’s an easy, cheap and quick job.
 |
 |
 |
Camper Van Insulation
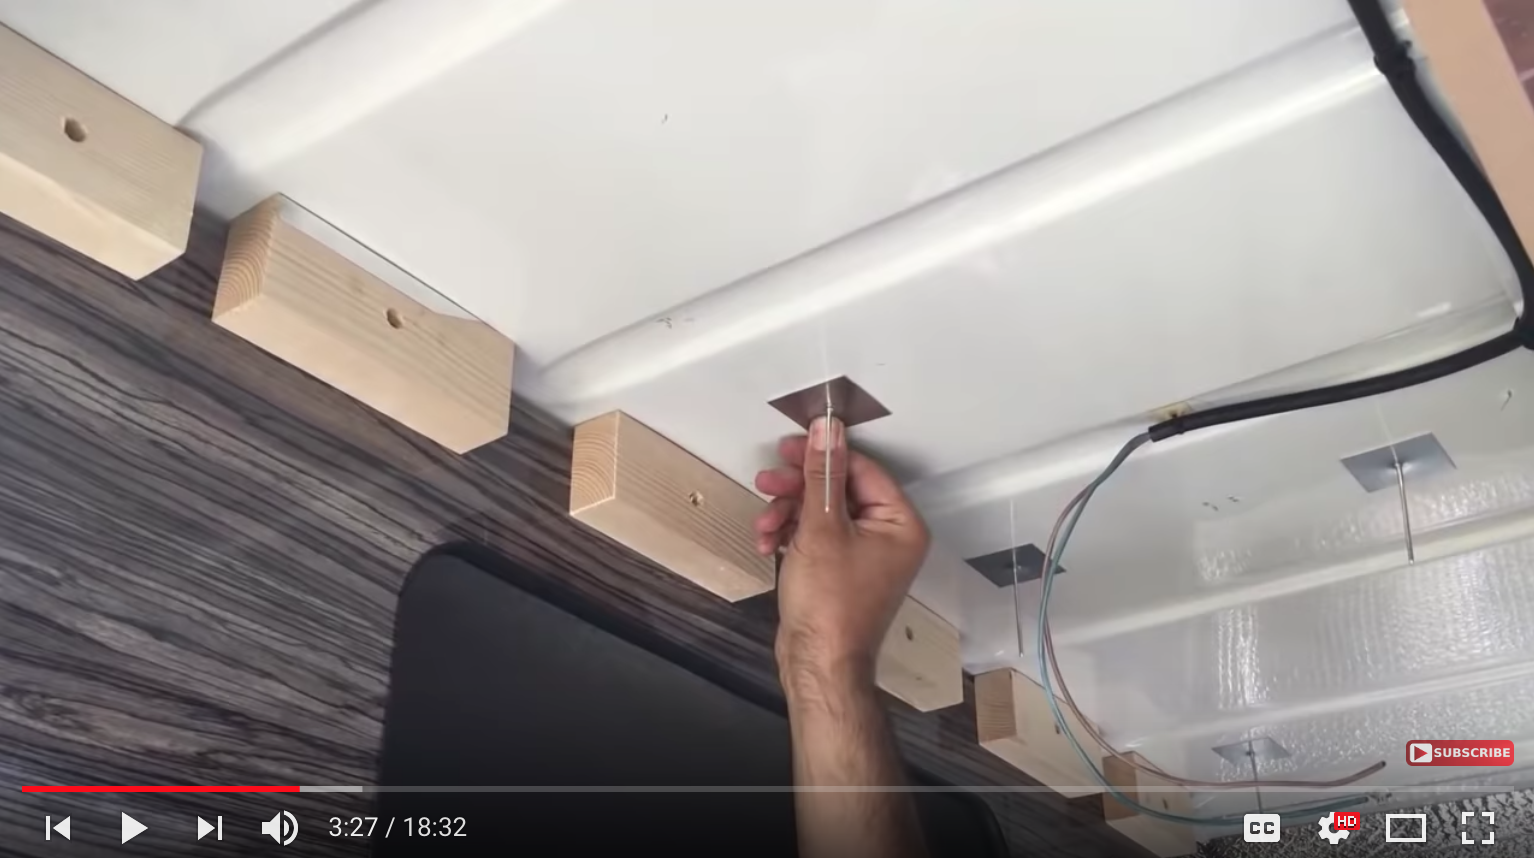
You can pretty much use whatever you like (fibrous rolls, solid boards, etc) and fix it pretty much however you like (epoxy spray, gun glue, etc) to either the van walls or the internal beams, as long as you add a vapour barrier to stop condensation forming behind the van wall lining. I’m using 2nd hand and off-cut insulation board (mostly bought locally from Gumtree), epoxy spray glue and expanding foam to fill the gaps and help secure the boards and sticky back pins for the roof boards (as Greg suggested).
It’s fairly common practice that the floor is 25mm insulation board with wooden battens to help support a 12mm ply floor.
 |
 |
 |
Vapour Barriers
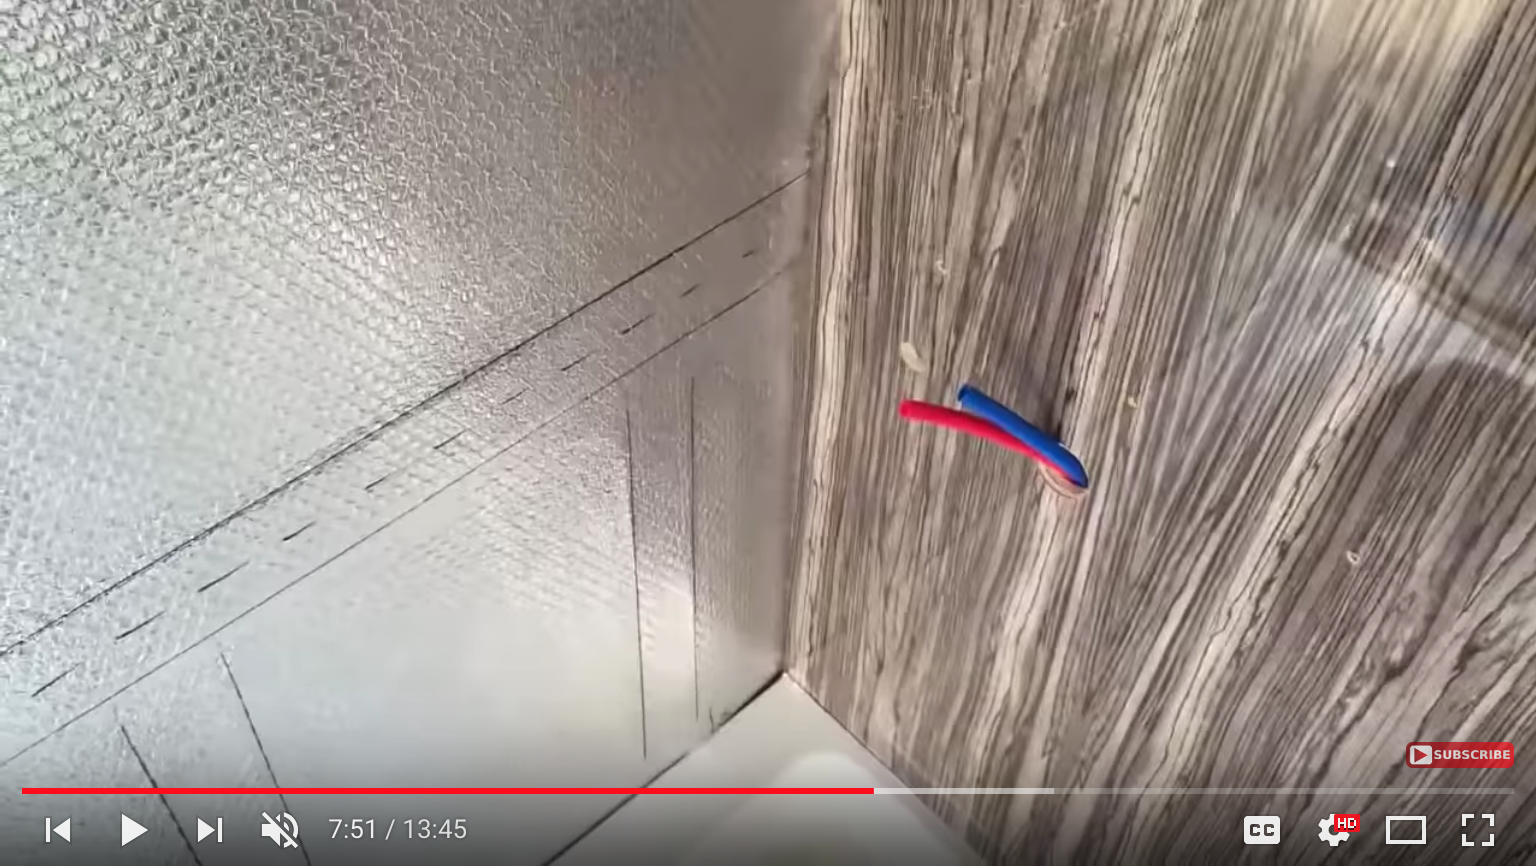
A vapour barrier can be anything that seals the air touching the van walls from the air inside the finished van so needs to be behind the van wall lining. It can be made by taping over every joint between foil backed insulation panels but it may be easier to simply tape a whole seat of plastic film up behind the lining. You could use some sort of foil based material for this but it’s overkill on cost as this isn’t an insulation issue.
 |
 |
 |
Cold Bridges/Bridging
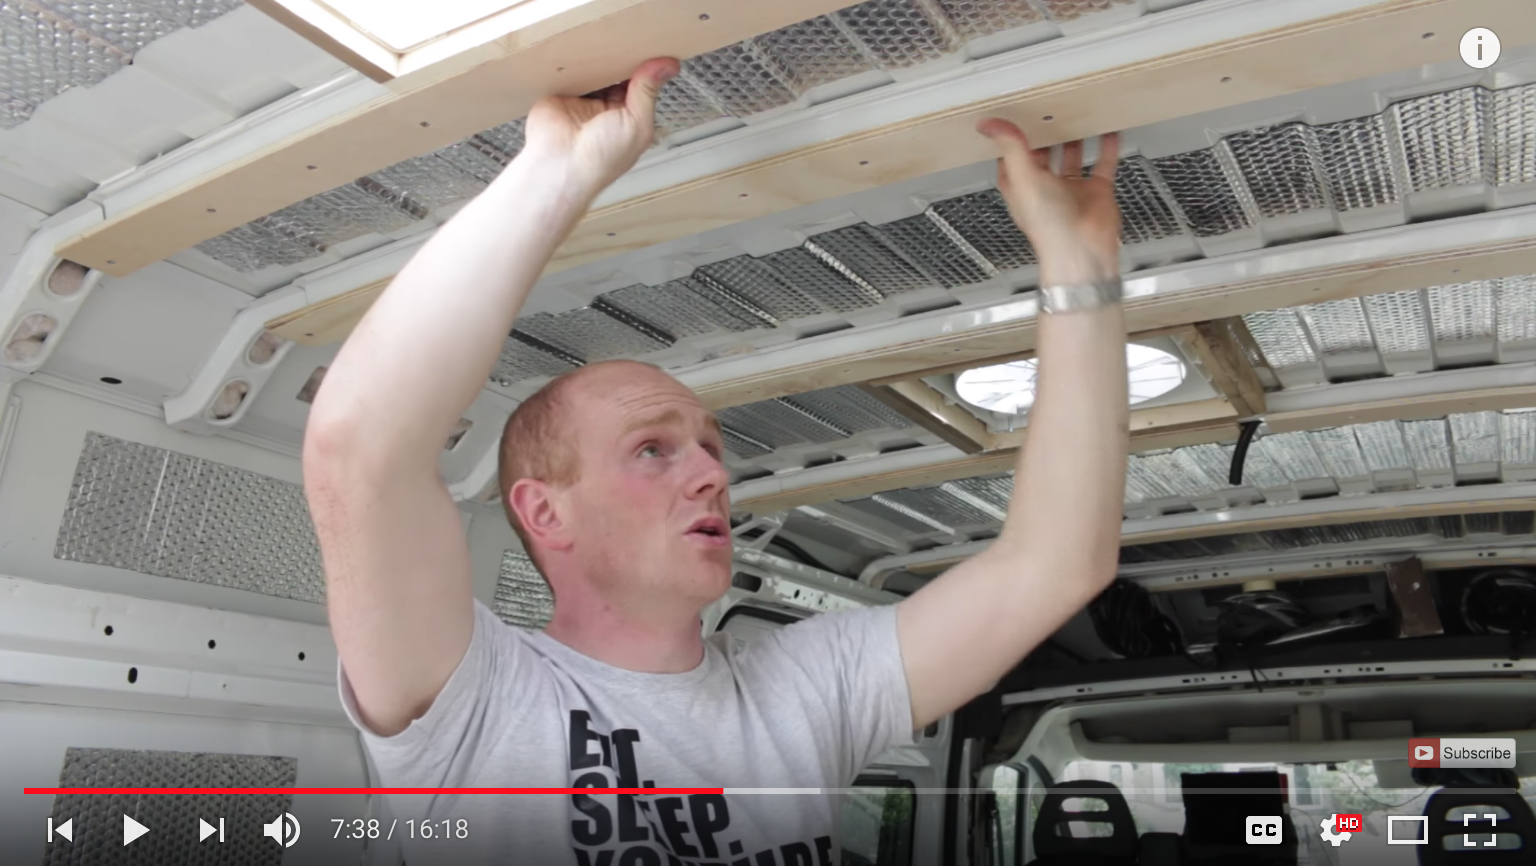
Great effort should be made to ensure lining material and in some instances internal structures have a mounting point to the structure of the van for rigidity. However it is advisable where possible not to drill screws through into van joists as this can lead to cold bridging which helps remove the benefit of any insulation-based efforts. To get round this you have 2 choices: 1) to Sikaflex internal wooden walls and/or structures directly to van body joists and/or beams, or 2) to self-tap wooden joists to the van joists and beams into which you can then screw van lining and/or internal structures.
 |
 |
 |
Camper Van Wiring – When & Where
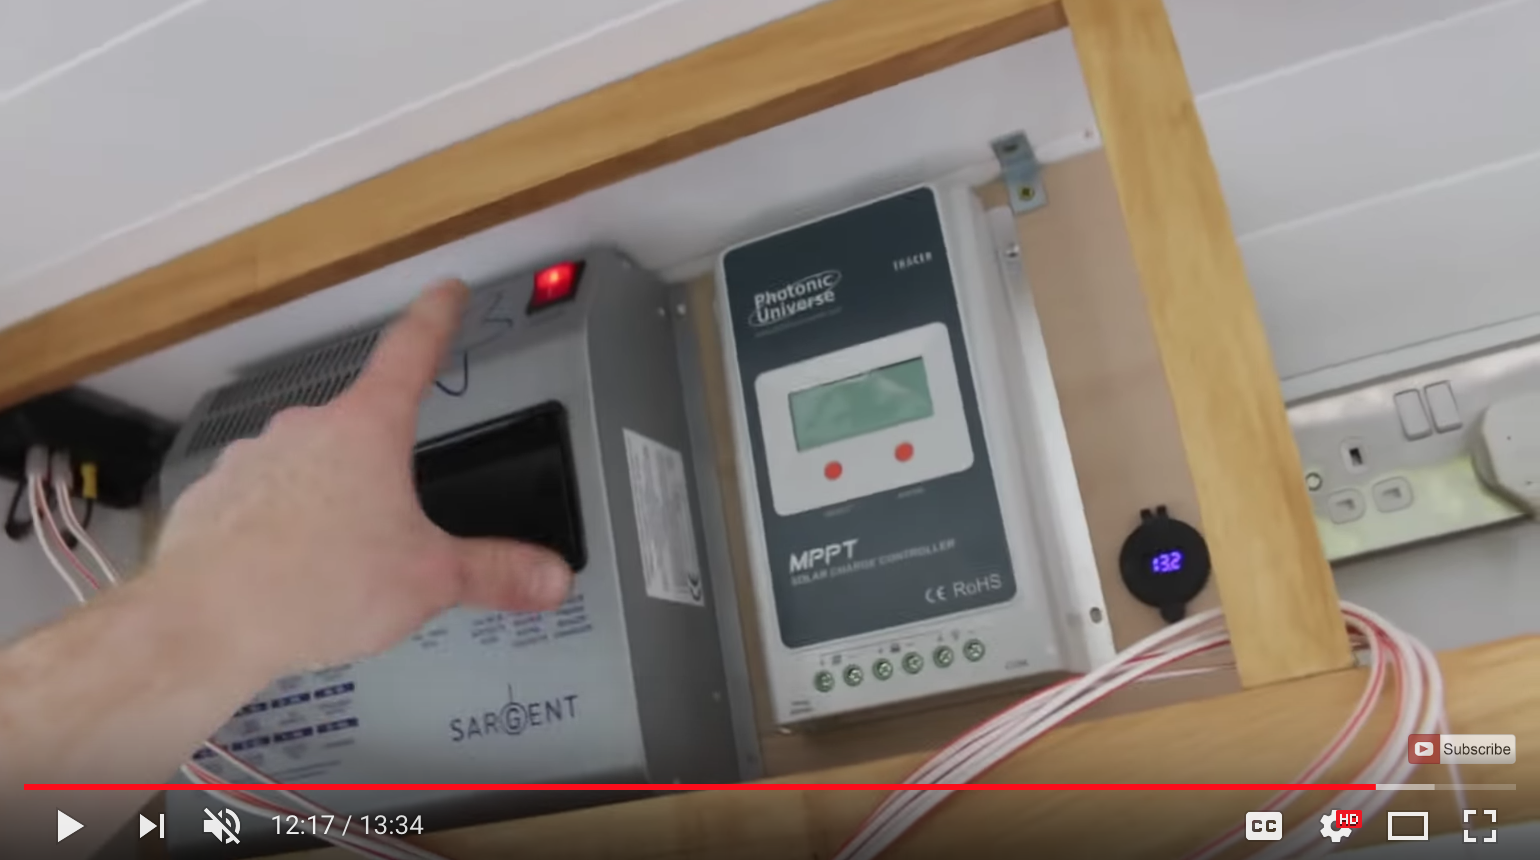
It’s your choice whether you want to do some or all of the wiring behind your van wall lining in advance of all of the above or at least consider running corrugated tube through behind some of the cavities behind your insulation before you line. The pros or doing this seem mostly to be neatness. You do of course have to consider how cables would run from one side of the van to the other and top to bottom, but of course a major con is not being able to access them behind the lining once the job is done. Jaz is an electrician so he is good to watch but all his wiring is behind the lining.
There’s obviously a whole lot of complexity to wiring both 12v & 240v systems so if in doubt speak to an electrician. There are however some good kits you can buy to help get you started.
There are many more useful guides to van wiring online.
 |
 |
 |
Lining – Material, Thickness & When to Line
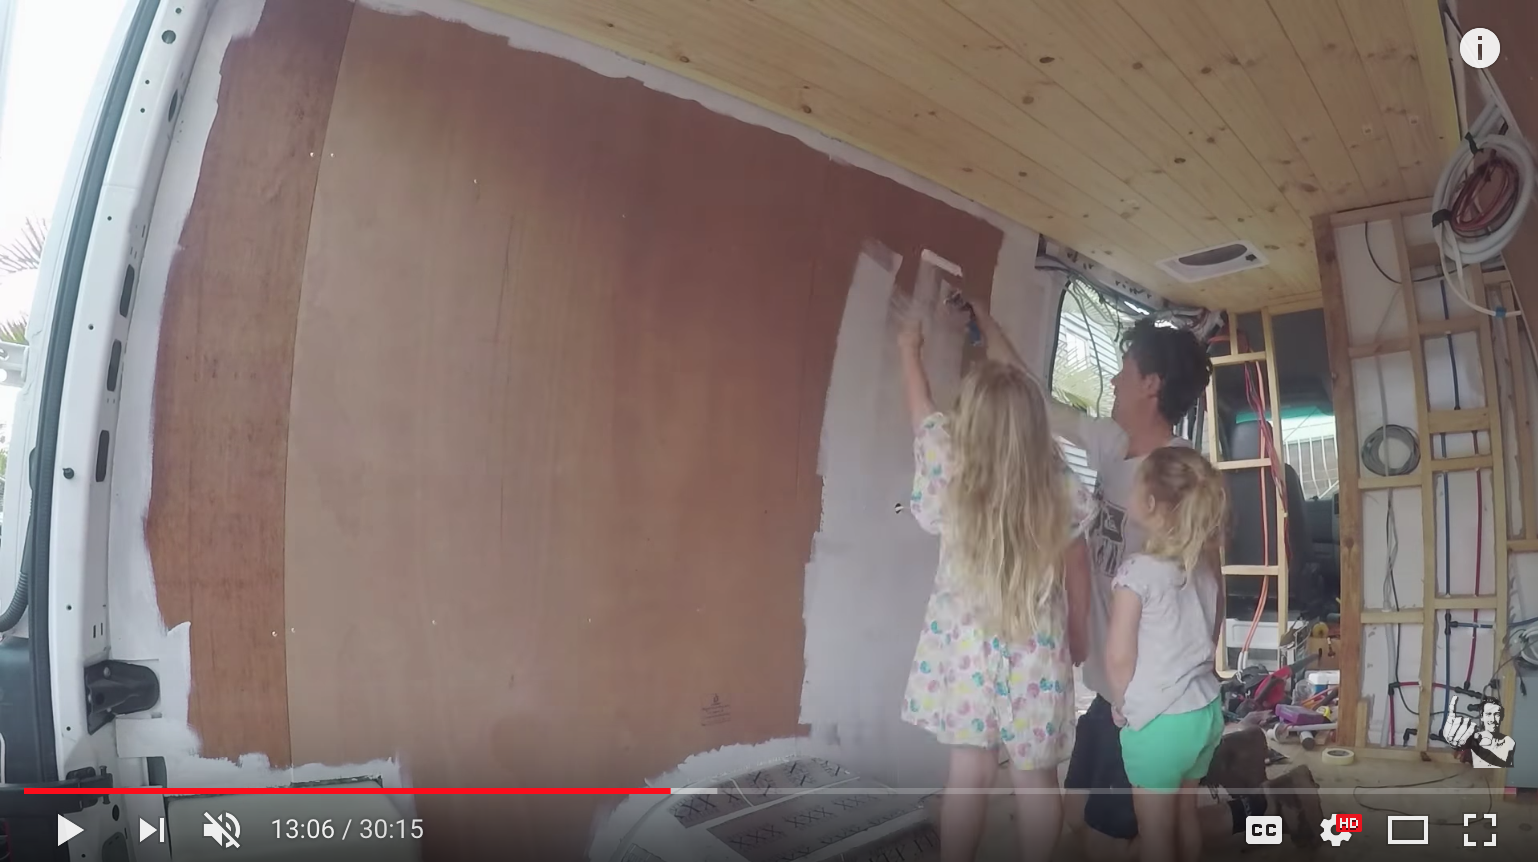
Much debate to be had here and the answer lies in how well you want to use the lining to anchor internal structure and fixtures and fittings. Obviously for a more rugged build you’ll ideally need to anchor through the lining and into the wooden battens that you so carefully mounted against the van wall ribs so as to avoid cold bridging (you’ll of course need to remember at each stage to mark where these structures are as you layer up). In this case any 3mm lining will do. I’d avoid hardboard just as it’s so flimsy but plain or faced 3mm ply would do. To save money I’m lining with 5.5mm ply and 3mm faced board where I know I need it. So inside cupboards will just be white 3mm on top, the shower will be hard glazed white board and around the rear seats and the rear bedroom I’ll be wrapping material (suede?) around plain 3mm ply. All sheets will then be bonded together to mount.
I’m going to line with the plain 5.5mm after the vapour barrier is in place but I won’t line the top layer of thinner ply until the cabinet framework is in place.
 |
 |
 |
Camper Van Internal Structure & Build Techniques
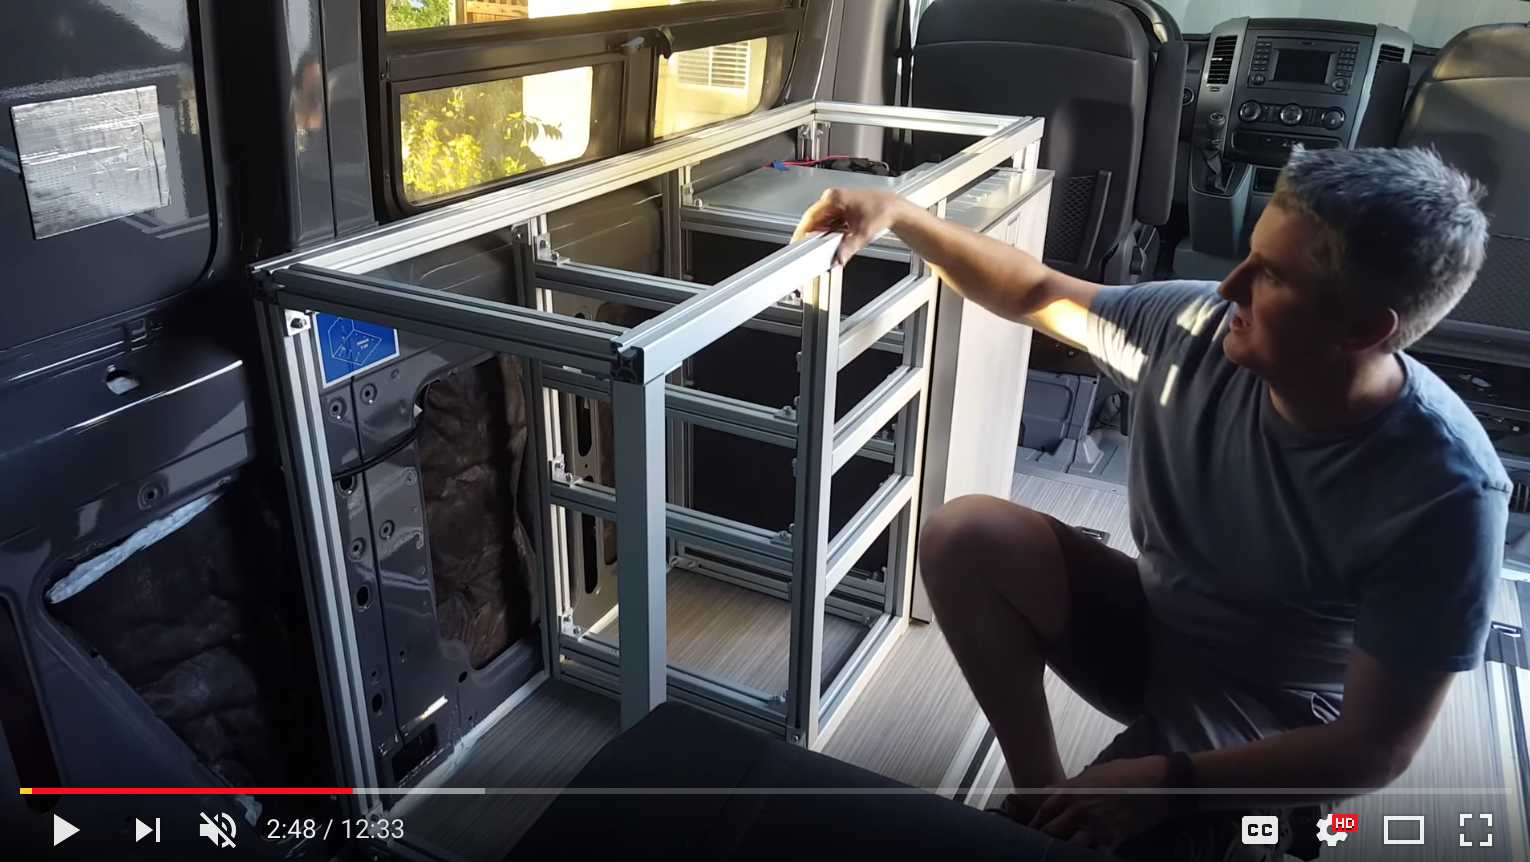
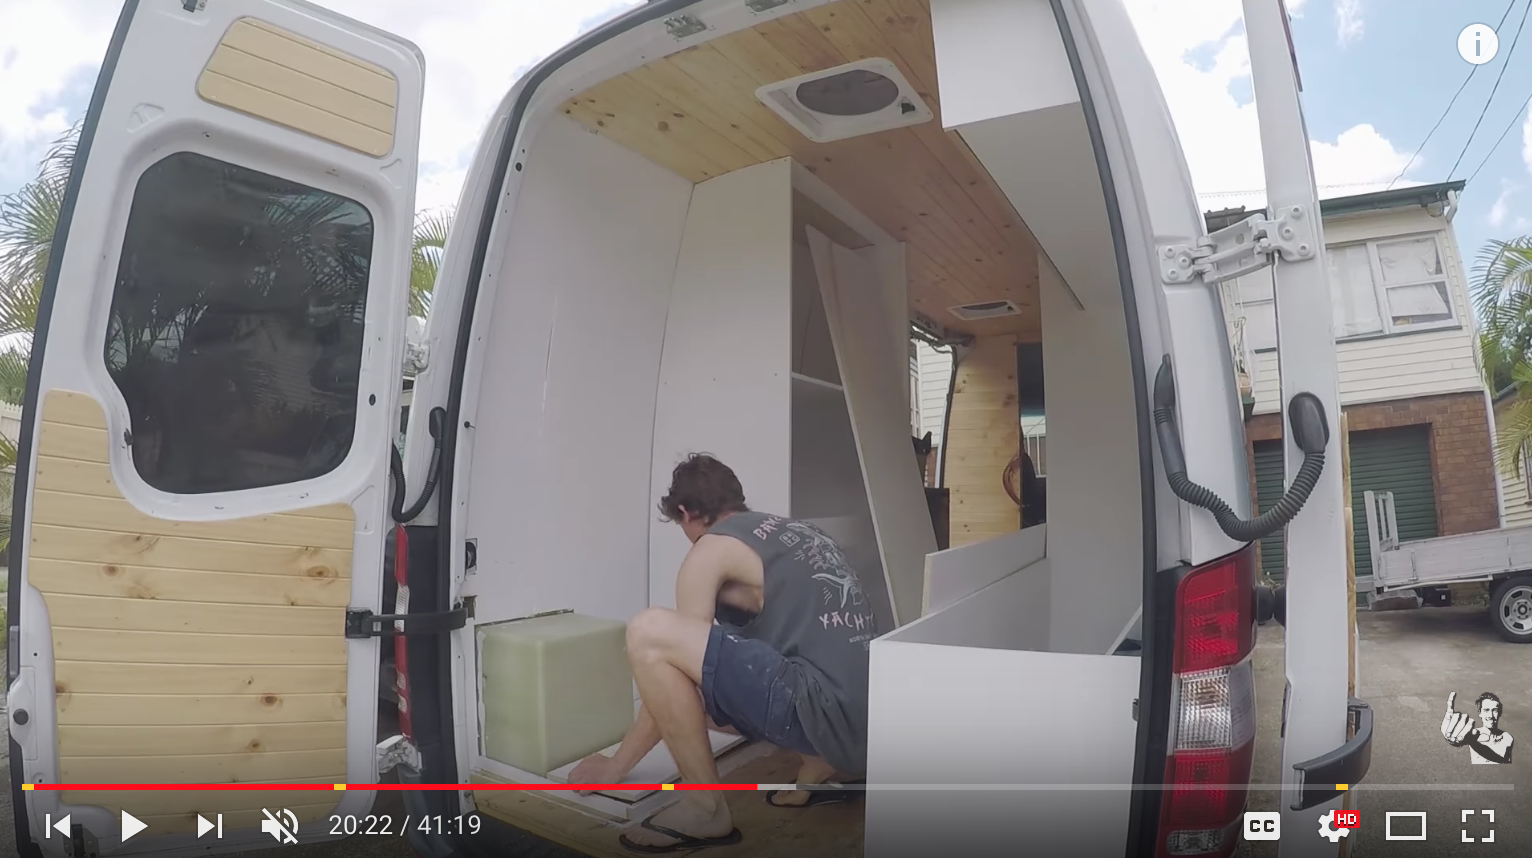
The standard choice is timber batten framework, clad with faced ply or 15mm faced ply for panel work. For a more rugged structure aluminium profile (like 80:20) is becoming more popular. I’ll be using a mix of both as well as some good old welded steel box section for important structural elements like the belted rear seats and potentially also the read bed depending on my final design. Kenetube gives some cracking detailed info on building with 80:20. Flight casing is another alternative. There are some other aluminium cabinet solutions such as that Jed has used for the Managon build. Needless to say the less weight the better (without compromising structural strength.
 |
 |
 |
More follows…




1 Response
[…] allowing owners to personalise their campervans to suit their unique needs and preferences. From custom interiors to specialised storage solutions, these modifications helped create truly one-of-a-kind adventure […]